


A Guide To React Native Offline Support
An introduction to React Native's offline feature and some popular ways to implement it on our apps


In this blog, we will be going through the topic of offline support on React Native and what are the different ways we can go about implementing it on an application. But before we start off, let us first understand what offline support is and why apps need it.
What is offline support?
We use a lot of apps in our daily lives and while some of them do not require an active internet connection, most of them do! Some examples of these kinds of apps are Facebook, Twitter, YouTube, etc.
Apps need an active internet connection to communicate with their respective servers and enable user interaction. But what happens to these apps when there is no internet connection? We need to address the fact that apps have a dependency over an active internet connection and there might be a situation where our app might not be able to connect with one. This is where offline support comes in and we can use React Native offline support to handle this interaction smoothly and provide the user with a great user experience.
Methods to achieve offline support
The most popular methods to achieve offline support in React Native are by implementing usage restrictions, caching, and request queuing.
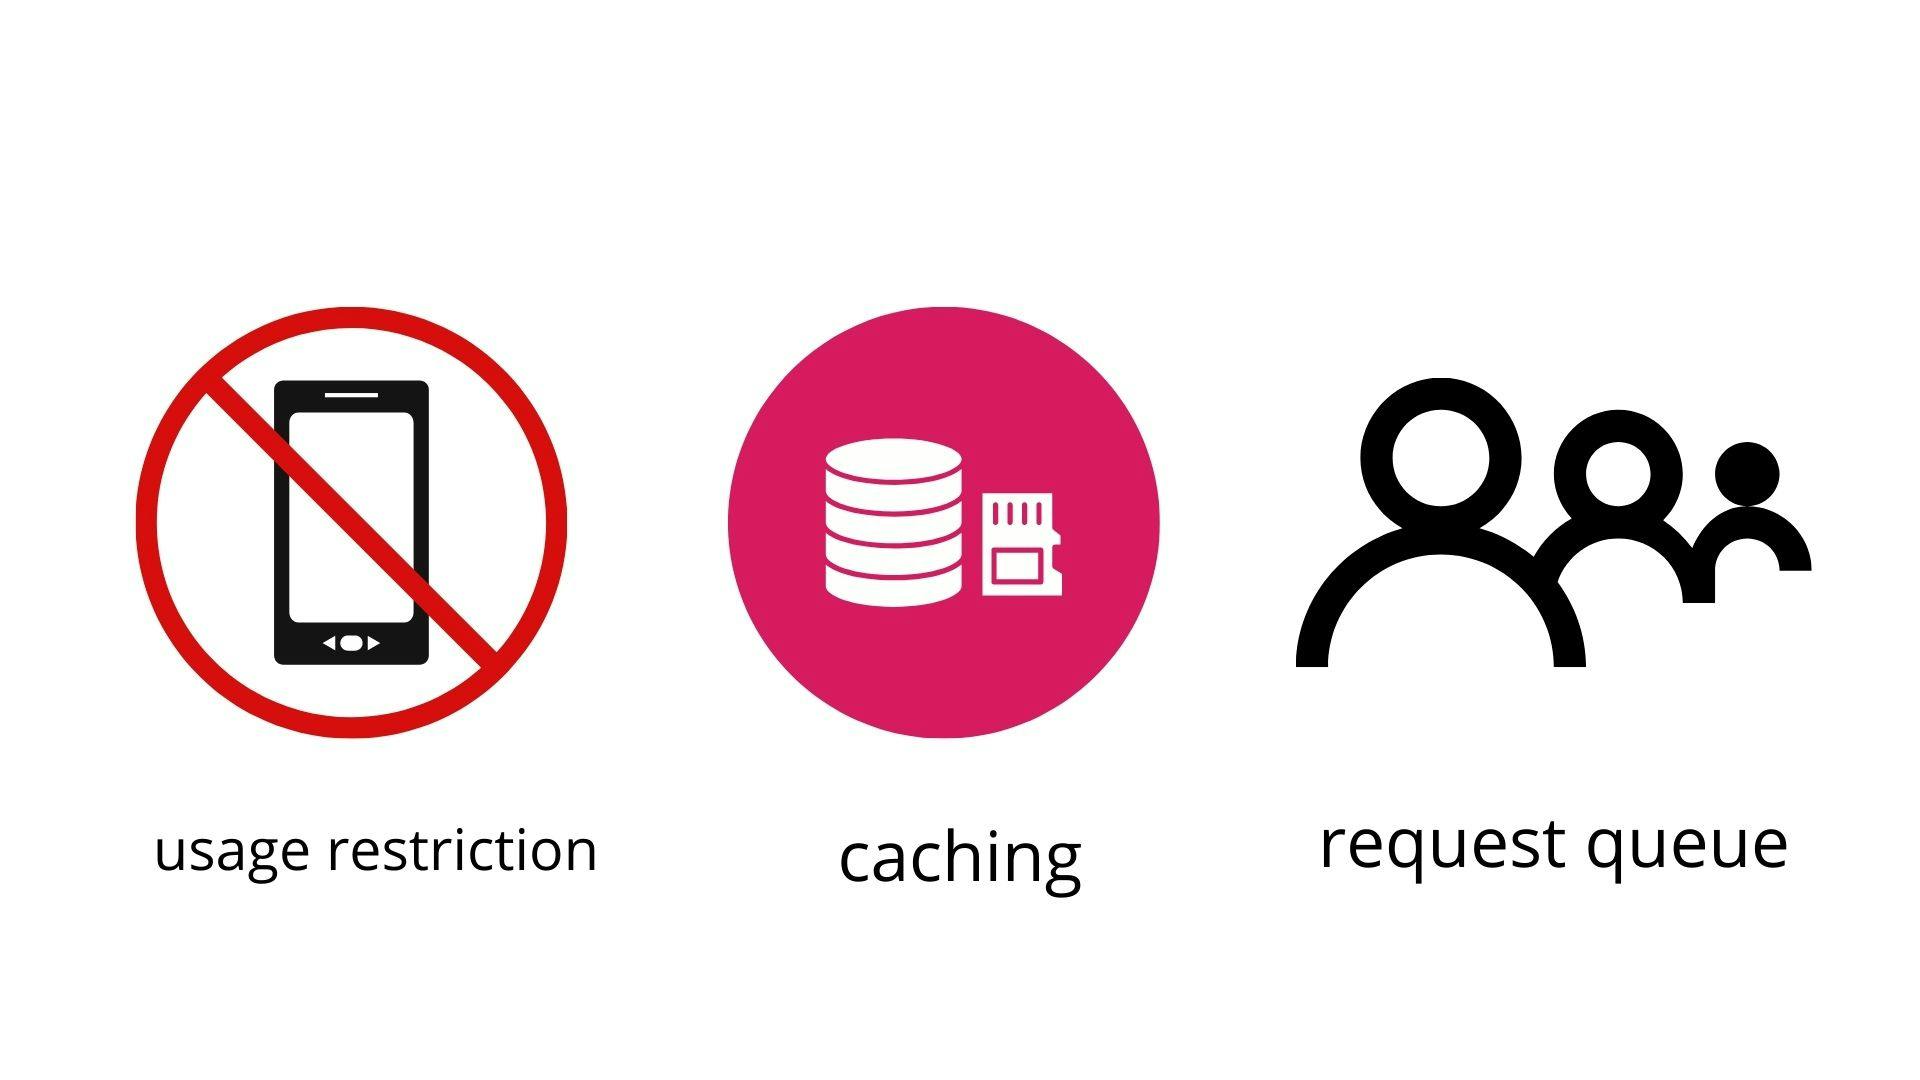
- Usage restriction: In this method, we will be displaying a message to the user stating that the app is currently unable to connect with the internet because of which certain features which need an active internet connection to run are disabled. Refer to the image below:
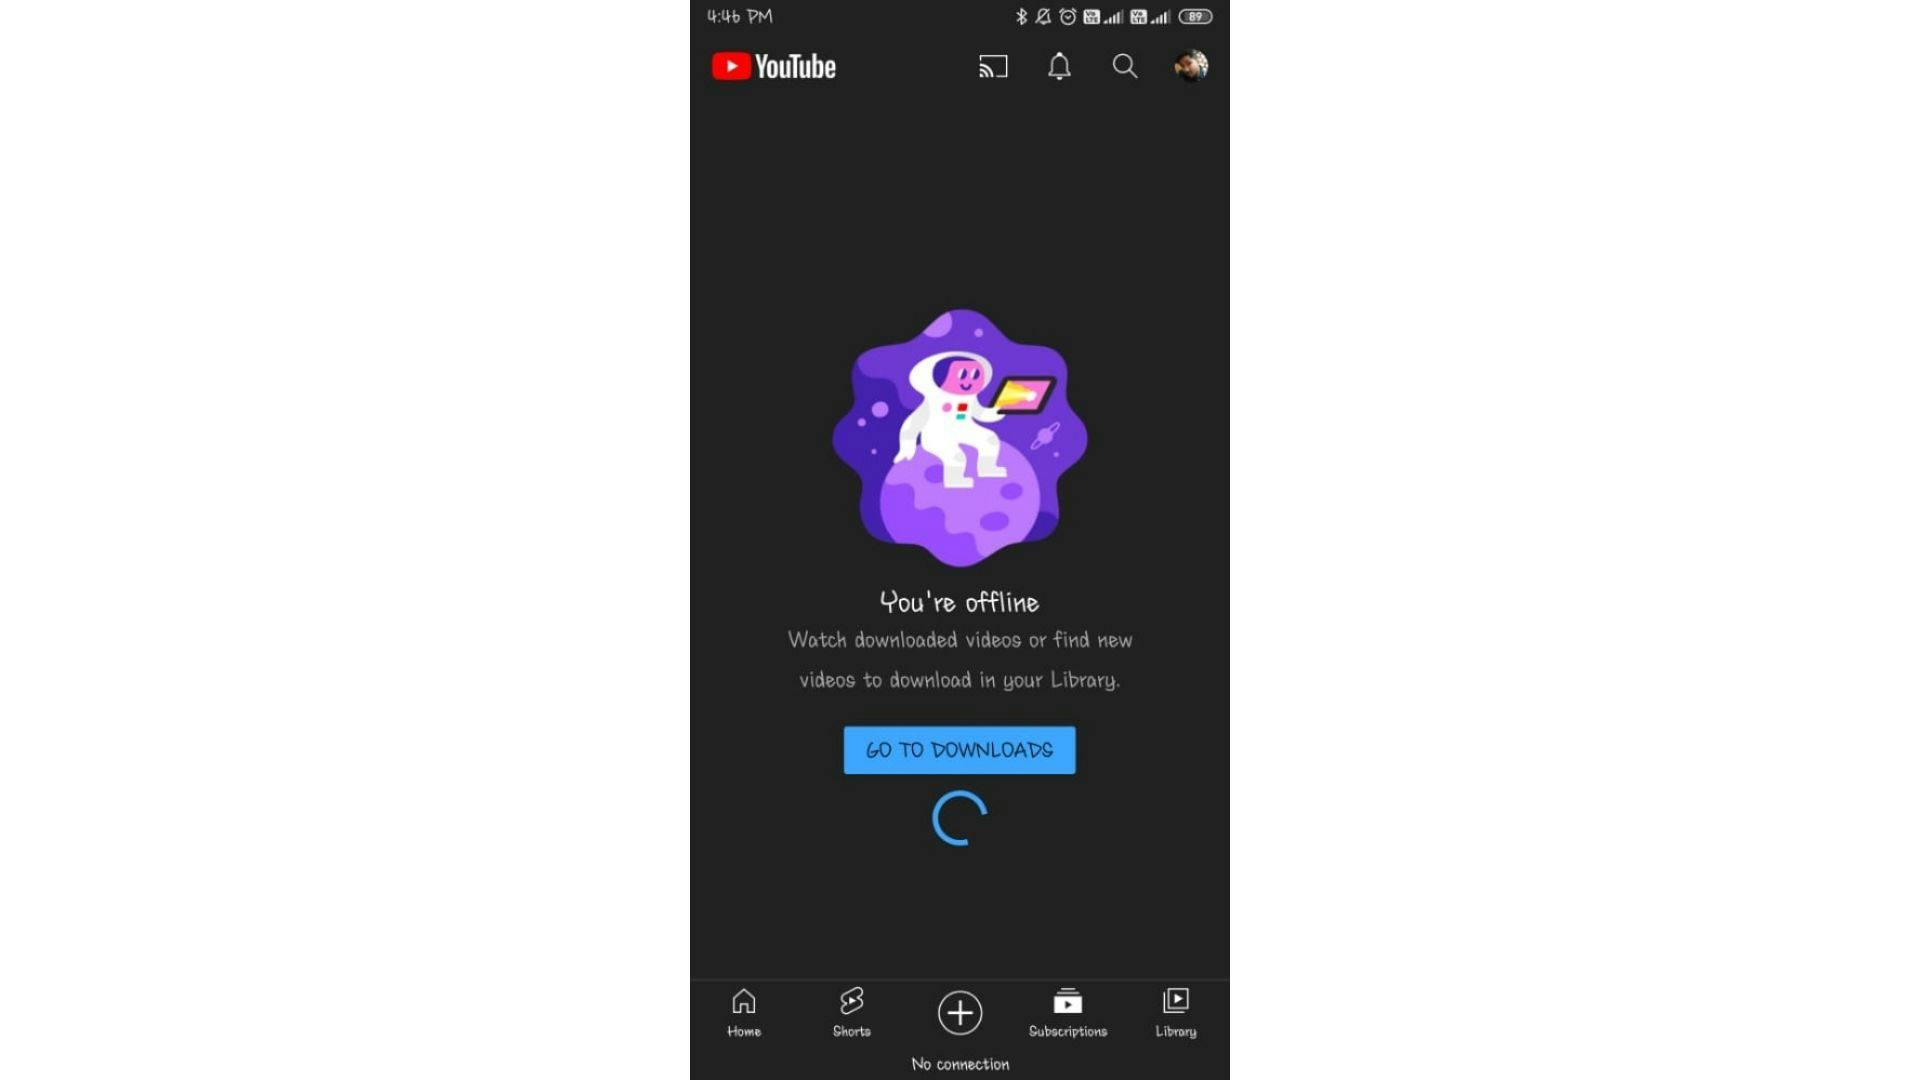
Caching: Here, we will receive a response from the server and store this data within the local storage of the device. This allows us to retrieve and render the data from the local storage in scenarios where the app is not able to connect to the internet. The download feature that YouTube offers is an example of how caching works.
Request queue: Using this method, we can store all the feature requests made by the user and we can execute them once our app is back online. For example, a note-taking app that has this feature implemented would allow its users to make changes even when there is no active internet connection as it changes are backed up in the server.
Let's get coding!
Usage restriction
Let's get you up to speed! You can find the starter files here. In the above link, you can find a simple app that generates a random user every time the user clicks on the Add User button. We will be using an apisauce library to make external calls. You can refer to the image below to understand this better:

Now let's try to add usage restrictions when our app goes offline.
Dependencies
- We are going to use
netinfoto determine whether our app is connected to the internet or not. Refer to the code below:
npm i @react-native-community/netinfo
- Enter the code below on your console if you are working on an iOS platform, after installing the above library:
cd ios
pod install
- If you are working on an Android platform with Android Support, you can utilize a tool called Jetifier for backward compatibility.
- Next, you will have to modify your
android/build.gradleconfiguration. Use the code given below to do this:
buildscript {
  ext {
    buildToolsVersion = "28.0.3"
    minSdkVersion = 16
    compileSdkVersion = 28
    targetSdkVersion = 28
    # Only using Android Support libraries
    supportLibVersion = "28.0.0"
  }
Implementation
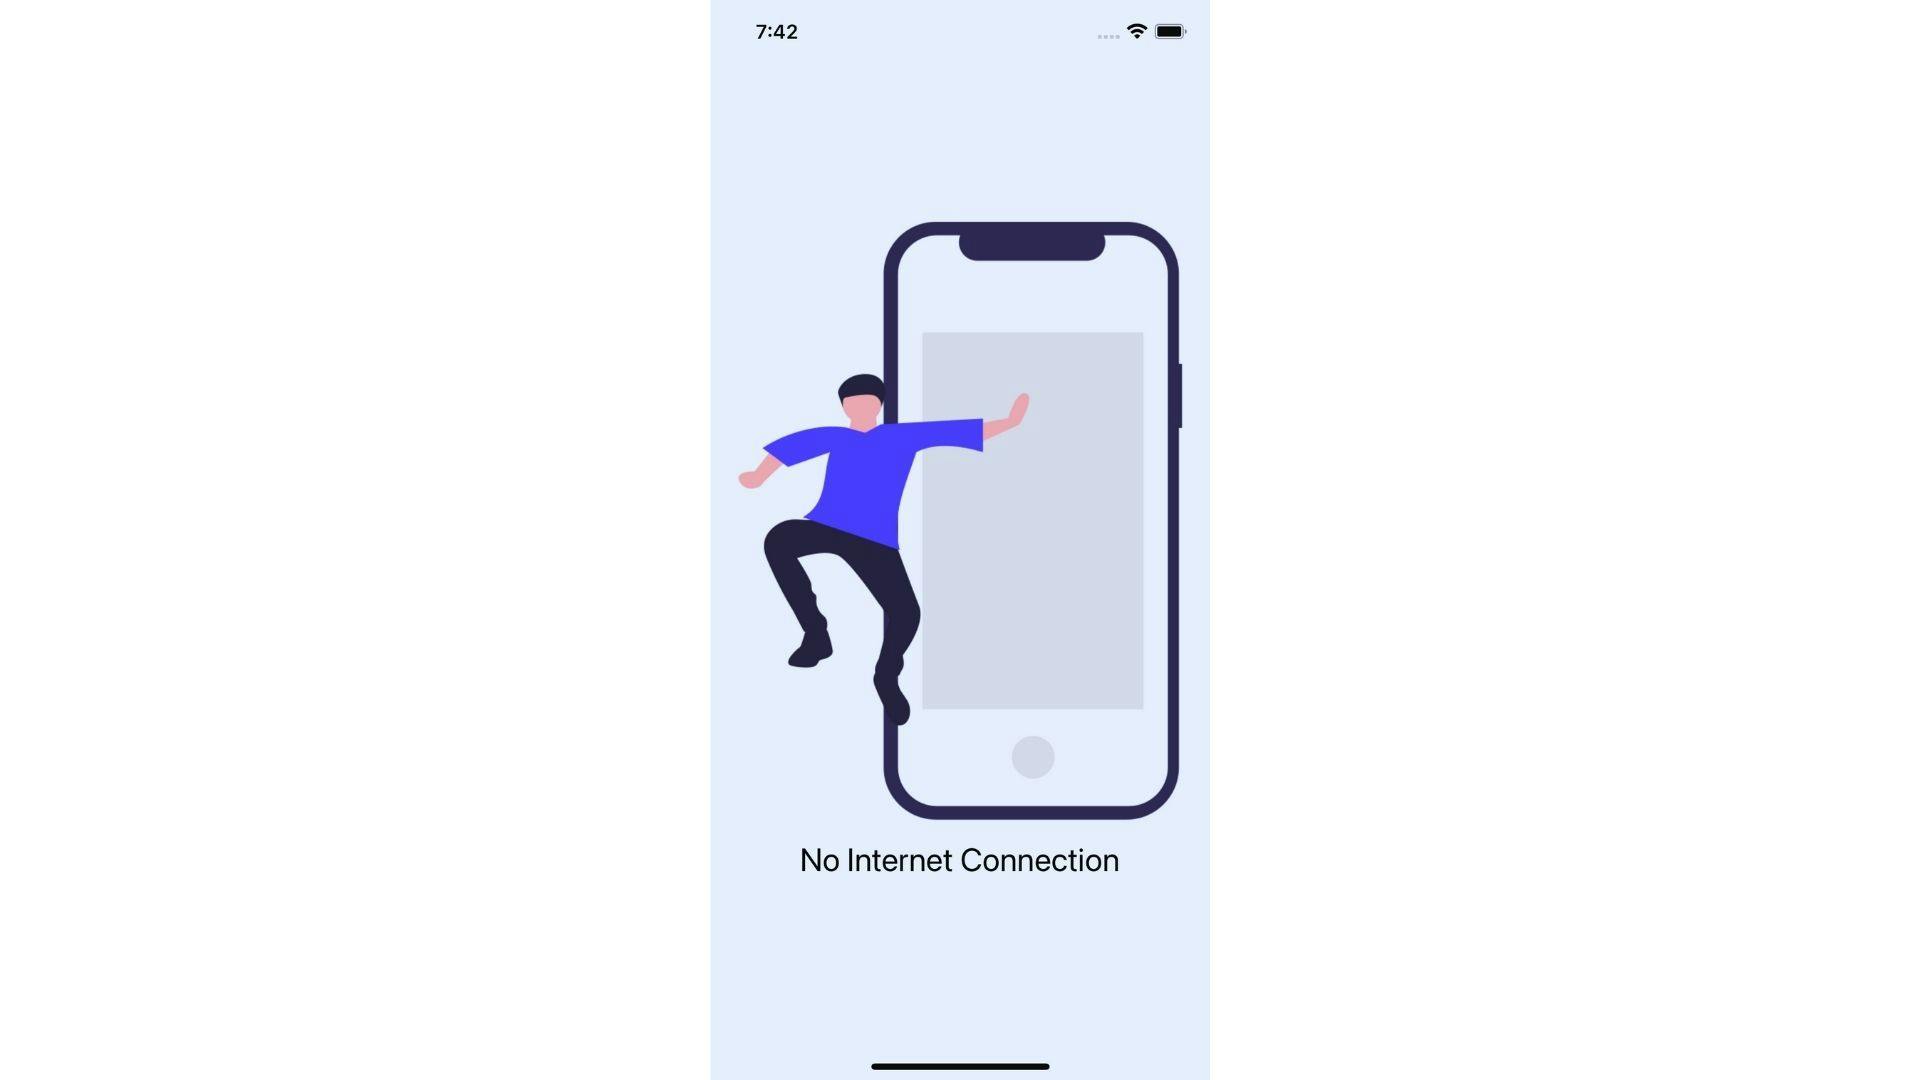
Let's create a component that takes up the entire screen and notifies the user that the app is currently offline. This component should take up the entire screen space available, such that the user is not able to use any of the app features.
- To start off, you need to initialize
app/components/OfflineNotice.jsusing the code given below:
import React from 'react';
import {View, Text, Image, StyleSheet} from 'react-native';
import {useNetInfo} from '@react-native-community/netinfo';

const OfflineNotice = () => {
  const netInfo = useNetInfo();

  if (netInfo.type !== 'unknown' && netInfo.isInternetReachable === false)
    return (
      <View style={styles.container}>
        <Image
          style={styles.image}
          source={require('../assets/images/offline.png')}
        />
        <Text style={styles.text}>No Internet Connection</Text>
      </View>
    );

  return null;
};

const styles = StyleSheet.create({
  container: {
    alignItems: 'center',
    justifyContent: 'center',
    height: '100%',
    width: '100%',
    zIndex: 1,
  },
  image: {
    height: 500,
    width: 500,
  },
  text: {
    fontSize: 25,
  },
});

export default OfflineNotice;
react-native-community/netinfoprovides us with a hook calleduseNetInfo()which returns a hook with theNetInfoStatetype which can be used to get access to the latest state. We need to wait untilnetInfodetermines the type of connection and even then if our app is not able to connect with the internet we can proceed to notify the user by rendering the OfflineNotice component. Use the code given below:
if (netInfo.type !== 'unknown' && netInfo.isInternetReachable === false)
    return (
      <View style={styles.container}>
        <Image
          style={styles.image}
          source={require('../assets/images/offline.png')}
        />
        <Text style={styles.text}>No Internet Connection</Text>
      </View>
    );
- Now, let's call the component within
app/App.jsusing the code given below:
import React, {useState} from 'react';
import {StyleSheet, SafeAreaView} from 'react-native';

import LandingScreen from './Screens/LandingScreen';

import userApi from './api/user';
import OfflineNotice from './components/OfflineNotice';

const App = () => {
  const [users, setUsers] = useState([]);

  const getUser = async () => {
    const tempUser = await userApi.getUsers();
    setUsers([...users, tempUser]);
  };

  return (
    <>
      <OfflineNotice />

      <SafeAreaView style={styles.container}>
        <LandingScreen getUser={getUser} users={users} />
      </SafeAreaView>
    </>
  );
};

const styles = StyleSheet.create({
  container: {
    flex: 1,
  },
});

export default App;
- Here's what the result should look like:
Well, this looks great! Doesn't it? Now, let’s try to implement caching in the next segment.
Caching
One thing that we should keep in mind while performing caching is that we should not store any sensitive data in the local storage because React-Native's Async Storage provides us an unencrypted key-value store. Caching can be implemented with or without Redux. Let us first try to implement caching without Redux.
Caching without Redux
You can find the starter files here. In this link, you can find a simple app that fetches a list of random users every time it is launched. Refer to the image given below:

Now when our app goes offline and if it displays nothing except just a blank screen when we try to refresh or relaunch our app, then it is not a great experience. We can fix this with the help of caching without redux. Refer to the image given below:

To cache without Redux, you need to add the required dependencies with the help of the snippet given below:
npm i @react-native-async-storage/async-storage moment
Implementation
- Firstly, we need to create the cache layer under
app/Utility/cache.js.
- While caching data, we also need to store the
timeStampof the duration which allows us to determine the status of the data when it is being retrieved. If we find that the time difference between the current duration and thetimeStampof the data is more than the allowed TTL(time to live), then we should receive a null. Enter the following code snippet:
import AsyncStorage from '@react-native-async-storage/async-storage';
import moment from 'moment';

const prefix = 'cache';
const expiryInMinutes = 5;

const store = async (key, value) => {
  const item = {
    value,
    timeStamp: Date.now(),
  };

  try {
    await AsyncStorage.setItem(prefix + key, JSON.stringify(item));
  } catch (err) {
    console.log(err);
  }
};

const isExpired = item => {
  const now = moment(Date.now());
  const storedTime = moment(item.timeStamp);
  return now.diff(storedTime, 'minutes') > expiryInMinutes;
};

const get = async key => {
  try {
    const value = await AsyncStorage.getItem(prefix + key);
    const item = JSON.parse(value);

    if (!item) return null;

    if (isExpired(item)) {
      await AsyncStorage.removeItem(prefix + key);
      return null;
    }

    return item.value;
  } catch (err) {
    console.log(err);
  }
};

export default {store, get};
- With the help of the above cache layer, we can successfully store and retrieve data from the local storage. Now let's make few changes in the API layer under
app/api/client.js.
- Now, we need to alter the
getmethod of ourapiClientsuch that if we successfully get a response back from the server, we can store this data within the local storage and then forward it to the components.
- On the other hand, if we do not get a successful response, then we need to try and fetch the last stored data from the local storage and pass it to the components using the code given below:
import {create} from 'apisauce';

import cache from '../utility/cache';

const apiClient = create({
  baseURL: 'https://randomuser.me',
});

const get = apiClient.get;

//^ altering the get()
apiClient.get = async (url, params, axiosConfig) => {
  const response = await get(url, params, axiosConfig);

  if (response.ok) {
    await cache.store(url, response.data); //* caching the response
    return response;
  }

  const data = await cache.get(url); //* retrieving the data from the cache
  return data ? {ok: true, data} : response;
};

export default apiClient;
- On completion, the data will be fetched from the local storage even if our app gets launched when it is still offline.
Caching with Redux
You can find the required Redux integrated files here. As in the above segments, this link should provide you with a similar app that fetches a list of random users every time it is launched.
Implementation
- Now, we just need to integrate
redux-persistinto our app, since the Redux structure is already set up.
- Next, you will have to enter the following code snippet under
app/store/index.js:
//& REDUX
import {createStore, applyMiddleware} from 'redux';
import {composeWithDevTools} from 'redux-devtools-extension';
//& SAGA
import createSagaMiddleware from '@redux-saga/core';
//& OFFLINE SUPPORT
import {persistStore, persistReducer} from 'redux-persist';
import AsyncStorage from '@react-native-async-storage/async-storage';

import reducers from '../reducer';
import middlewares from '../sagas';

const sagaMiddlewares = createSagaMiddleware();

const persistConfig = {
  key: 'root',
  storage: AsyncStorage, // local storage
};

const persistedReducer = persistReducer(persistConfig, reducers);

export const store = createStore(
  persistedReducer,
  composeWithDevTools(applyMiddleware(sagaMiddlewares)),
);

sagaMiddlewares.run(middlewares);

export const persistor = persistStore(store);
- Now, let's wrap our app component with the
PersistGatewhile passing the persistor as a prop. Enter the following code snippet underindex.js:
import React from 'react';
import {AppRegistry} from 'react-native';
import {Provider} from 'react-redux';

import App from './app/App';
import {name as appName} from './app.json';
import {store, persistor} from './app/store';
import {PersistGate} from 'redux-persist/integration/react';

const connectedApp = () => {
  return (
    <Provider store={store}>
      <PersistGate persistor={persistor} loading={null}>
        <App />
      </PersistGate>
    </Provider>
  );
};

AppRegistry.registerComponent(appName, () => connectedApp);
With that, our caching is done! Yes, it was that simple, all thanks to Redux!
Request queue
As stated earlier, the best example of this would be to make some changes in our notes while our note app remains offline. As soon as the note app goes back online, it would try to update the changes in the server. Even though it is a great feature to have, this can increase the complexity of our app with problems such as automatic retries, conflict issues, etc., so it is better to avoid it if possible.
We can easily achieve request queuing with the help of the redux-offline library. Redux-offline internally uses NetInfo and redux-persist. Let's see how this is done!
Implementation
- Install the following dependencies to implement the request queue:
npm i redux-offline
- Enter the following code snippet under
store.js:
import { applyMiddleware, createStore, compose } from 'redux';
import { offline } from 'redux-offline';
import offlineConfig from 'redux-offline/lib/defaults';

const store = createStore(
  reducer,
  compose(
    applyMiddleware(middleware),
    offline(offlineConfig)
  )
);
- Next, we need to redefine our Redux Actions with offline metadata. Use the following code to proceed:
const setUsers = users => ({
  type: 'SETUSERS',
  payload: users,
  meta: {
    offline: {
      // the network action to save the changes
      effect: { url: '/api/save-data', method: 'POST', json: { users } },
      // action to dispatch when effect succeeds:
      commit: { type: 'SAVE_USERS_COMMIT', meta: { users } },
      // action to dispatch if network action fails permanently:
      rollback: { type: 'SAVE_USERS_ROLLBACK', meta: { users } }
    }
  }
});
- Once the
networkaction gets called, thecommitaction will be dispatched to commit the changes that are required. On the other hand, if the app is offline, thenredux-offlinewill wait until the app goes back online, and then the network action will be called.
If the
networkaction fails for some reason, even after coming back online then therollbackaction will be dispatched and all the changes made in the application's state will be undone. Few services such as Firebase, Amplify, etc. automates the process of request queuing from their end to simplify the development process.If you are working on the Android platform then you need to make sure to request permission to access the network state in your
AndroidManifest.xml:
<uses-permission android:name="android.permission.ACCESS_NETWORK_STATE" />
Conclusion
To summarise things, there are a few ways to handle your React Native application when the internet connection is not reachable, some of which have been discussed in this article, you can go ahead and pick whichever method suits you. You can even integrate usage restriction and caching to provide a proper smooth offline user experience. Adding this offline support to your application is very essential as you don’t want to leave your users hanging in the mids of an essential task, especially when the internet connection is quite shaky. Because if you don’t add the support, the internet will surely come back on but your users probably won't.
I hope this helped you to get a better understanding of offline support in React Native.
In case this article helped, then make sure to give it a like.
Reach me out: linktr.ee/iambiswanath