

GA-WDIO: Automating Web App Testing
A guide on how to automate Web App Testing using GA-WDIO


Preface
GA-WDIO is a CLI tool built by GeekyAnts that leverages webdriver.io underneath and generates a boilerplate for your testing project with a decent directory structure and initial configurations for gecko-driver, chrome-driver, and appium. All you have to do is tweak configurations as per your needs and start writing test cases. It's as simple as that.
GA-WDIO narrows down your testing work solely to writing test-cases and handles how the drivers will work with web browsers internally.
In the previous article, we set up GA-WDIO for automating mobile testing. Read it here
In this article, we'll see how we can utilize GA-WDIO for Web.
Setting up GA-WDIO for Web
Setting up GA-WDIO is as simple as setting it up for mobile app testing. Following are the steps involved:
- Boot up your project
Boot your project with the following command:
ga-wdio create --help
# Usage: create [options]

# Creates the boilerplate in the present directory

# Options:
#  -h, --help  output usage information

# Examples:
#  ga-wdio create
You will be prompted will some options regarding configurations you want to keep for your project.
Writing test cases
Pre-requisites:
For a working form or button or any element in the browser, you first have to identify its Xpath. Now, you can let the browser know how you want to play with the element on this Xpath (be it clicking it, filling in input or any other method exposed by the web driver to us).
You can find Xpath by inspecting the DOM elements of your web page.
For Example:
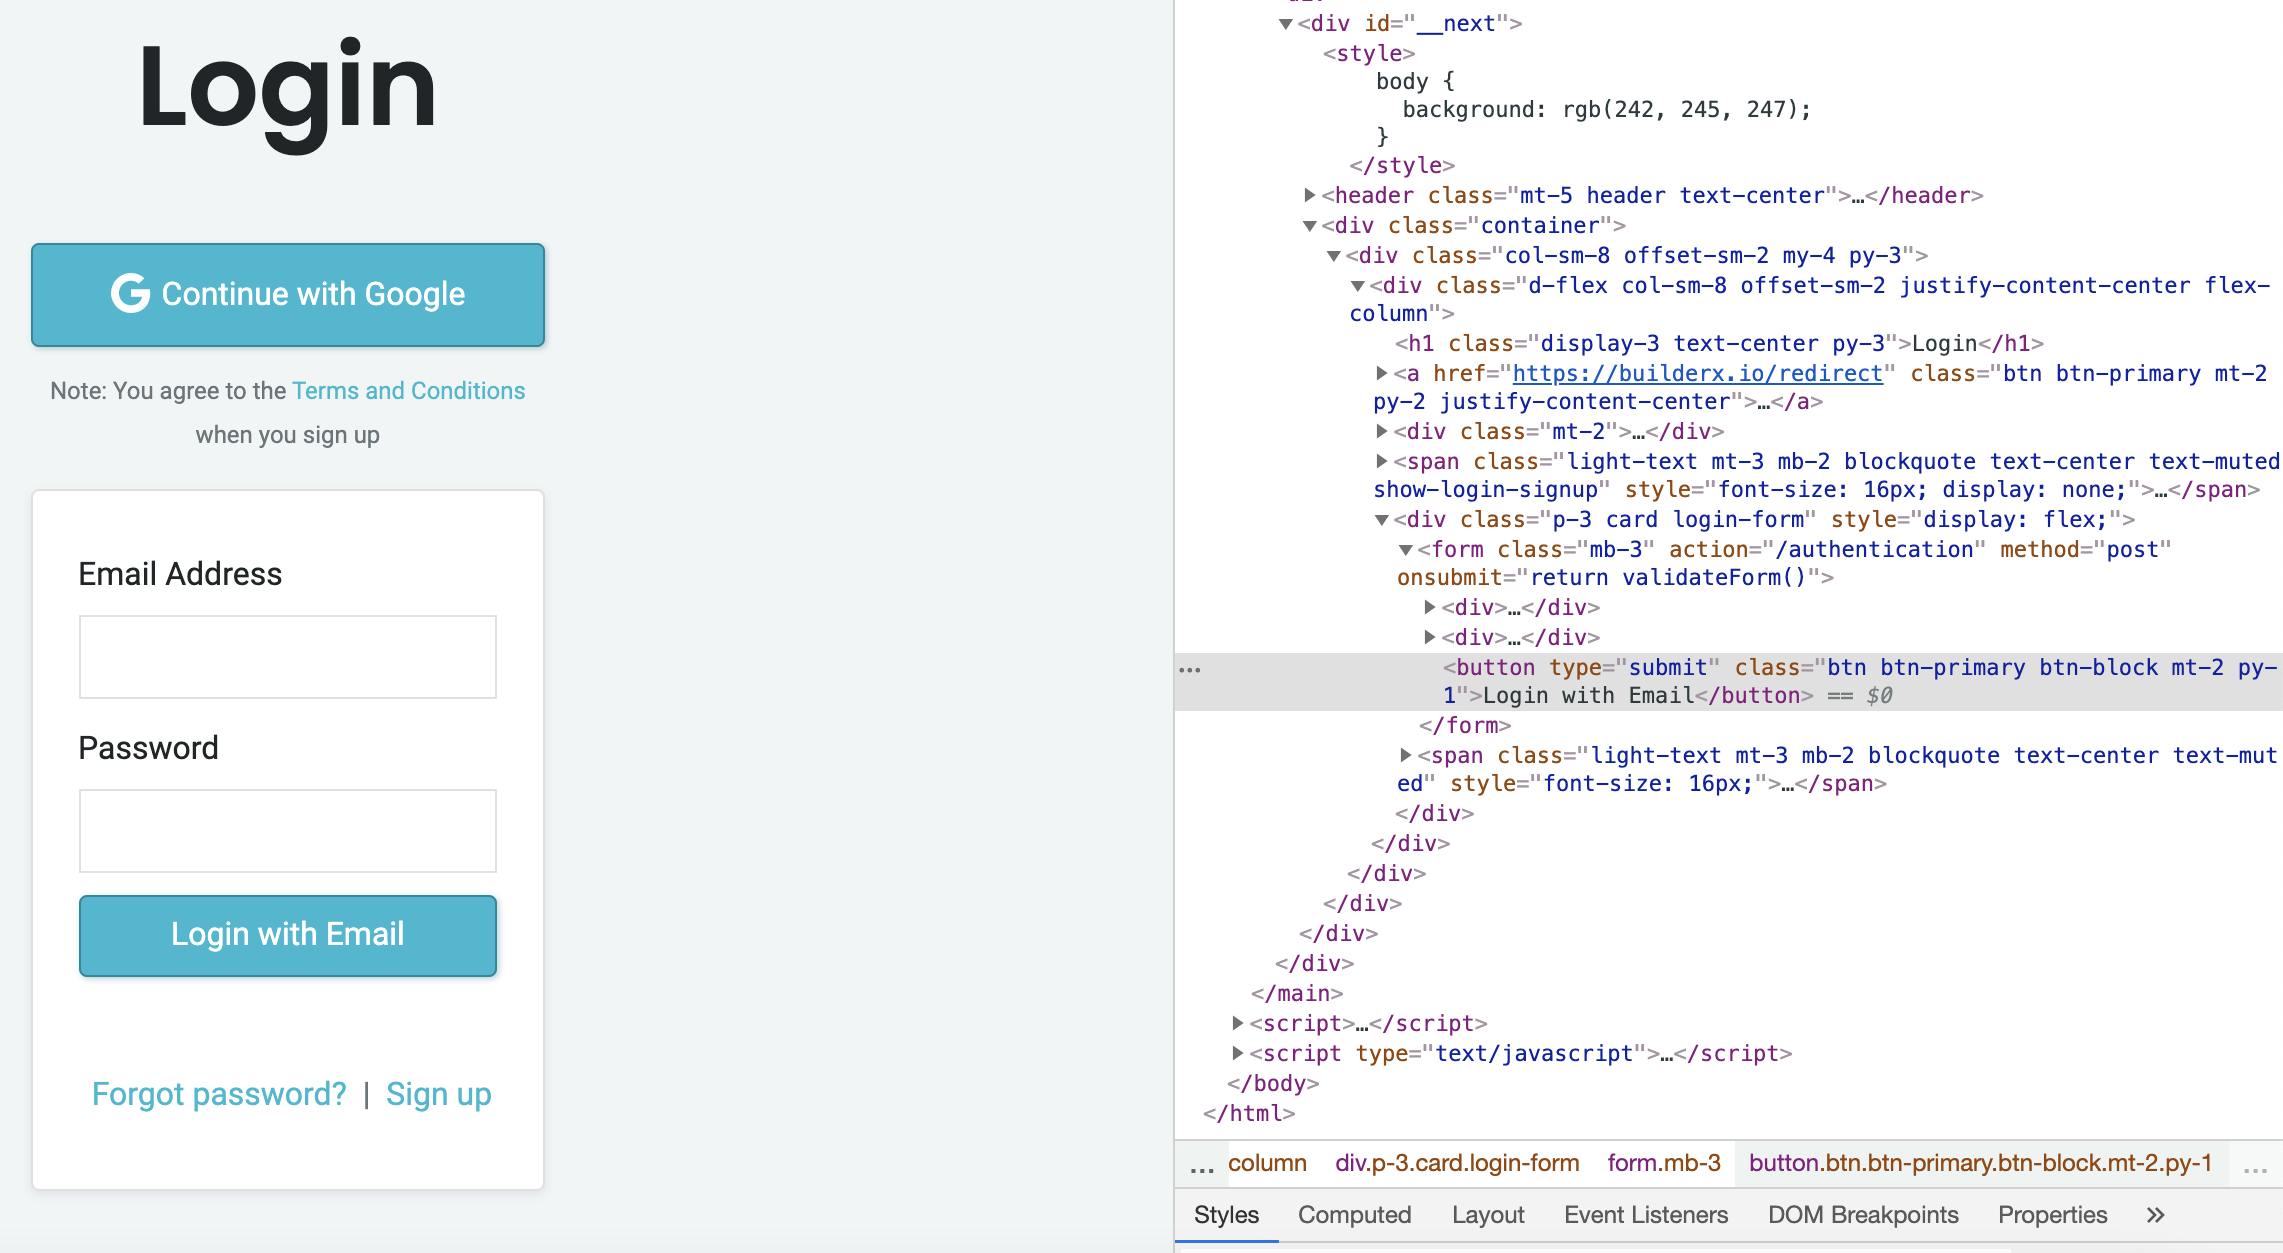
Here, the Xpath for the login with the Email button could be //button[contains(text(), 'Login with the Email')], but that's not the only possible Xpath. There could be many unique Xpaths for the same element.
Learning XPath won't take much of your time. To learn the basics, you can refer to this link.
Still think it's a bit tricky. Don't worry! There's another way. Your browser will help you here.
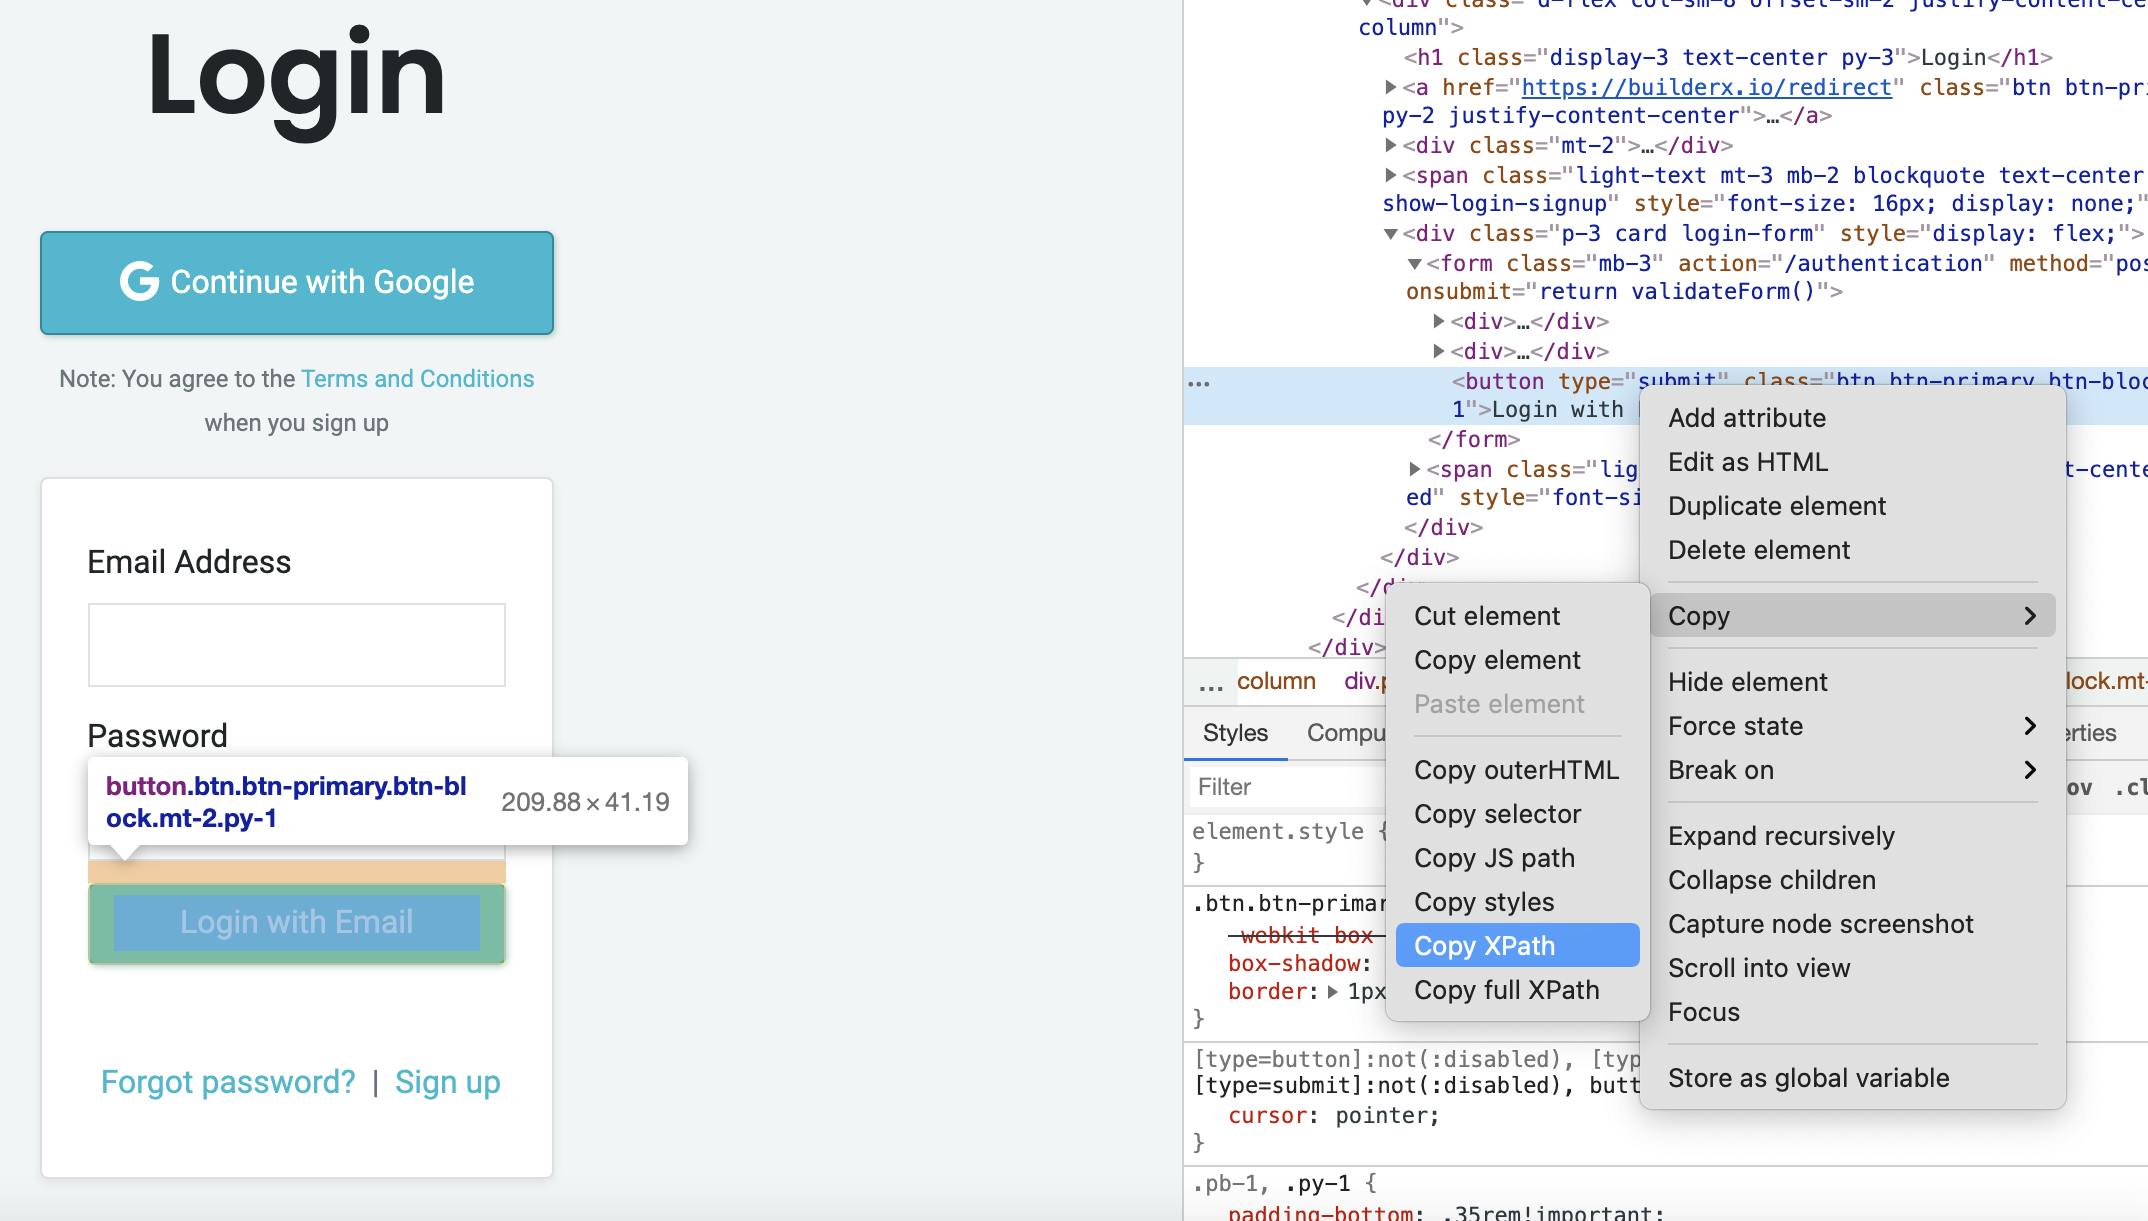
You can find XPath by right-clicking on the element node and selecting the copy XPath option there.
This will give you an absolute XPath (they can be lengthy).
Now, let's write a test case together.
Let's say we want to write a test-case for the 'Logout' feature:
Store the XPath of your particular test-case in
src/xpaths/Logout.json.
{
    "settings": "[href='/settings']",
    "logoutClick": "//a[contains(text(),'Logout')]"
}
- Create a class that returns your Xpath elements:
import OpenPage from "./OpenPage";
import logoutXpath from "../xpaths/LogoutPath.json";

class Logout extends OpenPage {
    open() {
        super.open("login");
    }
    settings() {
        return $(logoutXpath.settings);
    }
    clickLogout(){
        return $(logoutXpath.logoutClick);
    }
}

export default new Logout;
- Write a test script:
import Login from "../../commons/Login";
import Logout from "../../commons/Logout";

describe("Logout the page", function () {
    before(() => {
        const emailValue = "wehavetologin@first.com";
        const passwordValue = "Wonttellyoupassword";

        Login.open();
        Login.login(emailValue, passwordValue);
    });

    it("should redirect to home page when logged out", () => {
        Logout.settings().click();
        Logout.clickLogout().click();
    });
});
Pretty straightforward, right?
Now you are ready to run your test case.
Running test cases
After you have written your first test case just run ga-wdio run:web:
ga-wdio run:web -- help

# Usage: run [options]

# Runs the testing scripts with the options/stacks specified

# Options:
#  -s, --stack <local> <browser-stack> <browser-stack-local>  runs your tests on the local system or browser-stack (default: "local")
#  -b, --browser <chrome> <firefox>                           web browser [chrome or firefox] (default: "chrome")
#  -m, --mode [headless]                                      sets the mode to the run web-browser, this feature is applicable only with local stack (default: "head")
#  -h, --help                                                 output usage information

# Examples:
#  ga-wdio run .                             # Imp Note: This command will set all the default values
#  ga-wdio run --stack=local --browser=chrome --mode=headless
#  ga-wdio run --stack=browser-stack --browser=firefox
Choosing a stack
Choose a stack on which to run your test cases. It can be either a local or a browser-stack.
You have configurations for both in your conf/local.conf.js and conf/browser-stack.conf.js files.
Browser Selection
The geckodriver for Firefox and the chromedriver for Chrome has got you covered. You can run your test cases on either of them.
Head or Headless mode?
GA-WDIO already gives you the necessary configurations for head & headless modes (*-head.conf.js and *-headless.conf.js). You can opt for your test cases to run in either mode just by specifying the mode of your choice with the -m option at the CLI.
Head mode
Head mode will open your application in the browser and will perform the test case as you would have manually. The advantage here is that you get to witness everything going on during the run of your test.
Headless mode
Headless mode runs the test script only with the DOM elements. It skips the rendering of DOM elements and finishes the test much more quickly than the head mode.
Test Summary by sessionId
To analyze your test cases and generate a report out of them, we have a src/storage folder available for you. That folder stores the videos, screenshots, and logs of your test cases based on your session ID. That folder is generated only after your test has run atleast once.
Some useful links:
- GA-WDIO wiki
- GA-WDIO for mobile application - an awesome write by Vinod Yevatikar.
Thanks for reading!