How To Use Providers For Enhanced State Management
Learn how to integrate wrappers around providers and consumers and manage their statuses
We often use providers to manage the state of our application. Every provider can perform multiple tasks and each task can have multiple statuses at the time of execution which makes it challenging for UI developers to handle various states.
In this article, we will be creating a wrapper around providers and consumers which will help us assign a unique name to each task. This can later be used to update their statuses (For example: idle , loading , done, etc) and respective data while also notifying all consumers.
Prerequisites
To start off, we need to add a provider package in pubspec.yaml using the code given below:
dependencies:
  provider: ^5.0.0
Creating wrapper for provider
To design a wrapper for providers, we will create a BaseModel class which has three fields, namely status, data and error. These three fields are used to store updates of the task to their respective task names. Use the code below to execute this:
import 'package:flutter/material.dart';

class BaseModel with ChangeNotifier {
  Map<String, dynamic> data = <String, dynamic>{};
  Map<String, Status> status = {"main": Status.Idle};
  Map<String, String> error = {};

  setStatus(String taskName, Status _status) {
    this.status[taskName] = _status;
    notifyListeners();
  }

  setData(String taskName, dynamic _data) {
    this.data[taskName] = _data;
  }

  setError(String taskName, String _error, [Status _status]) {
    if (_error != null) {
      error[taskName] = _error;
      status[taskName] = Status.Error;
    } else {
      this.error[taskName] = null;
      this.status[taskName] = _status ?? Status.Idle;
    }
    notifyListeners();
  }

  reset(String taskName) {
    this.data?.remove(taskName);
    this.error?.remove(taskName);
    this.status?.remove(taskName);
  }

  notify() {
    notifyListeners();
  }
}

enum Status { Idle, Loading, Done, Error }
Apart from these fields, we have also have many statuses and functions to update or reset it. If we notice closely, all of the functions(setStatus, setError) accepts string taskName followed by the value for the task; this value will be set for a particular taskName. In the case of a reset, we only require to call the taskName and this will simultaneously remove the data associated.
Creating a wrapper for consumers
To create a wrapper for consumers, the ProviderHandler should be designed in such a way that it can handle all the statuses and update the UI accordingly. The ProviderHandler should have the following parameters:
taskName: Unique name for the taskload: This function is the task that we want to performsuccessBuilder: This function will be executed when the task’s status is set to DoneerrorBuilder: This function will be executed when the task’s status is set to ErrorloaderBuilder: This function will be executed when the task’s status is set to LoadingshowError: A bool variable to decide whether to show an error dialog or not
Let's see how the coding is executed:
class ProviderHandler<T extends BaseModel> extends StatelessWidget {
  final Widget Function(T) successBuilder;
  final Widget Function(T) errorBuilder;
  final Widget Function(T) loaderBuilder;
  final String taskName;
  final bool showError;
  final Function(T) load;

  const ProviderHandler(
      {Key key,
      this.successBuilder,
      this.errorBuilder,
      this.taskName,
      this.showError,
      this.loaderBuilder,
      this.load})
      : super(key: key);
  @override
  Widget build(BuildContext context) {
    return Consumer<T>(builder: (context, _provider, __) {
      if (_provider?.status[taskName] == Status.Loading) {
        return loaderBuilder != null
            ? loaderBuilder(_provider)
            : Center(
                child: Container(
                  height: 50,
                  width: 50,
                  child: CircularProgressIndicator(),
                ),
              );
      } else if (_provider?.status[taskName] == Status.Error) {
        if (showError) {
           ErrorDialog()
               .show(_provider.error[taskName].toString(), context: context);
          _provider.reset(taskName);
          return SizedBox();
        } else {
          _provider.reset(taskName);
          return errorBuilder(_provider);
        }
      } else if (_provider?.status[taskName] == Status.Done) {
        return successBuilder(_provider);
      } else {
        WidgetsBinding.instance.addPostFrameCallback((_) async {
          await load(_provider);
        });
        return Center(
          child: Container(
            height: 50,
            width: 50,
            child: CircularProgressIndicator(),
          ),
        );
      }
    });
  }
}
ProviderHandler requires a class parameter -T, which is a subclass of BaseModel.
All the providers that we want to use must extend to the BaseModel.
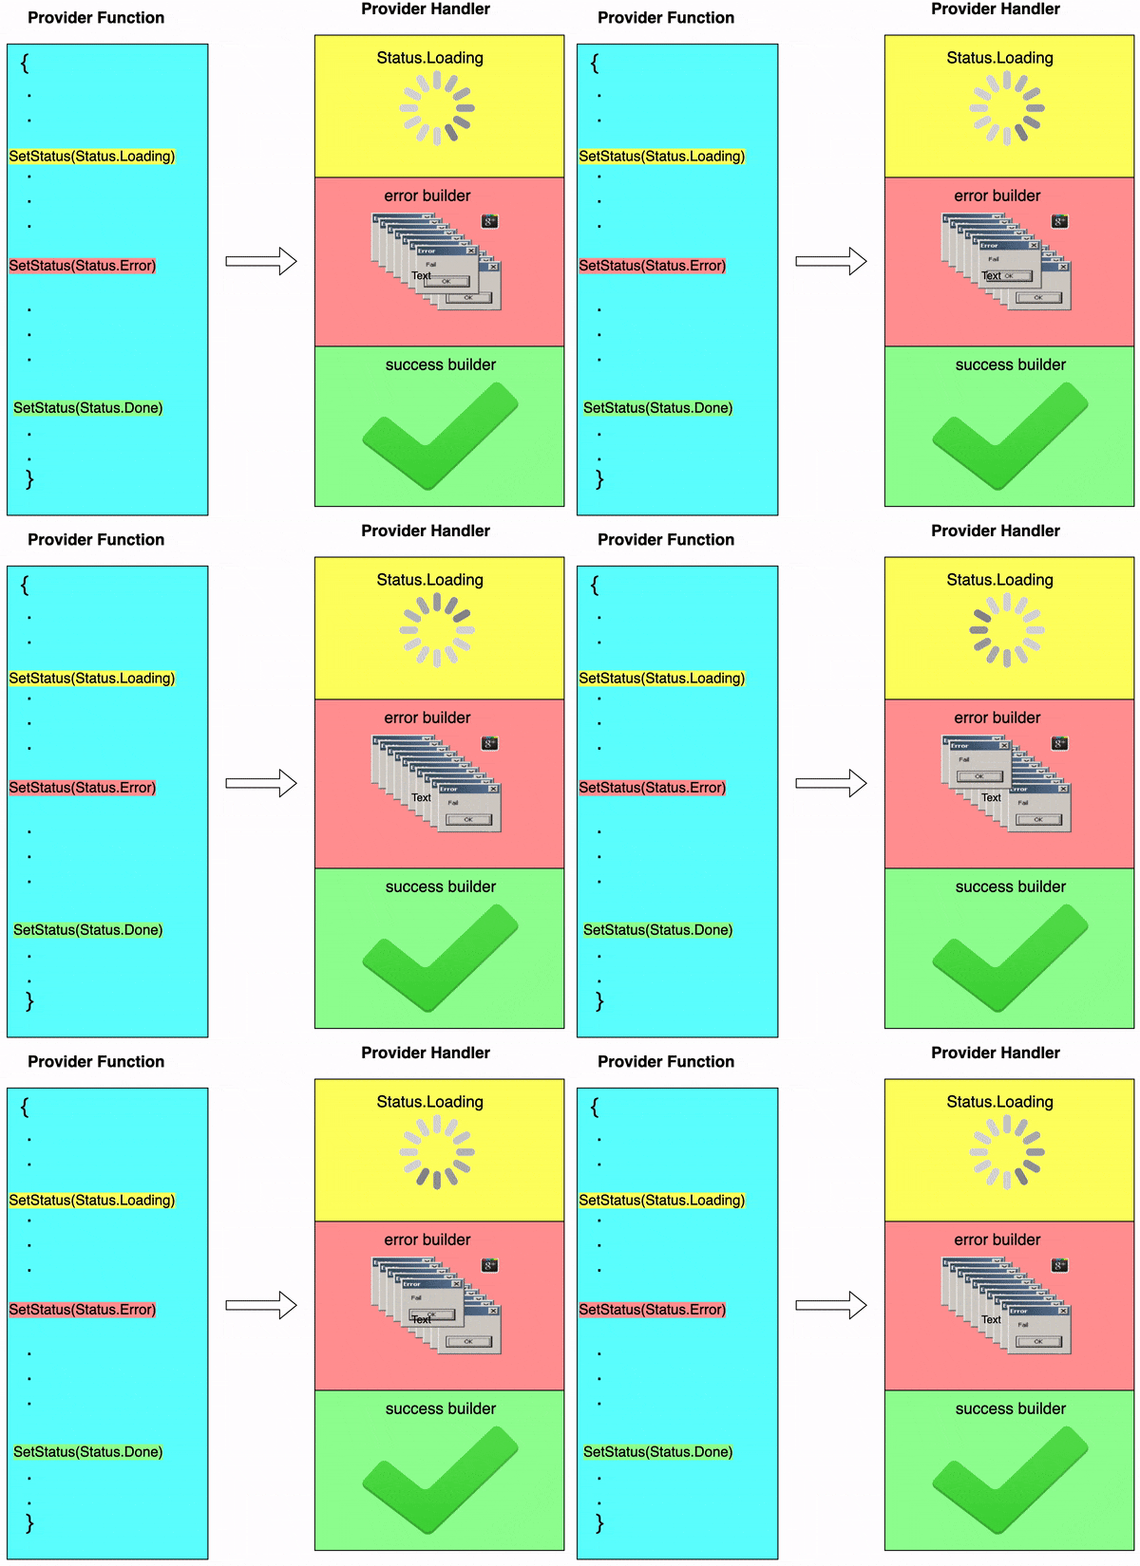
If we look at the definition of ProviderHandler, it states that the function is a stateless widget that returns a consumer which reruns the builder whenever notifyListeners() is called. In the builder method, function parameters are executed according to a task's status. When status is set to:
- Loading ->
loaderBuilderget invoked - Error ->
errorBuilderget invoked - Done ->
successBuilderget invoked - When none of the statuses match, load gets invoked to execute the task.

Now that our wrapper classes are in place, we can start creating providers and using them with the help of ProviderHandler.
Demo App
In this article we will be creating a news app using which we will be getting data through an API and displaying the result. You can find the code here.
This news app can have following statuses:-
Loading : Denotes data is being fetched
Done : Shows we successfully get the data
Error : If we encounter an error
Let's proceed with the coding:
class NewsProvider extends BaseModel {
  List<Article> todaysNews = [];

  // operations
  String GET_DATA = 'get_data';

  Future getNewsData({String country = 'in'}) async {
    setStatus(GET_DATA, Status.Loading);
    try {
      Response response = await get(
          '${Constants().api}country=$country&apiKey=${Constants().apiKey}');
      Map data = jsonDecode(response.body);

      data.containsKey('articles')
          ? data['articles']
              .forEach((article) => {todaysNews.add(Article.fromJson(article))})
          : todaysNews = [];

      setData(GET_DATA, todaysNews);
      setStatus(GET_DATA, Status.Done);
    } catch (e) {
      setError(GET_DATA, e.toString());
      setStatus(GET_DATA, Status.Error);
    }
  }
}
We will come across a unique task name called
GET_DATAin theNewsProviderclass which we will associate to thegetNewsDatafunction to store the status, data and error. We will set the status as loading at the beginning of the function.If the network call was successful and data has been stored in the
todaysNewsarray, we can manually set the data and status totodaysNewsand Done respectively.If the error is caught, we can send an error message and set the status to Error.
Whenever we are executing
setStatus, it internally callsnotifyListeners()which will rerun the consumer builder associated with the particularNewsProviderand as per the latest status while rendering the UI.
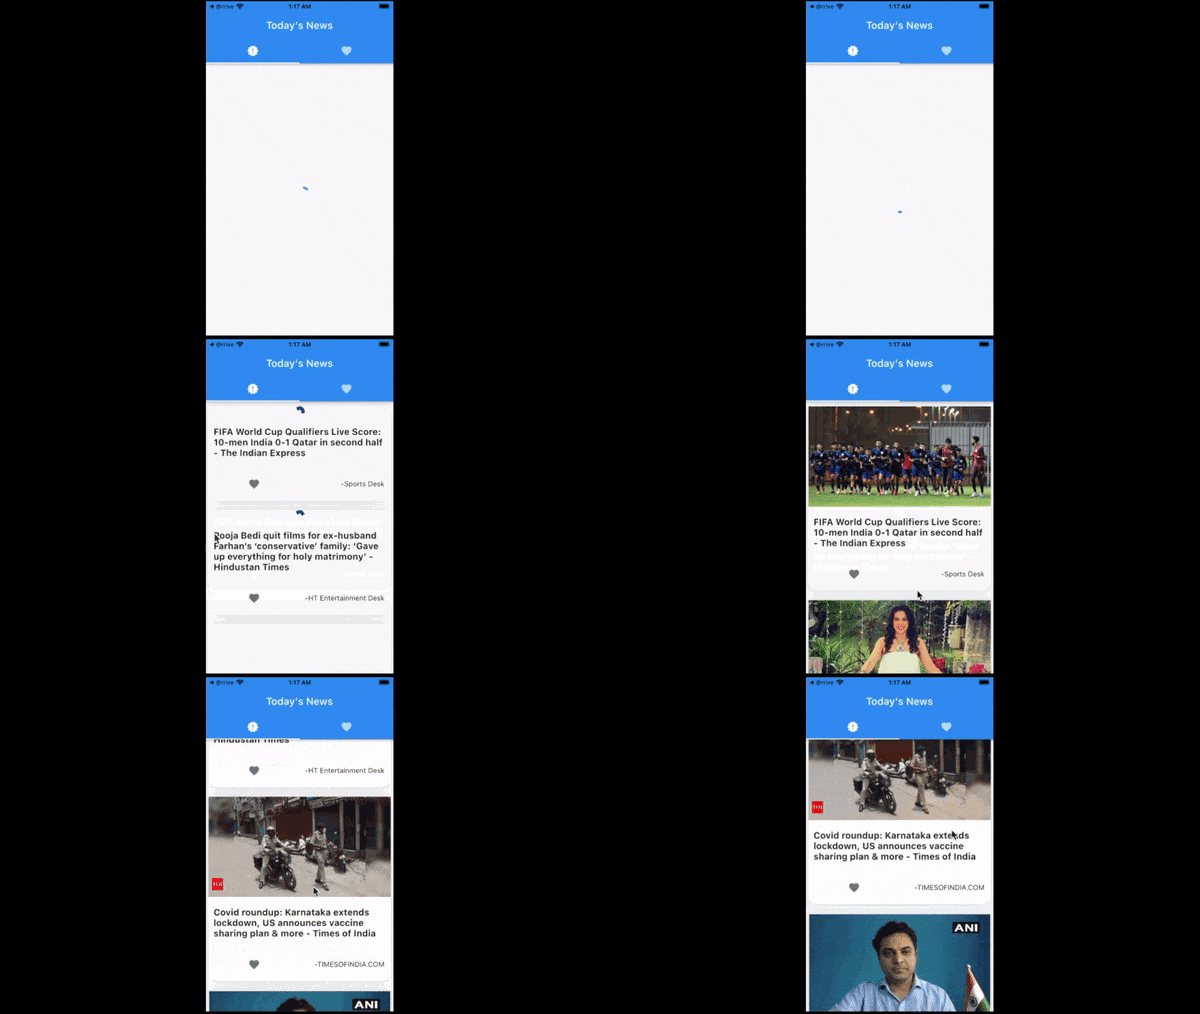
Here is a pictorial depiction of the output:

To add a function to like an article in NewsProvider:
Use the code given below to do this:
class NewsProvider extends BaseModel {
.
.
.

  String LIKE_ARTICLE = 'like_article';

  likeNewsArticle(int index) async {
    setStatus(LIKE_ARTICLE, Status.Loading);

    if (index > todaysNews.length) {
      setStatus(LIKE_ARTICLE, Status.Error);
      setError(LIKE_ARTICLE, 'index not in range');
      return;
    }
    todaysNews[index].isFav = !todaysNews[index].isFav;
    setStatus(LIKE_ARTICLE, Status.Done);
  }
}
Now we have another unique task name, i.e., LIKE_ARTICLE, to store the status of likeNewsArticle function. Like the previous function, we can update the status from Loading to Error or Done here too.
We have our provider ready! Let's use it to fetch data using ProviderHandler as shown below:
  ProviderHandler<NewsProvider>(
                key: UniqueKey(),
                taskName: NewsProvider().GET_DATA,
                showError: false,
                load: (provider) => provider.getNewsData(),
                errorBuilder: (provider) {
                  return Center(
                      child: Container(
                          child:
                              Text(provider.error[provider.GET_DATA])));
                },
                successBuilder: (provider) {
                  return ListView.builder(
                    itemCount: provider.data[provider.GET_DATA].length,
                    itemBuilder: (context, index) {
                      return Column(
                        children: [
                          NewsCard(
                              provider.data[provider.GET_DATA][index],
                              index: index,
                              isNewsDesc: false),
                        ],
                      );
                    },
                  );
                },
              )
Here, we have given all the parameters, i.e., taskName, load,errorBuilderandsuccessBuilderto fetch the news data. We are passinggetNewsDatawhile loading, where we have defined the logic to get news data by settingGET_DATAas index. Whenever there is a status update, the UI is alternated betweenloaderBuilder,errorBuilderorsuccessBuilder`, depending upon the status.
Need for a Provider Callback
Our ProviderHandler works perfectly for handling all the statuses and showing a widget at the end; but, there are several scenarios where we just want to perform a task but don't need a widget on completion! In this case we can make use of something called aProviderCallback which is very similar to providerHandler except that it does not returns a widget. Let's look at the code for this which is given below:
Future providerCallback<T extends BaseModel>(BuildContext context,
    {@required final Function(T) load,
    @required final String Function(T) taskName,
    @required Function(T) onSuccess,
    bool showDialog = true,
    bool showLoader = true,
    Function(T) onErrorHandeling,
    Function onError}) async {
  final T _provider = Provider.of<T>(context, listen: false);
  String _taskName = taskName(_provider);

  if (showLoader) LoadingDialog().show();
  await Future.microtask(() => load(_provider));
  if (showLoader) LoadingDialog().hide();

  if (_provider.status[_taskName] == Status.Error) {
    if (showDialog) {
      ErrorDialog().show(
        _provider.error[_taskName].toString(),
        context: context,
        onButtonPressed: onErrorHandeling,
      );
    }

    if (onError != null) onError(_provider);

    _provider.reset(_taskName);

  } else if (_provider.status[_taskName] == Status.Done) {
    onSuccess(_provider);
  }
}
ProviderCallback is based on the same concept as that of providerHandler. We are accepting a taskName depending upon the status when we are invoking the function.
In the case you wish to use providerCallback to like a news article, the code for this process is given below:
providerCallback<NewsProvider>(
                    context,
                    load: (provider) => provider
                              .likeNewsArticle(widget.index),
                    taskName: (provider) =>
                               provider.LIKE_ARTICLE,
                    showLoader: true,
                    showDialog: true,
                    onErrorHandeling: (provider) {
                         print( 'error: ${provider.error[provider.LIKE_ARTICLE]}');
                       },
                    onSuccess: (provider) {
                     print('article liked');
                 });
Conclusion
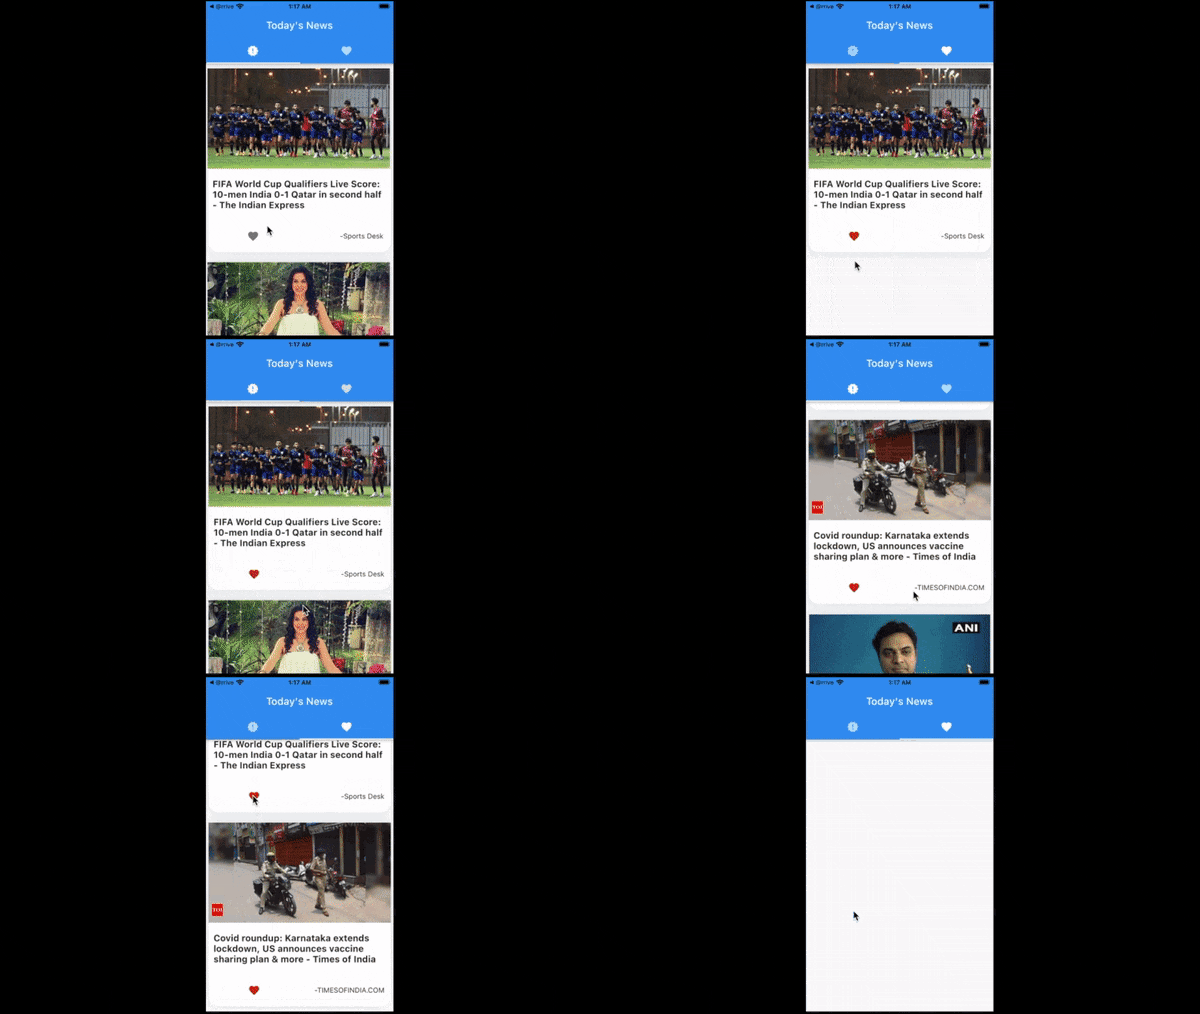
We have already defined this likeNewsArticle function in the NewsProvider segment. A pictorial representation of the output is given below:

You can find the code used in this article here. I hope this article has made the topic of integrating for better state management much more simple.
Thanks for reading!

