

Integrating The Canva Button With Your App
An introduction to the Canva button while exploring its many advantages and learning how you can integrate it with your app


Introduction
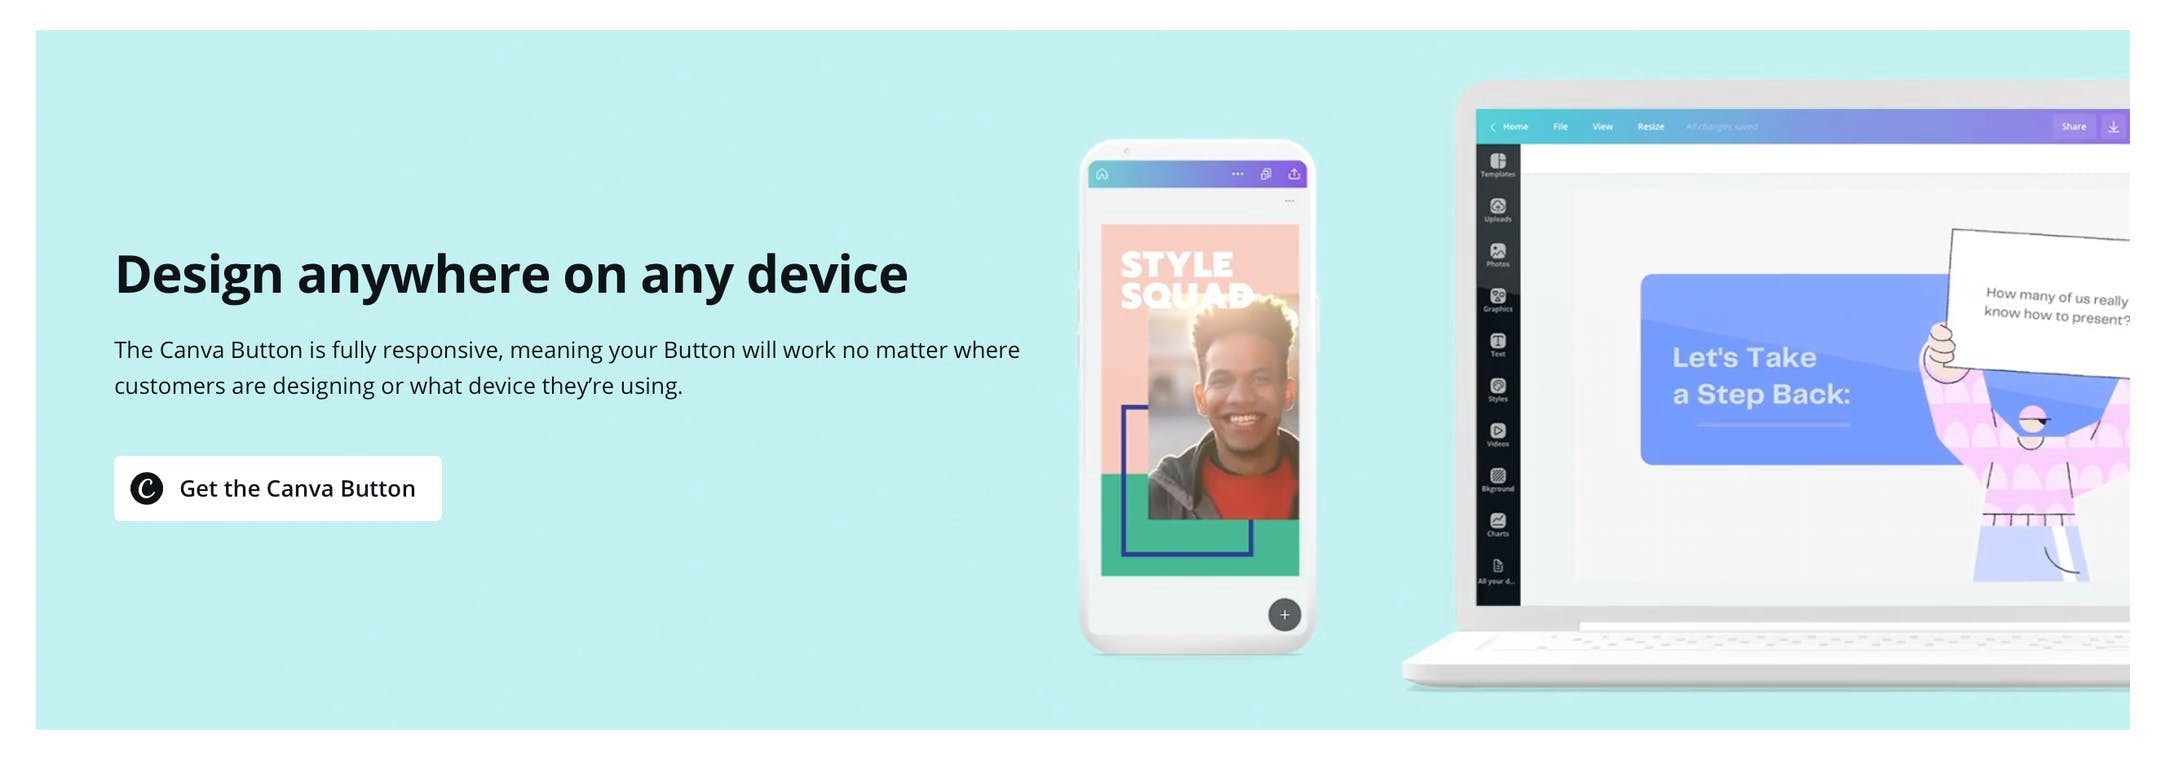
The Canva button is a great tool for enabling your customers or users to create amazing designs, beautiful ads, banners, headers and much more to publish back on your site without having to leave your site or app. What's more? It is free and easy to integrate with many popular JavaScript frameworks like React, Vue, Angular, etc.
In this article I will be focussing on Canva button API methods and how to use them according to your requirement along with an introduction to some useful features like uploadMedia() for image upload and launching the Canva editor with a desired image instead of an empty design using createDesign().
I hope this article proves to be an informative read about navigating through Canva!
Prerequisites:
- You have already applied for the Canva button and got your API key or else you can get one for your site or app here.
- You have gone through the Canva button API documentation at least once or else I would highly recommend you to go through it for understanding this article better.
This article deals with
Loading Canva SDK and initialising Canva button.
Canva button API methods.
Using
createDesign()to load editor with blank design or desired image.Using
editDesign()to load a previously created design.Using
uploadMedia()to upload images to your Canva editor.
The Coding
1. Loading Canva SDK and initialising Canva button
- You can either load the SDK script dynamically or statically depending on how your website or application is built. But in this article we will follow the dynamic loading approach because nowadays most website pages are rendered dynamically via javascript frameworks or libraries like React, Vue, Angular, etc. Enter the following code snipper into your console to continue:
// dynamically loading canva button sdk script.
(function(document, url) {

    const script = document.createElement("script");

    script.src = url;

    script.id = "canva-api";

    script.onload = function() {

        // Initialising canva button after script is loaded.

        (async function() {

            if (window.Canva && window.Canva.DesignButton) {

                const api = await window.Canva.DesignButton.initialize({

                    apiKey: < YOUR - API - KEY > ,

                });

                // You have to save the api instance for further use.

            }

        })();

    };

    document.body.appendChild(script);

})(document, "https://sdk.canva.com/designbutton/v2/api.js");
Note: You can save the API instance in the state for further use.
Couple of things to keep in mind while loading and initialising Canva button:
- You should avoid loading the SDK script multiple times. Depending on the library, including it more than once could have undesired effects. Example: Think of it like this, if you have a script that binds a click event to a button and you include that script twice, those actions will be ran twice when the button is clicked which is not the desired result.
- The
initialize()method should not be called multiple times on the same page. Once initialised, the same API instance can callcreateDesign()oreditDesign()oruploadMedia()multiple times.
2. Canva button API Methods
The Canva button API include three main methods createDesign() , editDesign() and uploadMedia():
createDesign()for creating a fresh design or desired image.
editDesign()for launching the Canva editor with previously created design.
uploadMedia()for uploading the images into the Canva editor.
3. Using createDesign to load editor with a blank design or desired image
- In the documentation, it’s clearly mentioned that
createDesign()is used to launch Canva editor with an empty design. Use the following code format to load the Canva editor with an empty template usingcreateDesign.snippet:
api.createDesign({
    design: {
        type: "Poster",
    },

    onDesignOpen: ({
        designId
    }) => {
        // Triggered when editor finishes loading and opens a new design. // You can save designId for future use.
    },

    onDesignPublish: ({
        exportUrl,
        designId
    }) => {
        // Triggered when design is published to an image.
        // Save the image to your server as the exportUrl will expire shortly.
    },
    onDesignClose: () => {
        // Triggered when editor is closed.
    },
});
- If you want to open the Canva editor with your desired image you can include the desired media in the design object. Given below is the code format to load the Canva editor with the desired image template using
createDesign:
api.createDesign({

    design: {

        type: "Poster",

        media: {

            source: image - source - url,

            altText: //alternative text for image,

            fileName: //image file name

                (or)

            id: // mediaId returned from uploadMedia function.

        }

    },

    onDesignOpen: ({
        designId
    }) => {

        // Triggered when editor finishes loading and opens a new design. // You can save designId for future use.

    },

    onDesignPublish: ({
        exportUrl,
        designId
    }) => {

        // Triggered when design is published to an image. // Save the image to your server as the exportUrl will expire shortly.

    },

    onDesignClose: () => {

        // Triggered when editor is closed.

    },

});
Note: Here are some important considerations: You can only pass either
idor (source,altTextandfileName) in the media object. We will discuss about themediaIdlater in this article. By providing thesource,altTextandfileNamein the media object the image will be uploaded to Canva editor and it will be launched with the same. By providing theidi.emediaIdof any previously uploaded image, you can launch the Canva editor with that specific image.
4. Using editDesign to load a previously created design
- We can pass the
designIdthat is obtained from thecreateDesign()in theeditDesign()to open the image which is previously designed in the Canva in it’s previously designed state.
Note: There is no need to worry about maintaining the previously edited state of any image design. Canva will maintain that for us provided we have the
designId.
- The code format to load the Canva editor with a previously edited mage using
editDesignis given below:
api.editDesign({

    design: {

        id: // designId generated from createDesign.

    },

    onDesignOpen: ({
        designId
    }) => {

        // Triggered when editor finishes loading and opens a new design. // You can save designId for future use.

    },

    onDesignPublish: ({
        exportUrl,
        designId
    }) => {

        // Triggered when design is published to an image.

        // Save the image to your server as the exportUrl will expire shortly.
    },
    onDesignClose: () => {

        // Triggered when editor is closed.

    },

});
5. Using uploadMedia to upload images to your Canva editor
- We can use the
uploadMedia()to upload images to the Canva editor.onMediaUpload()providesmediaIdafter uploading the image successfully to the Canva editor. We can use this ID to launch the Canva editor with the image design that is already uploaded as discussed in thecreateDesign()section. The code format to upload an image to Canva editor usinguploadMediais given below:
api.uploadMedia({

    media: {

        source: //image-source-url,

            altText: //alternative text for the image,

            fileName: // file name of the image,

    },

    onMediaUpload({
        mediaId
    }) {

        // we can save mediaId for further use

    }

});
Conclusion
The Canva Button is an API that can be integrated with only a few lines of code, making it a low effort integration for product teams to bring design capabilities to their own users by saving them the hassle of switching between platforms to create, upload, and publish the perfect design that suits their site or app. With that being said I would recommend you go through the Canva button API documentation to explore more features like designs types, dimensions and publish label customisation, etc.
Hope you find this article useful. Thanks & Happy Learning !