


Lab Guide:Amazon Elastic Container Registry (Amazon ECR)
Let's take you through AWS managed container image registry.


Table of contents
Container Management
AWS managed container image registry is secure, scalable, and reliable. The Amazon ECR supports private repositories with resource-based permissions using AWS IAM. This ensures that specified users or Amazon EC2 instances can access your container repositories and images. You can use your preferred CLI to push, pull, and manage Docker images, Open Container Initiative (OCI) images, and OCI-compatible artifacts.
Table of Contents
Step1: Create an Ubuntu Server/Instance and SSH into it.
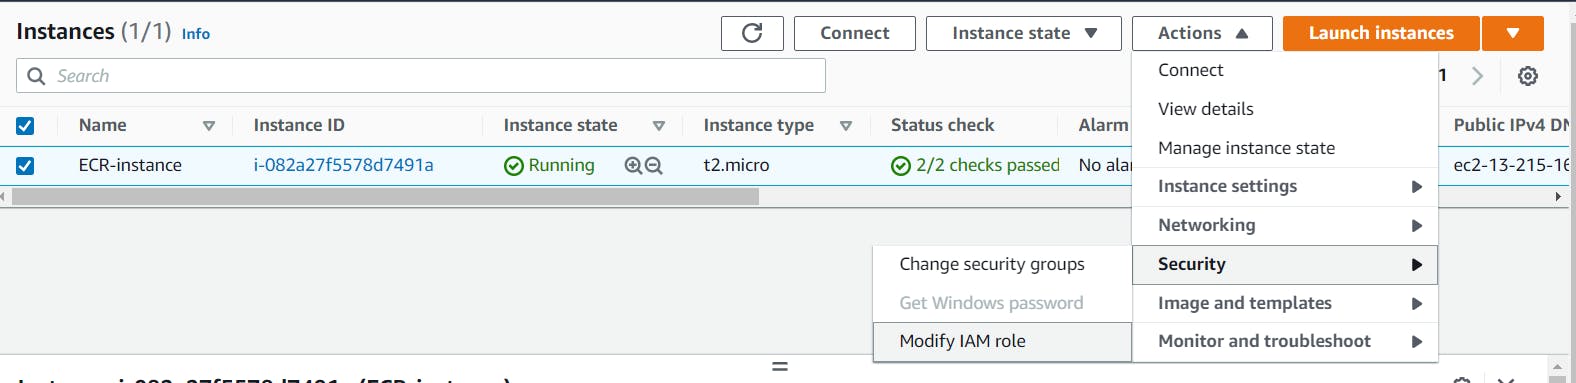
Step2: Select the instance and click on “Actions.”
Step3: Click “Security” and then “Modify IAM role.”
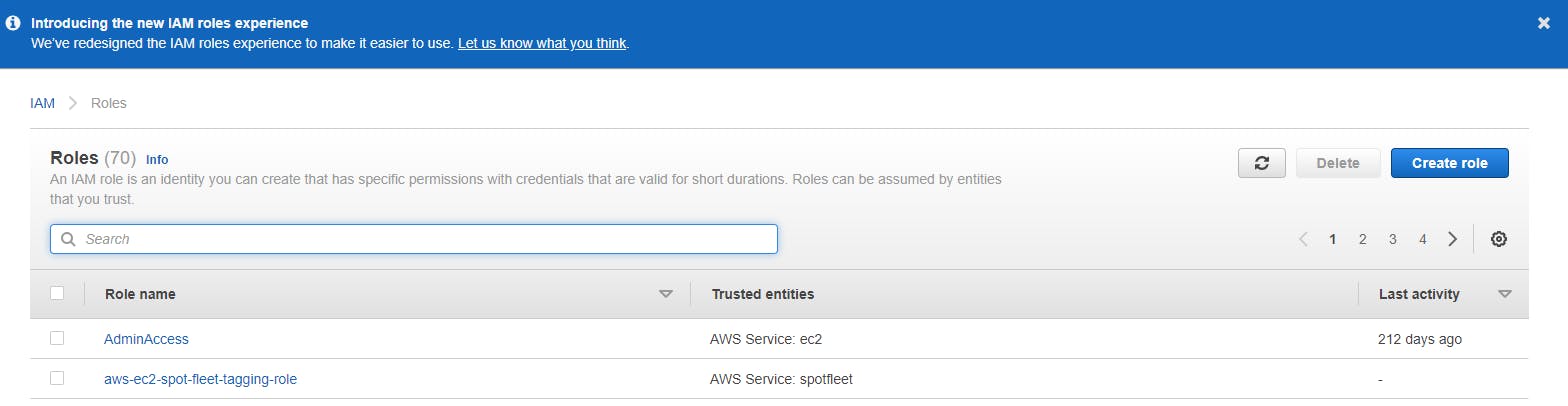
Step 4: Click on create new IAM role.
Step 5:Click on “Create Role.”
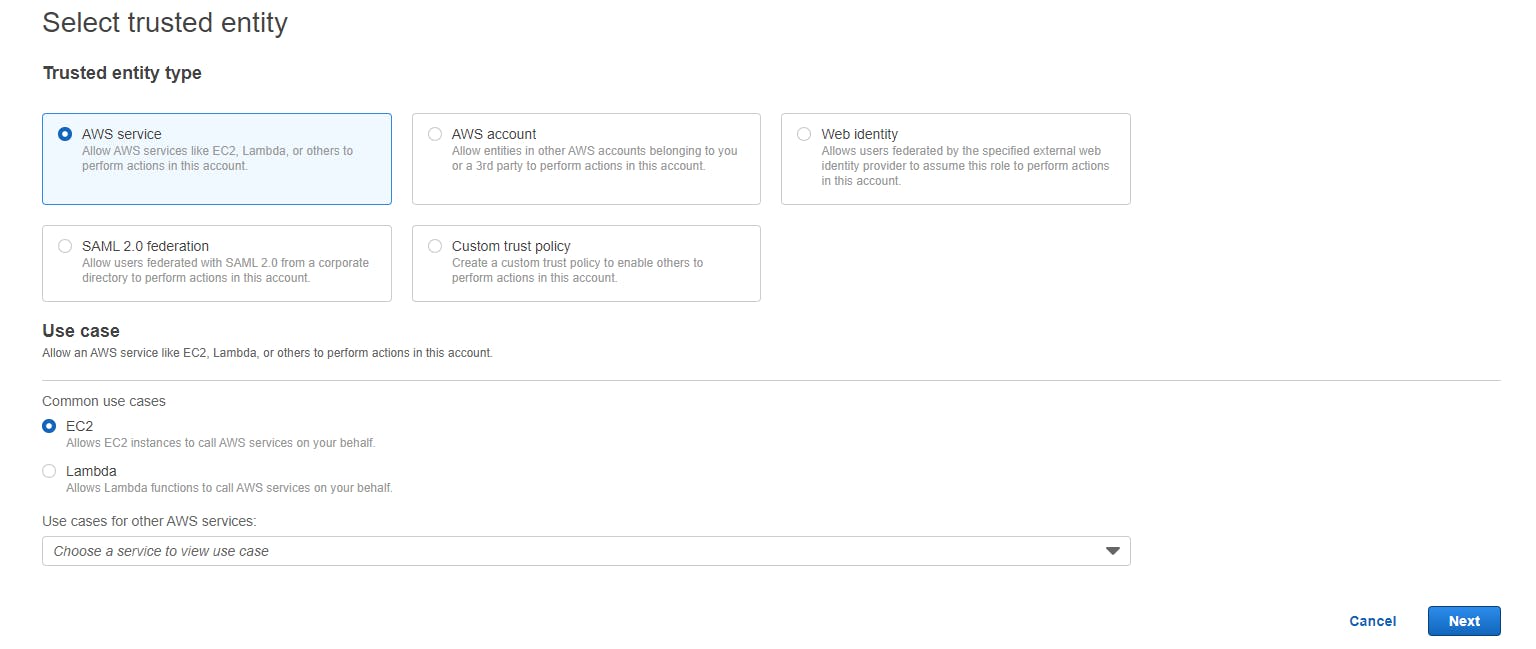
Step 6: Choose EC2 and click on next.
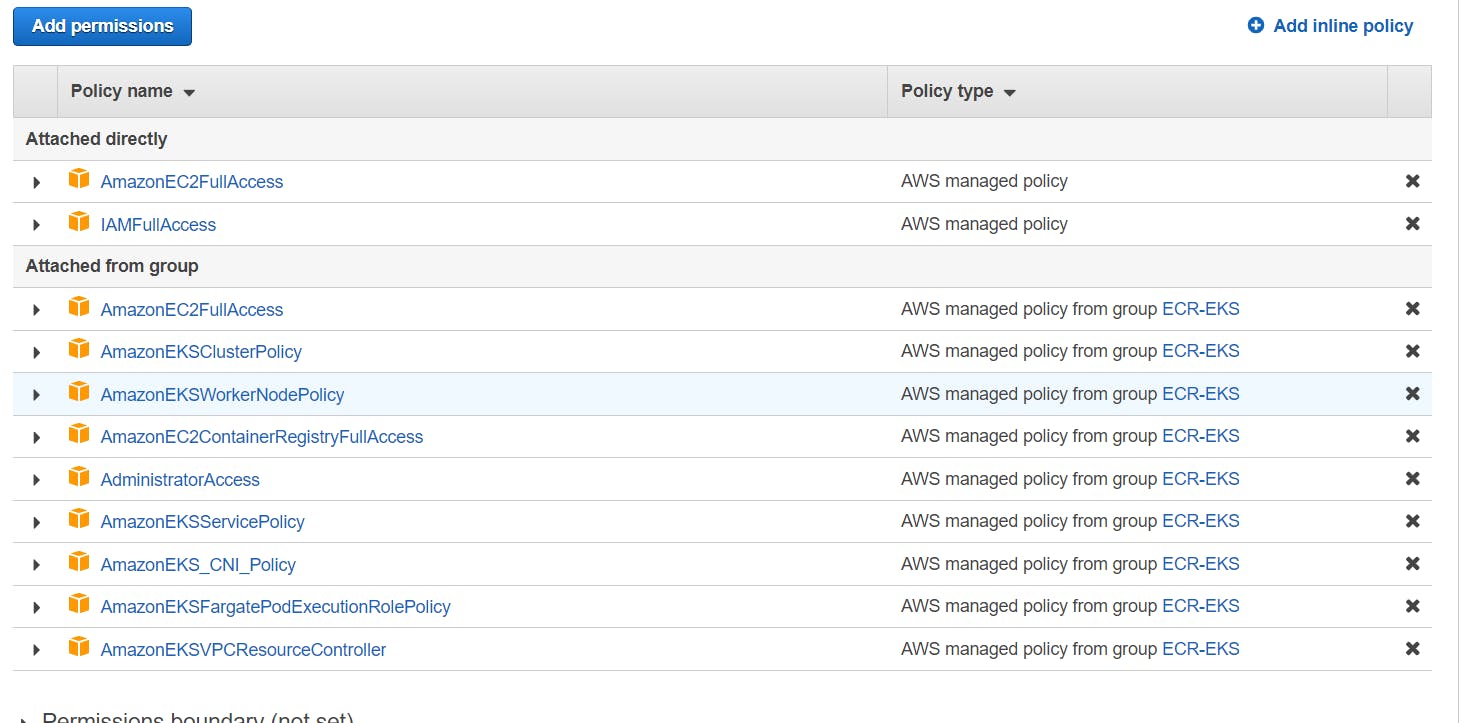
Step 7: Attach ECR and EKS policies to the role and press next.
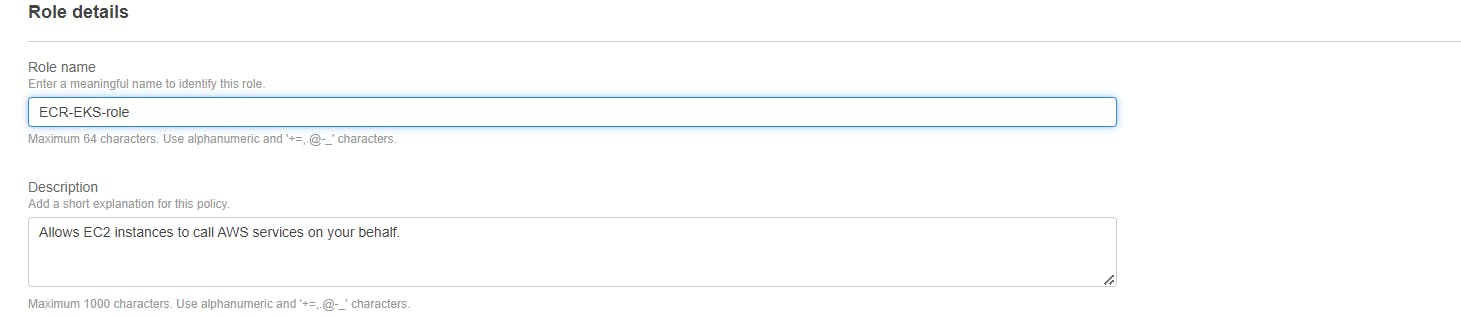
Step 8: Provide the role name.
Step 9: Click on Create Role.
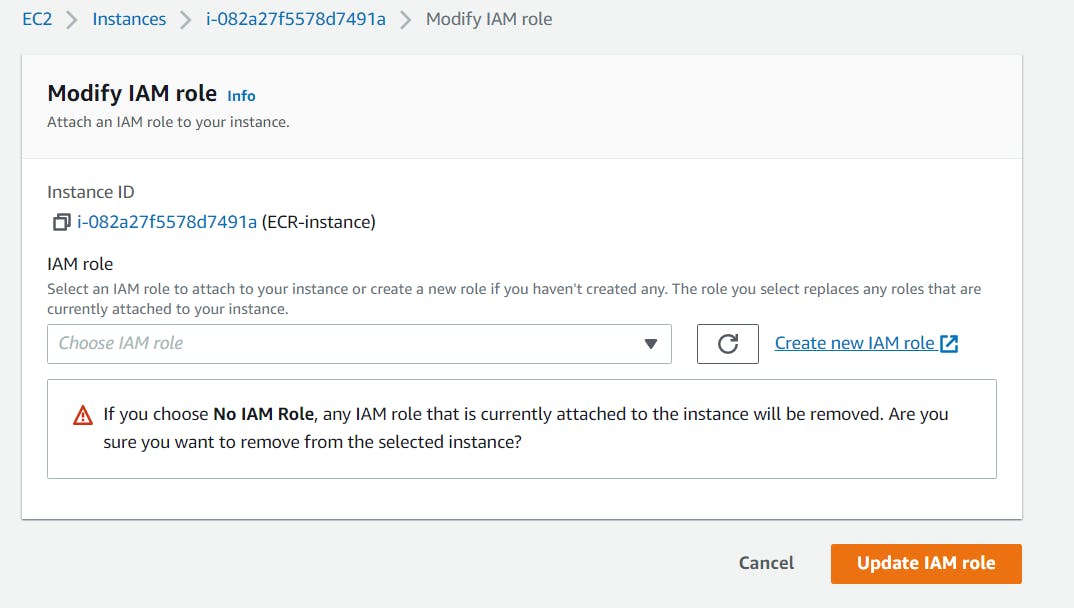
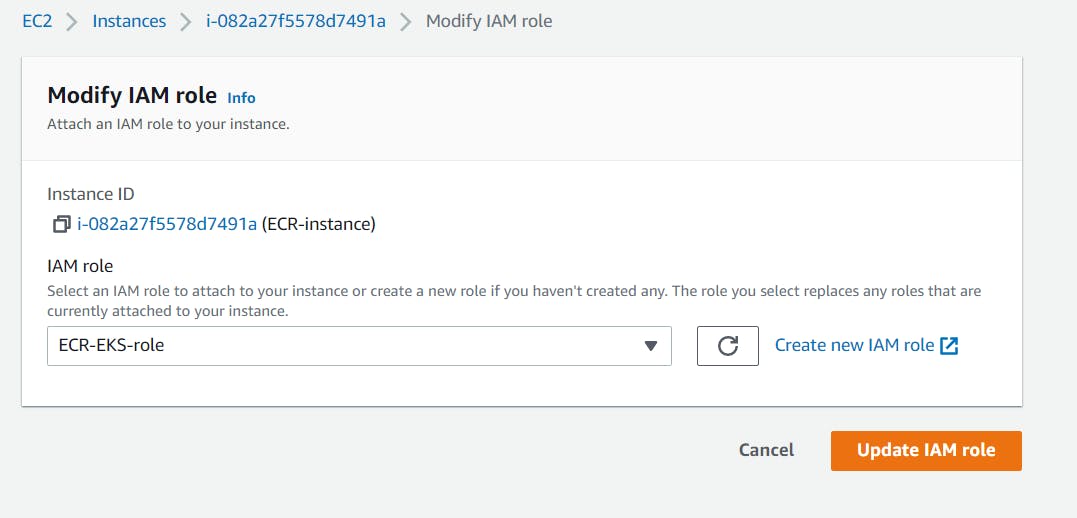
Step 10: Come back to the instance and attach the IAM role to the instance and click on “Update IAM role”.
Step 11: SSH into the server/Instance.
Step 12: Become Root User.
Step 13: Install AWS CLI(Command line Interface).
Step 14: Configure the AWS CLI.
Step 15: Install Docker.
Step 16: Create a Container Repository.
Step 17: Go to AWS Container Registry service, their one repository will be created by the name hello world.
Step 18: Log in to the repo using the below command.
Step 19: Pull an image from the docker hub.
Step 20: Tag the image to push to your repository.
Step 21: Push the image.
Step 22: Go to the container registry service in AWS and check “the hello-world image would be pushed” with the tag name “latest.”
Follow the above steps:
Step1: Create an Ubuntu Server/Instance and SSH into it.

Step2: Select the instance and click on Actions.

Step3: Click on Security and then click on Modify IAM role.
Step 4: Click on create new IAM role.
Step 5:Click on Create Role.
Step 6: Choose EC2 and click on next.
Step 7: Attach ECR and EKS policies to the role and press next : same way attach ECR and EKS full access to IAM User also.
Step 8: Provide the role name.
Step 9: Click on create role.

Step 10: Come back to the instance and attach the IAM role to the instance and click on “Update IAM role”.
Step 11: SSH into the server/Instance.
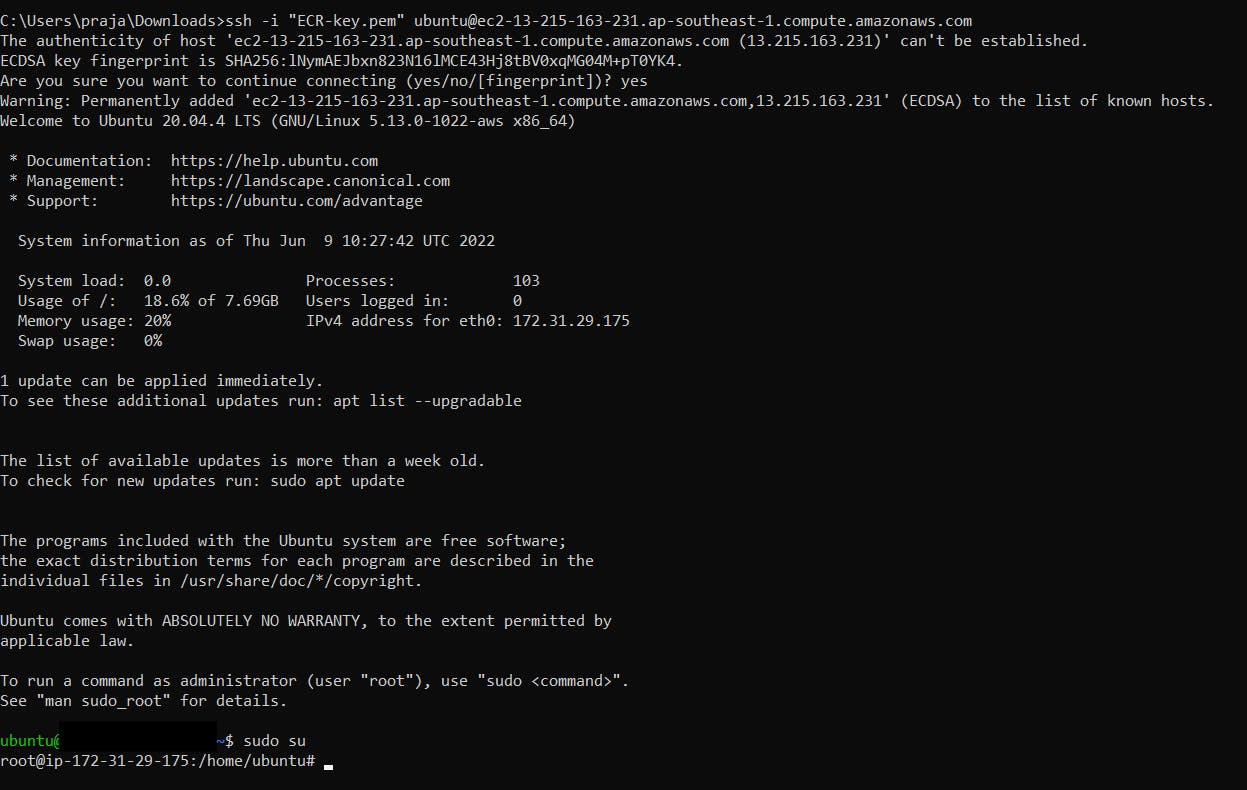
Step 12: Become Root User.
sudo su

Step 13: Install AWS CLI(Command line Interface).
sudo apt-get update
sudo apt-get install awscli
aws –version

Step 14: Configure the AWS CLI.
Note: Use the following command.
aws configure
Note: Provide environment variables such as (AWS_ACCESS_KEY_ID, AWS_SECRET_ACCESS_KEY, AWS_DEFAULT_REGION).

Step 15: Install Docker.
apt-get update -y
wget -qO- https://get.docker.com/ | sh
docker version
service docker start
ip a

Step 16: Create a Container Repository.
aws ecr create-repository --repository-name hello-world
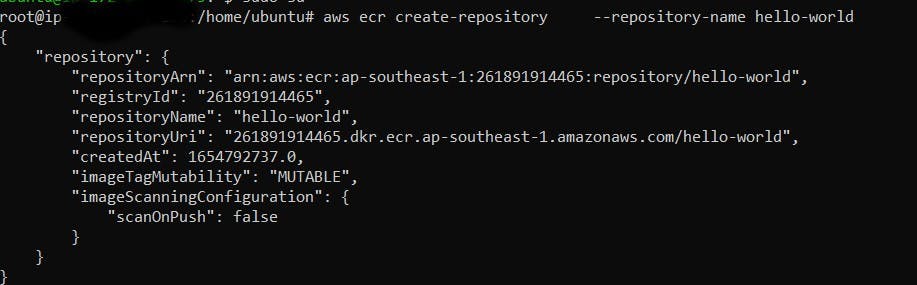
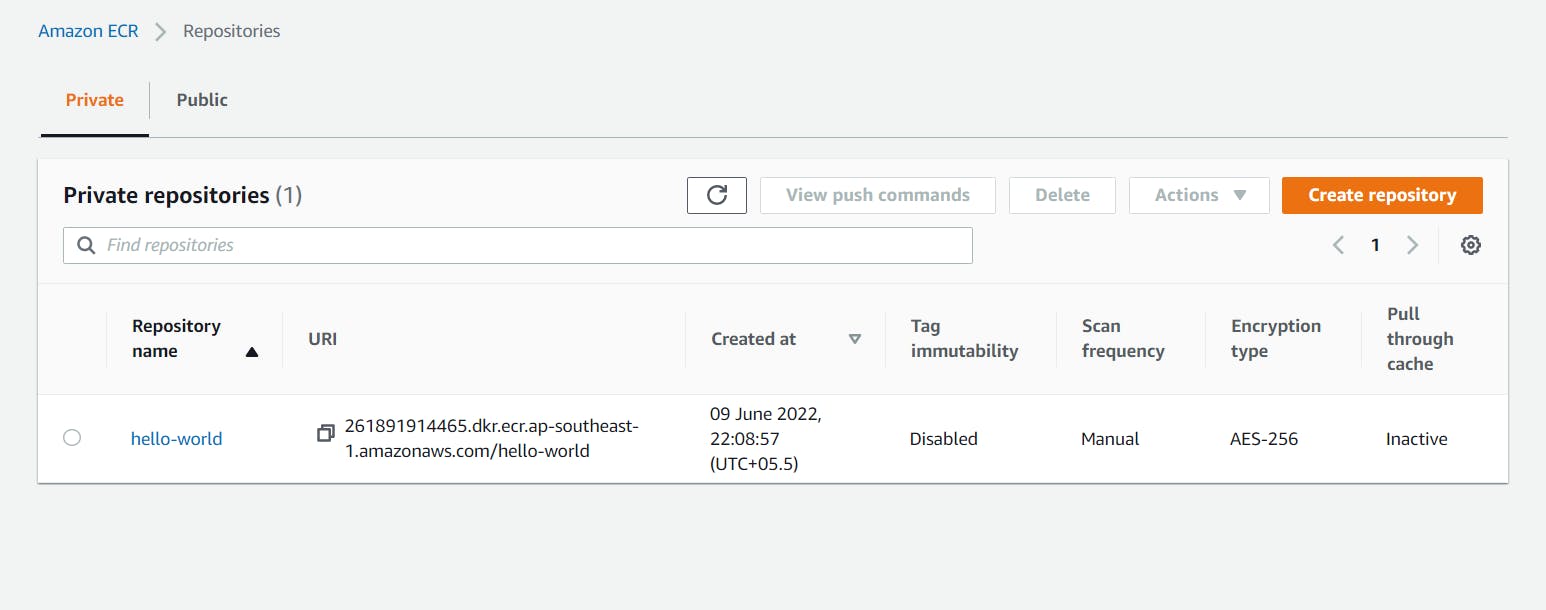
Step 17: Go to AWS Container Registry service, their one repository will be created by the name hello world.
Step 18: Login to the repo using below command.
aws ecr get-login-password --region region | docker login --username AWS --password-stdin aws_account_id.dkr.ecr.region.amazonaws.com

Step 19: Pull an image from docker hub.
docker pull hello-world

Step 20: Tag the image to push to your repository.
docker tag hello-world: latest aws_account_id.dkr.ecr.region.amazonaws.com/hello-world:latest
Note: replace underlined words region and aws_account_id with your region and account ID.
Step 21: Push the image.
docker push aws_account_id.dkr.ecr.region.amazonaws.com/hello-world:latest
Note: replace underlined words region and aws_account_id with your region and account ID.
 Step 22: Go to container registory service in AWS and check “the hello-world image would be pushed” with the tag name “latest”.
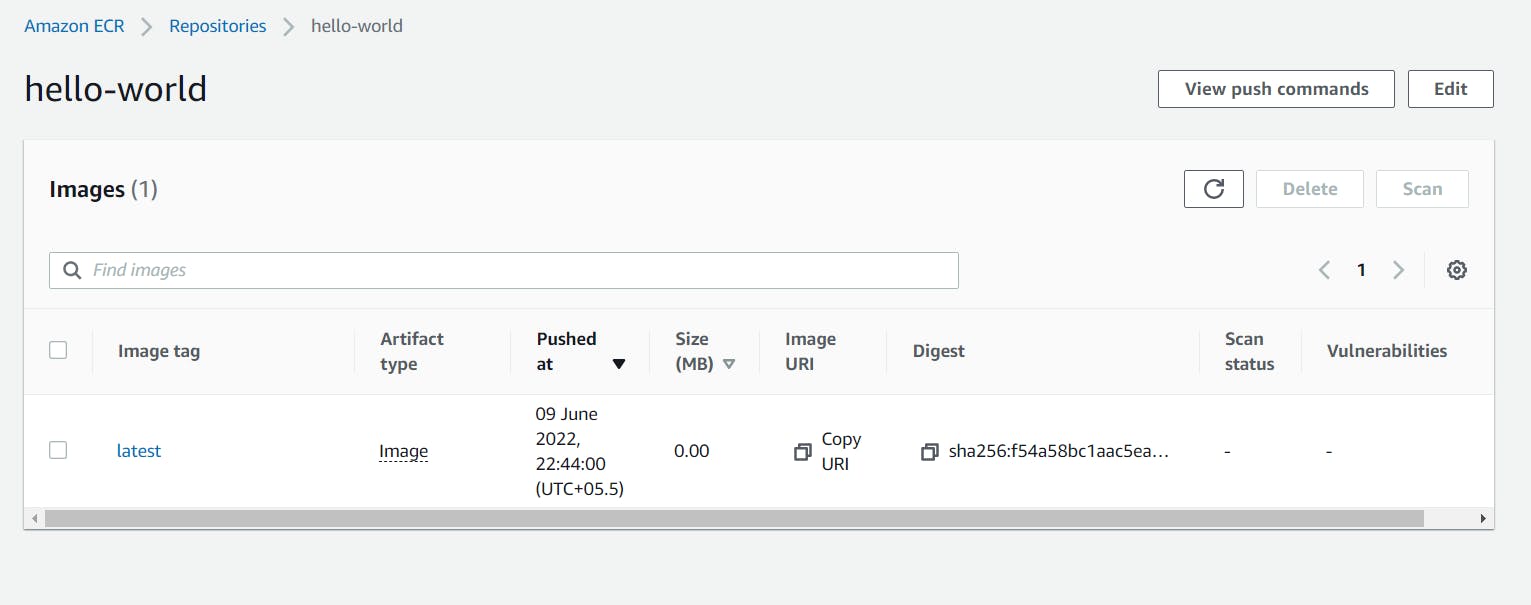
The above diagram shows the image has been pushed to the registry [Amazon ECR] which makes easier for us to create a container anytime using above image in the registry.
You can further read:
Reference for ECR using CLI