Messenger Gradient Chat Bubble Effect In Flutter
Recreating Facebook’s Messenger Gradient Effect For Your Flutter Apps
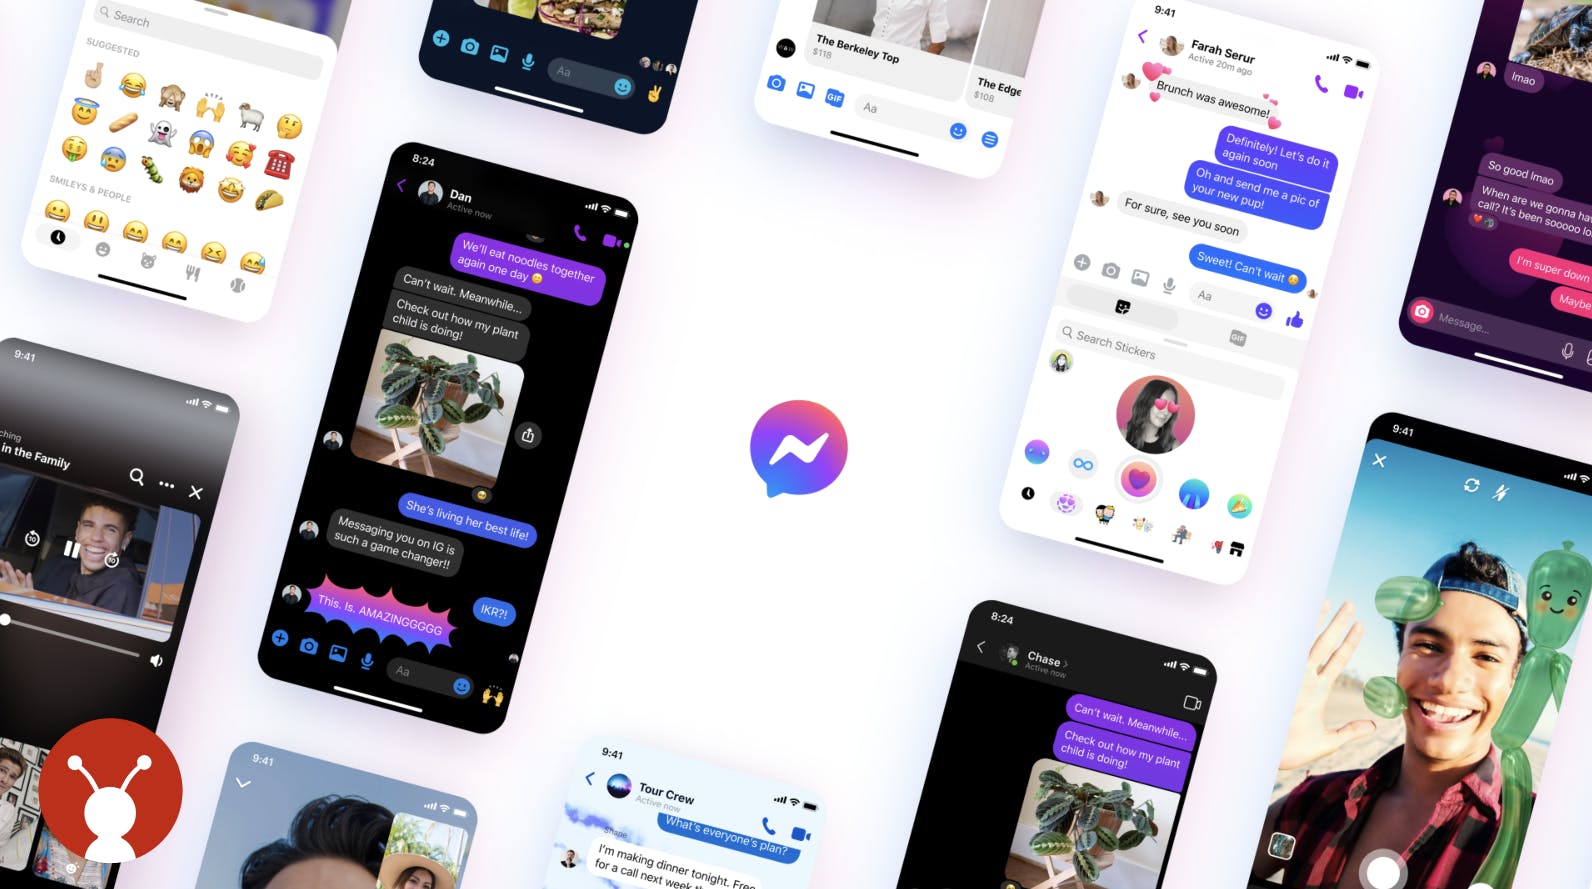
Facebook has taken the world by storm and created a milestone in the UI/UX world by introducing Messenger's new dynamic chat theme. The dynamic gradient effect on Chat Bubbles while scrolling is an absolutely new concept that the world has seen. So, this gave us a craving to emulate this effect in Flutter.
Let's dive into the study .
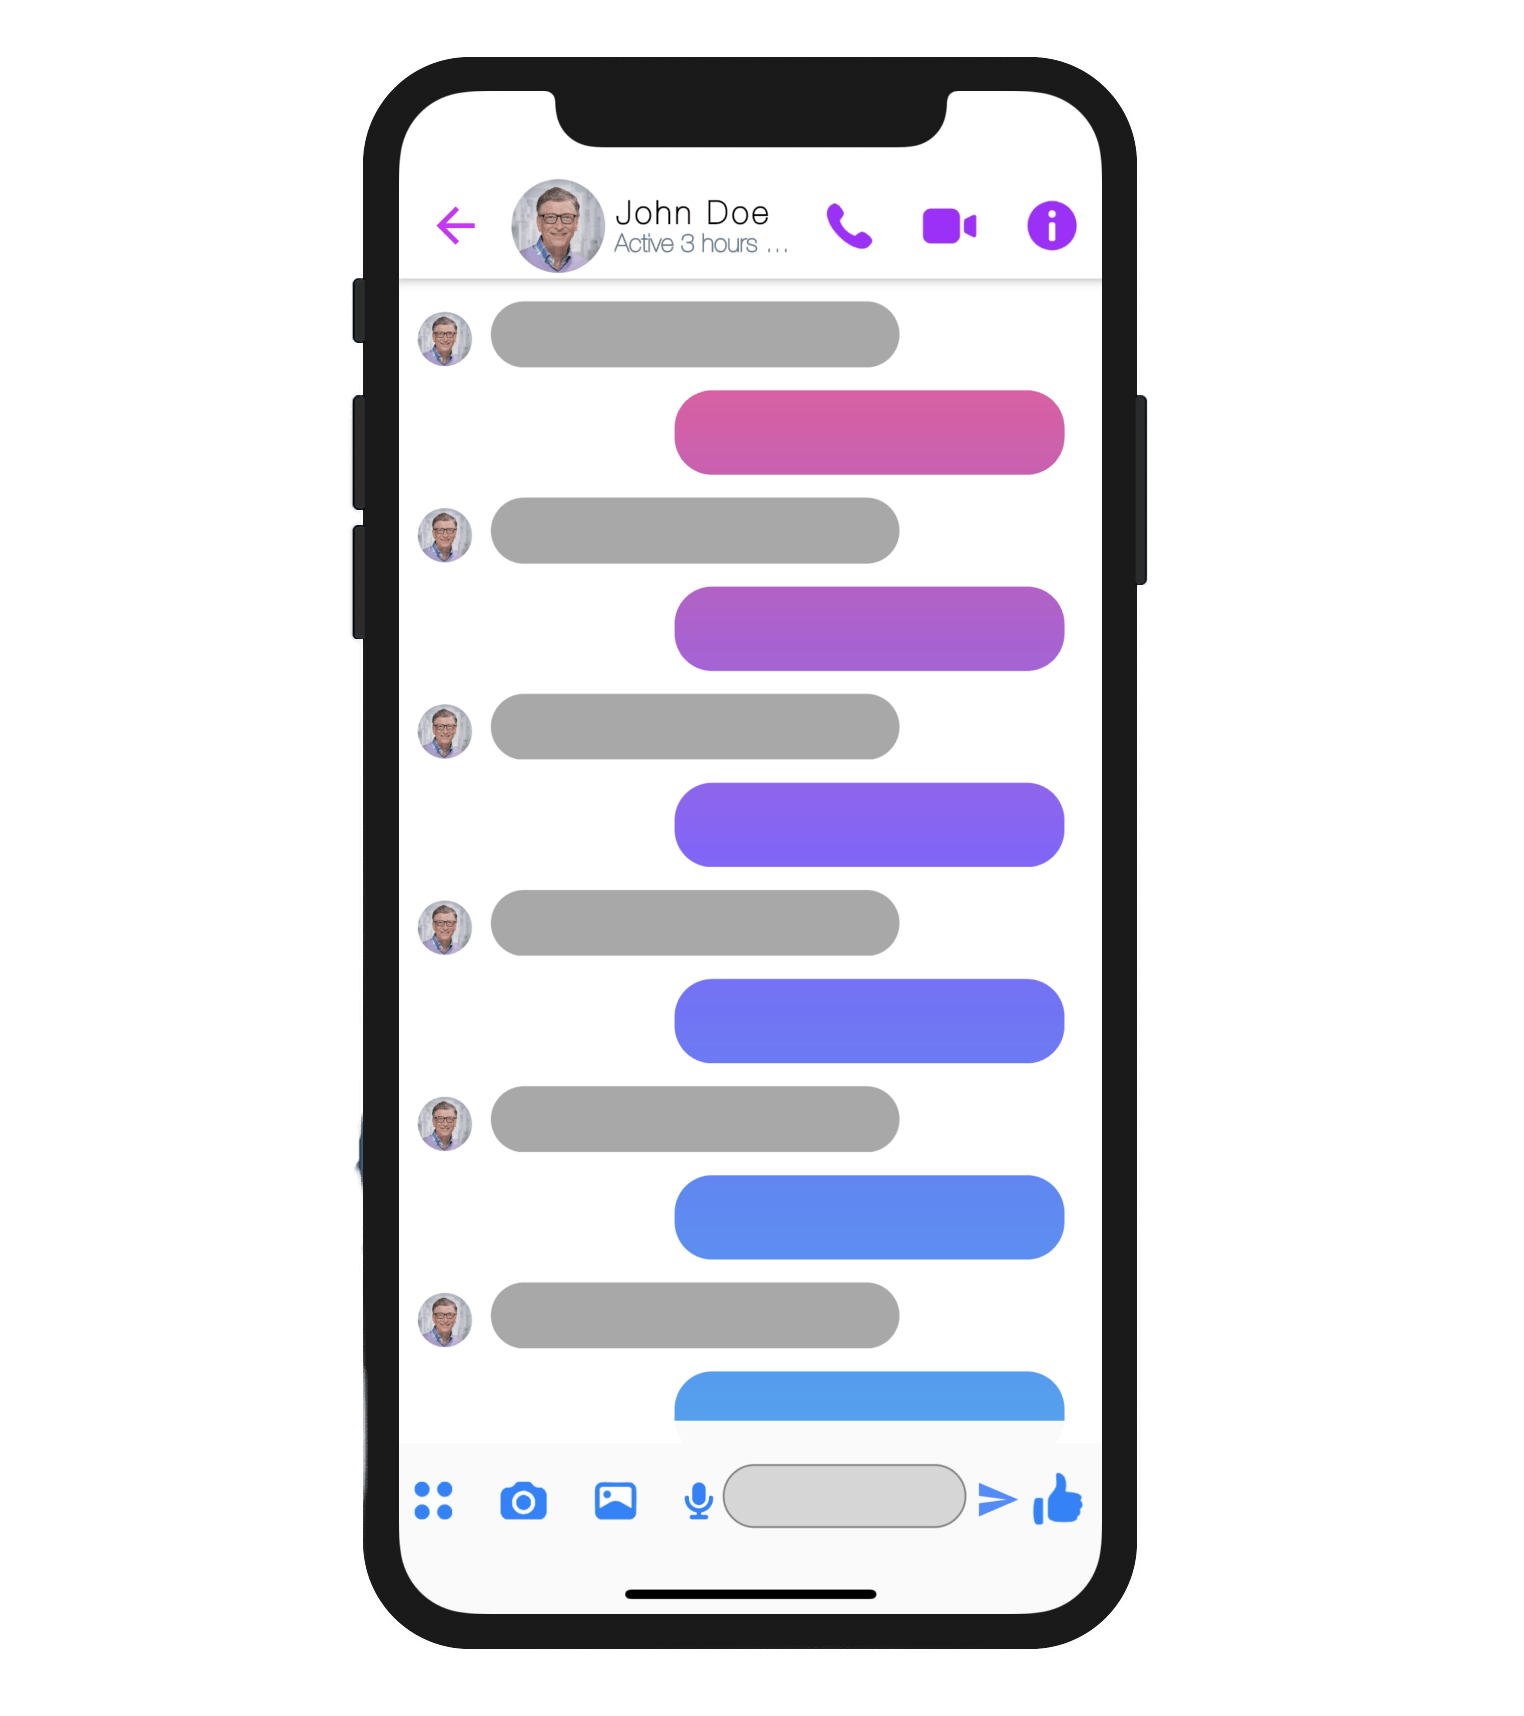
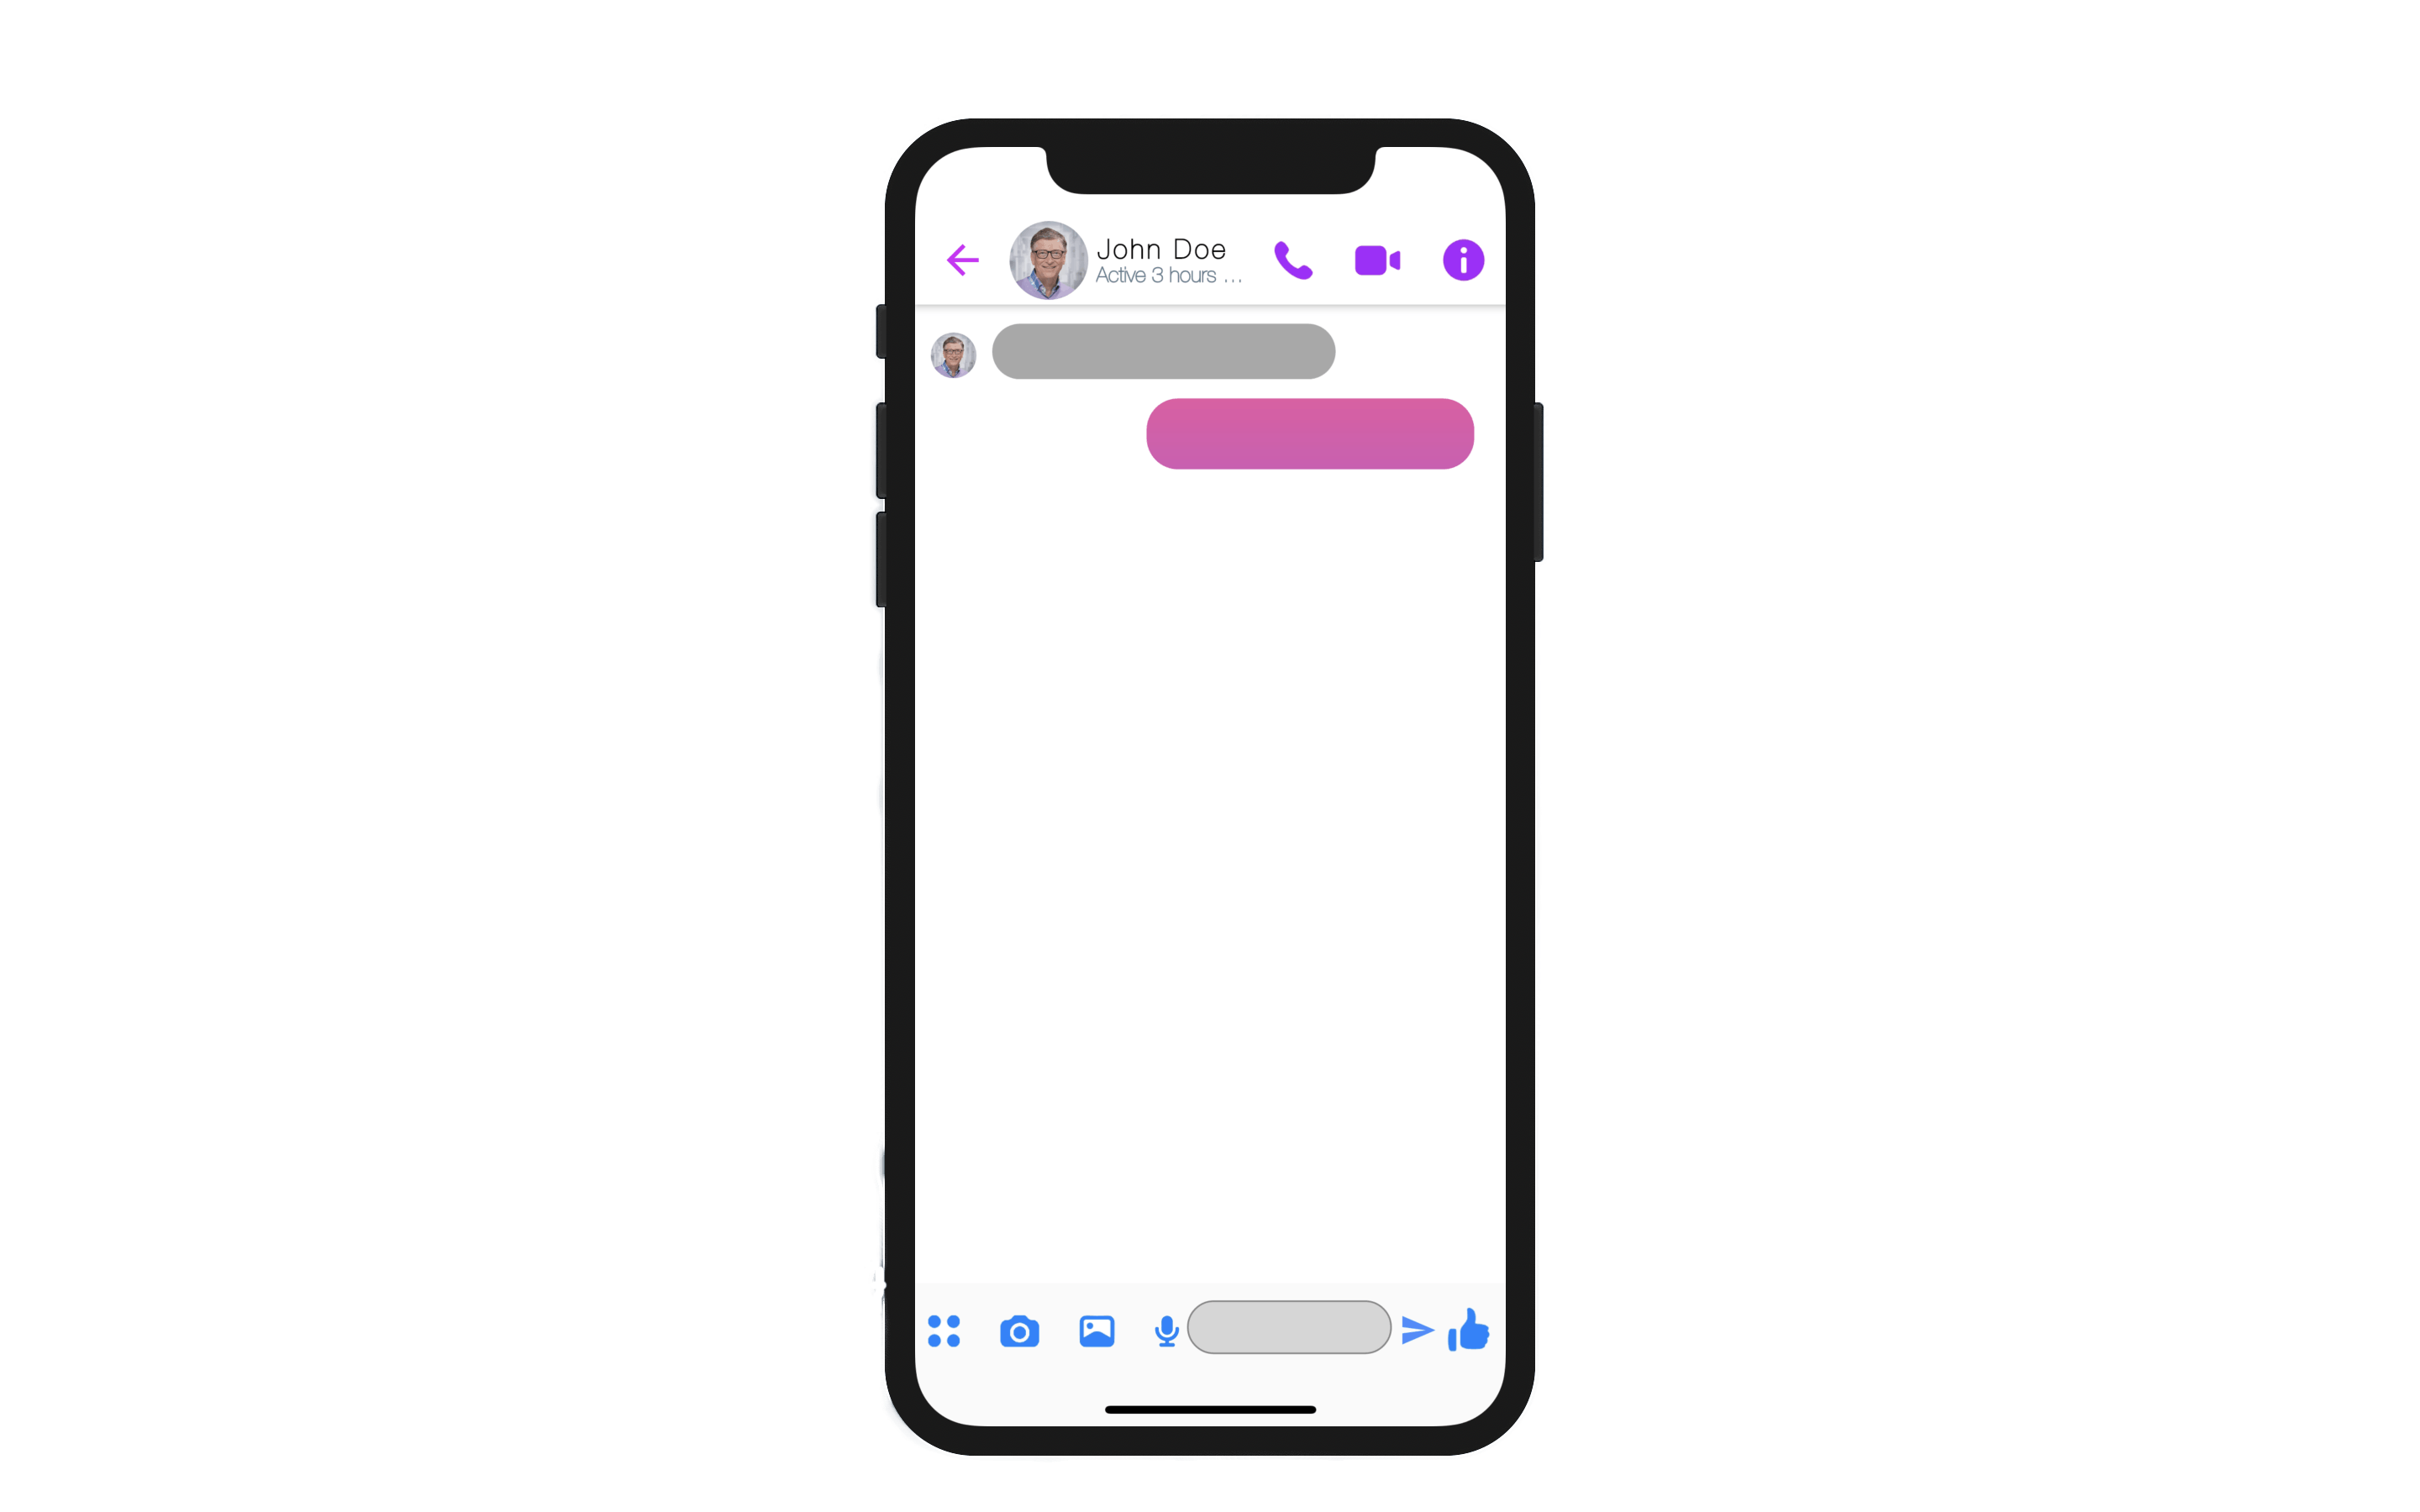
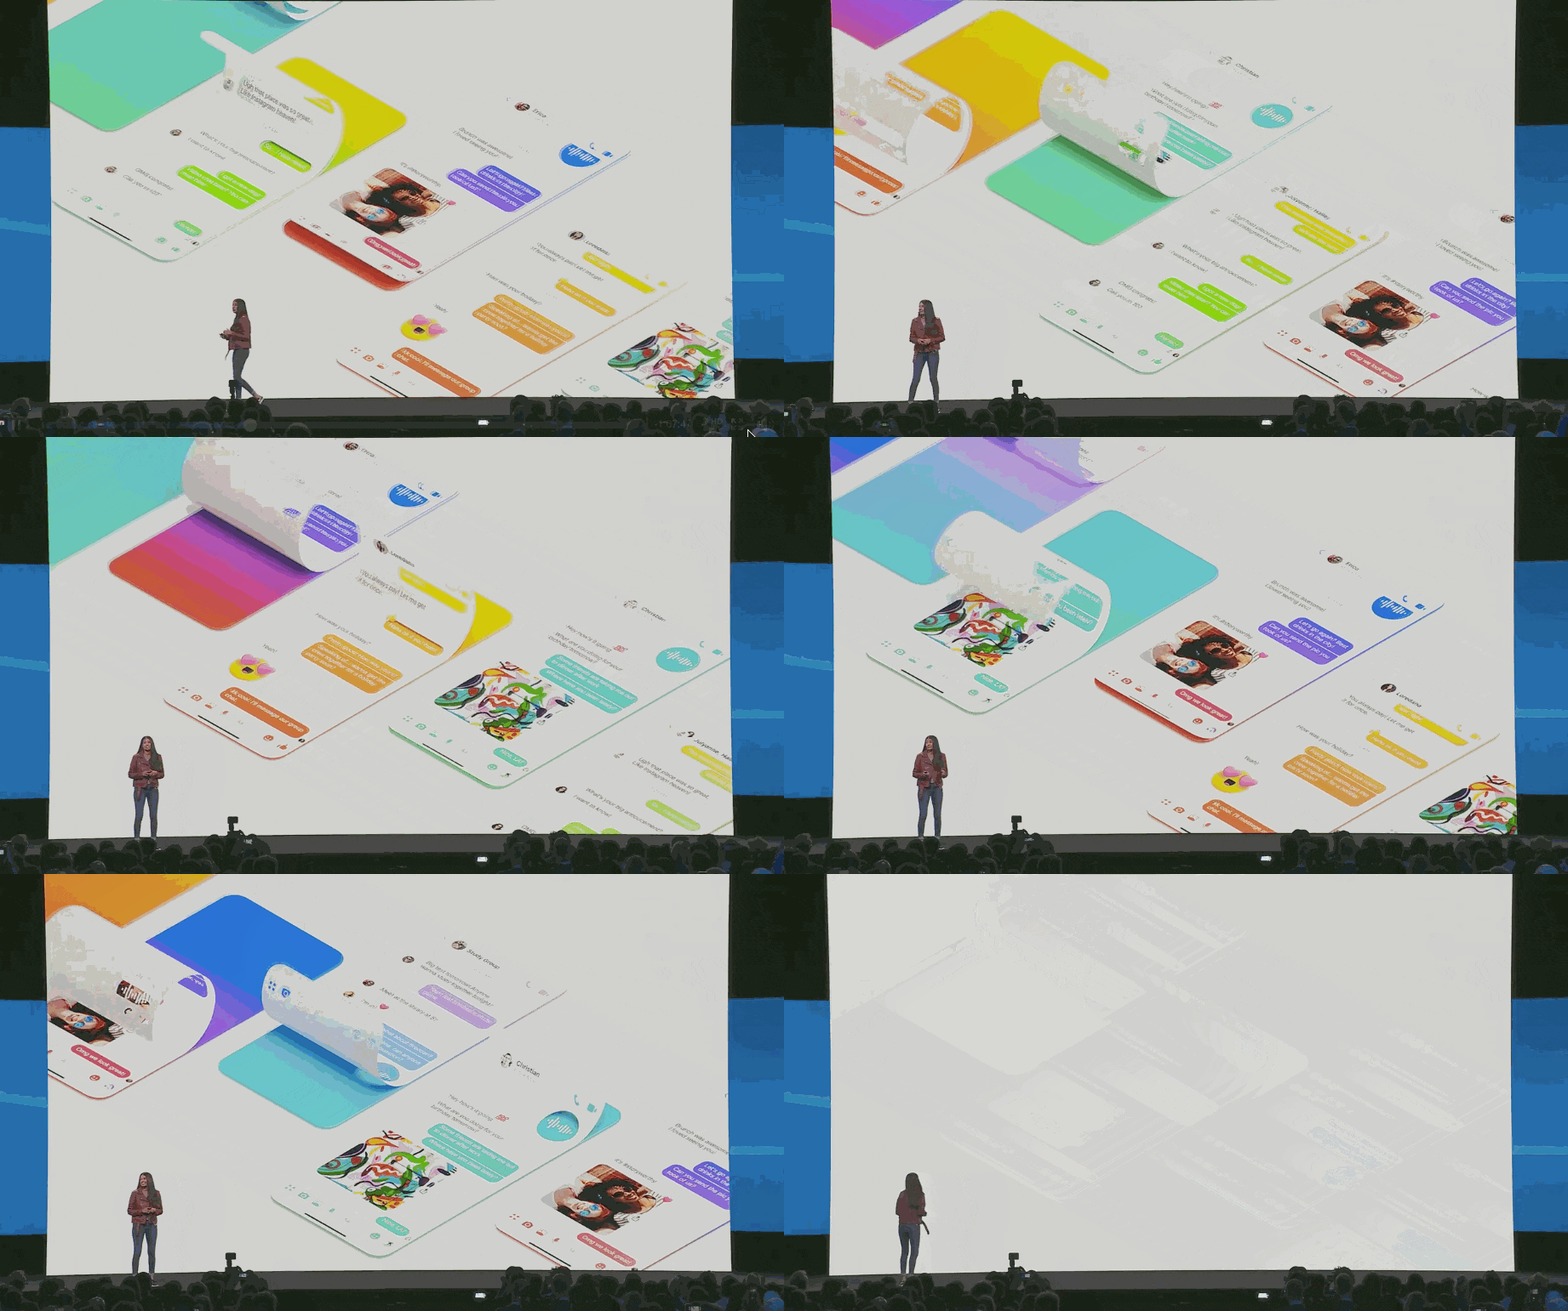
This is what we are trying to achieve:
What We Already Have
Flutter provides us a Linear Gradient option for decorating any container and we just have to provide the colors Array and Mazel Tov!! we get the Gradient, which appears seamless and static. We can customize it further with the appropriate given parameter options with it.
Container(
              height: 100,
              width: 100,
              decoration: BoxDecoration(
                  gradient: LinearGradient(
                      begin: Alignment.topCenter,
                      end: Alignment.bottomCenter,
                      colors: [Colors.purple, Colors.blue, Colors.pink])),
            );
The Problem
For any contiguous event like scrolling, Flutter does not provide us with any corresponding widget or an option, which can change the gradient color for us dynamically. As change in the gradient colors of the chat bubbles will happen as long as the scrolling happens, we really are looking for a solution through which we can change the gradient colors contiguously of that widget in sync with the scrolling.
Dissection of Gradient
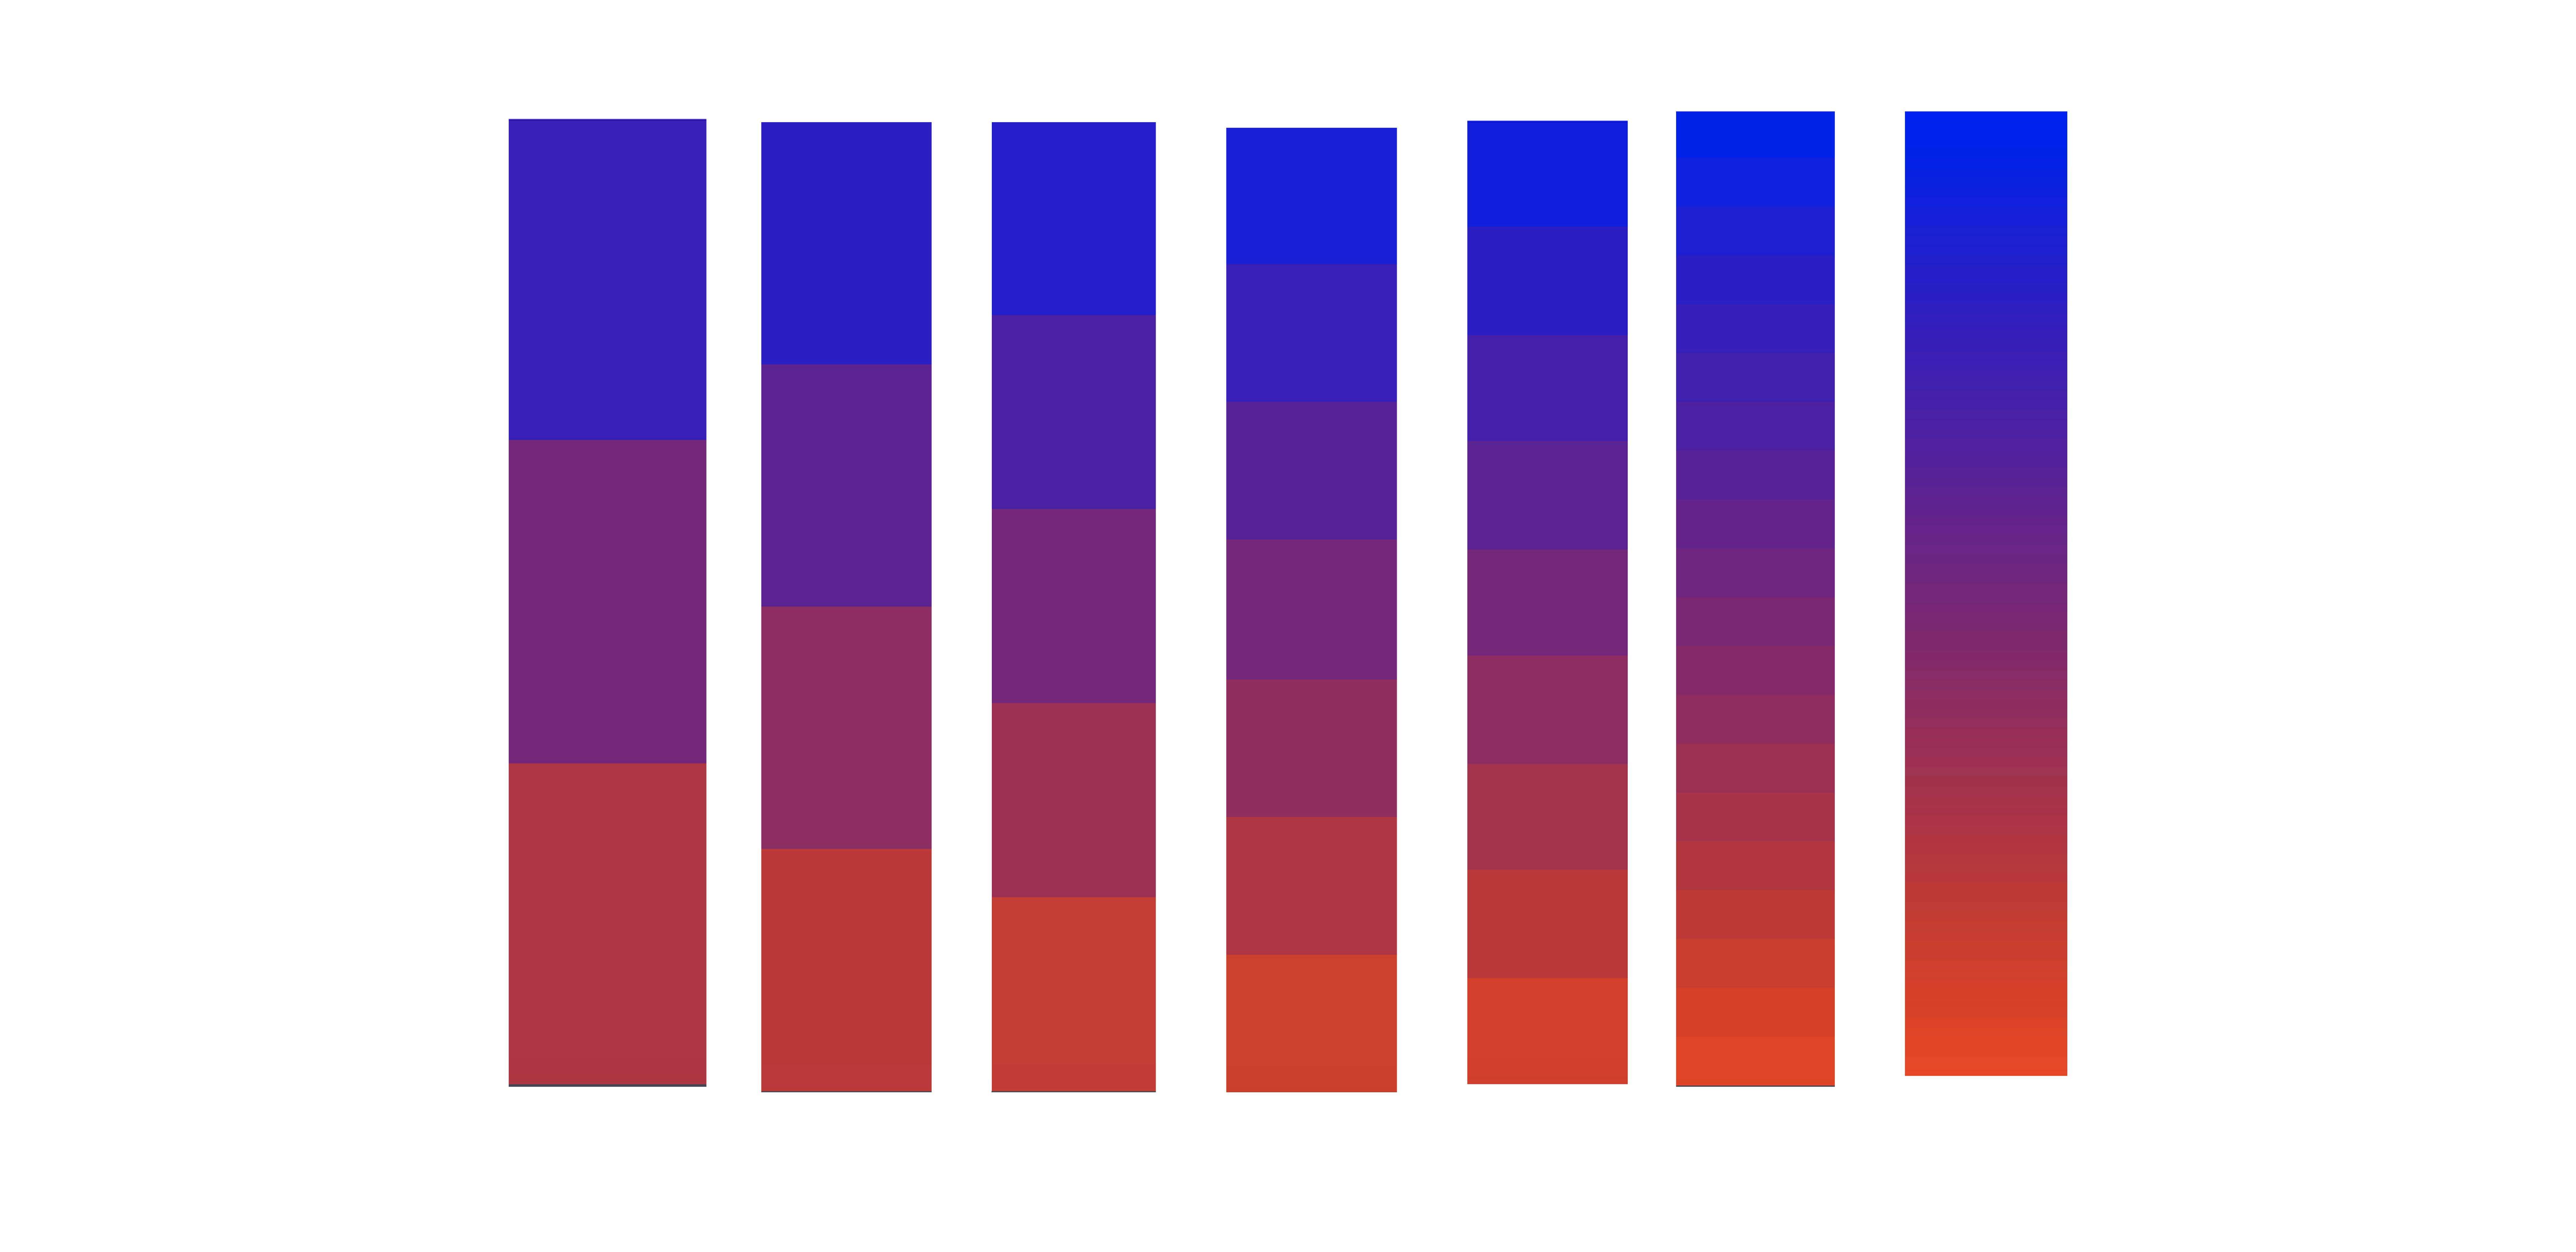
So, a gradient defined in an area is nothing but an array of particular color bands which start from one extreme color value that gradually changes to another till the extreme value of the latter band is reached. This step wise color transition happens per pixel vertically over the area on which we want to spread out our gradient.
So, the question that arises is, 'How to achieve this Effect with Flutter?'
Solution
There are two approaches through which we can accomplish this. Both are quite complex in their own ways.
Let's discuss the first approach:
By Changing State
Whenever any styling property is dynamic or responsive, the first thing that comes across as a good idea is to change the appropriate state on some relevant event, but can we afford this strategy on the scrolling event also?
We will address this question later in this blog.
So the steps involved in this approach are:
- We have to get the band (list) of color values which start from one extreme value to another. This can be achieved by using an algorithm which takes two color values and give us the whole list of mid color values and each color in the list will showcase the color that has to be applied on one pixel length area. The number in which we split our primary colors will be equal to the height of the container in which we want to setup our gradient. So, a unique list's color will map to one pixel length .
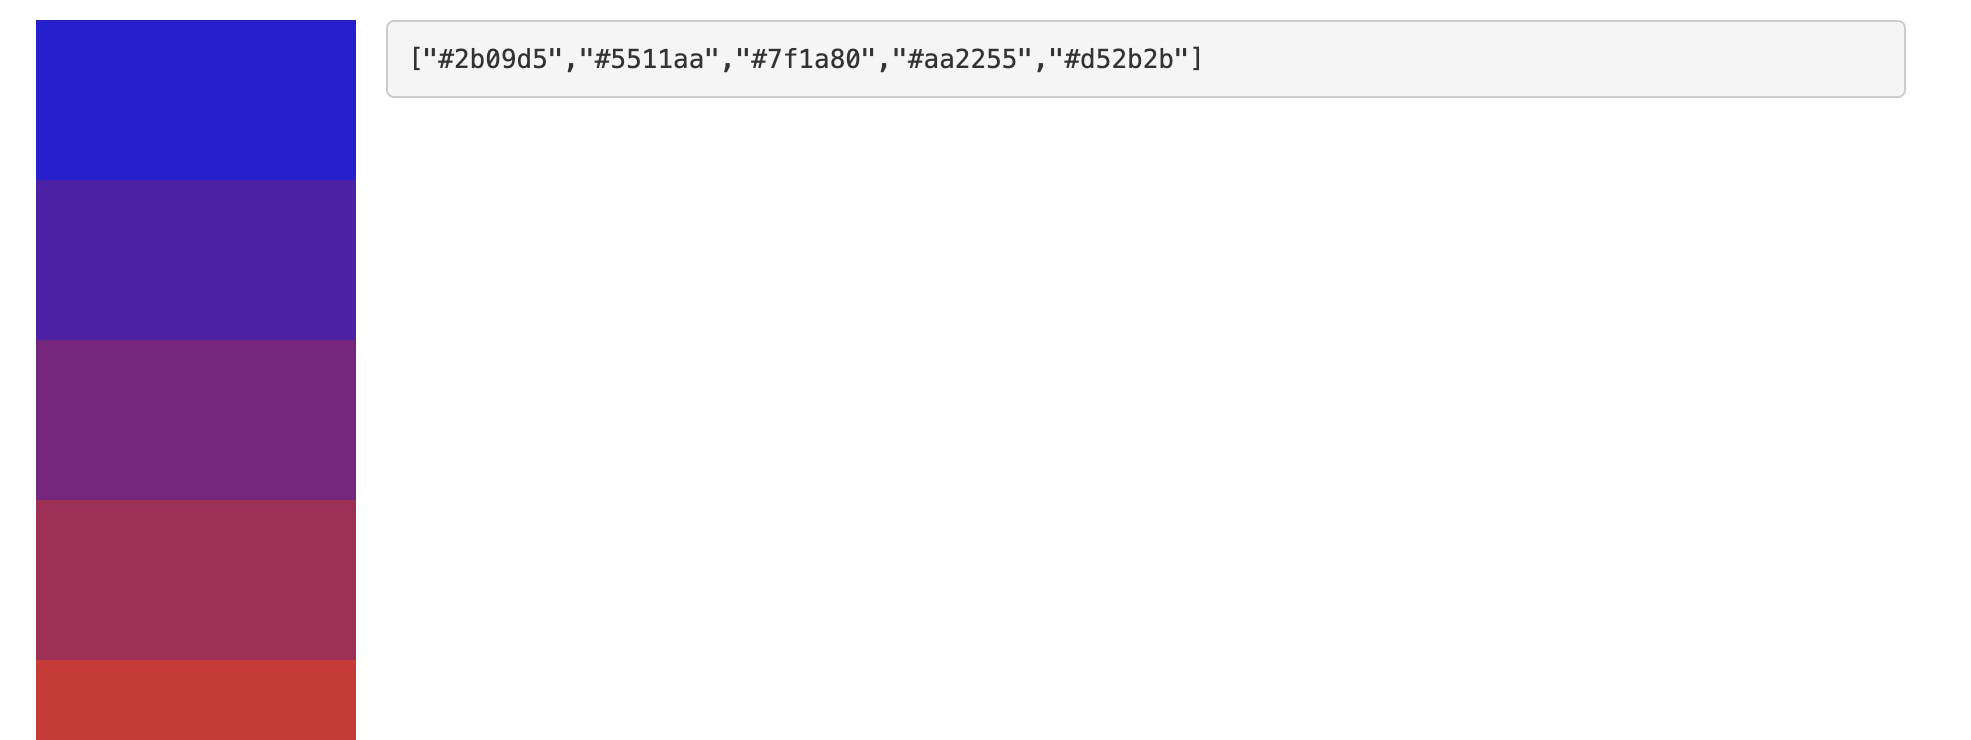
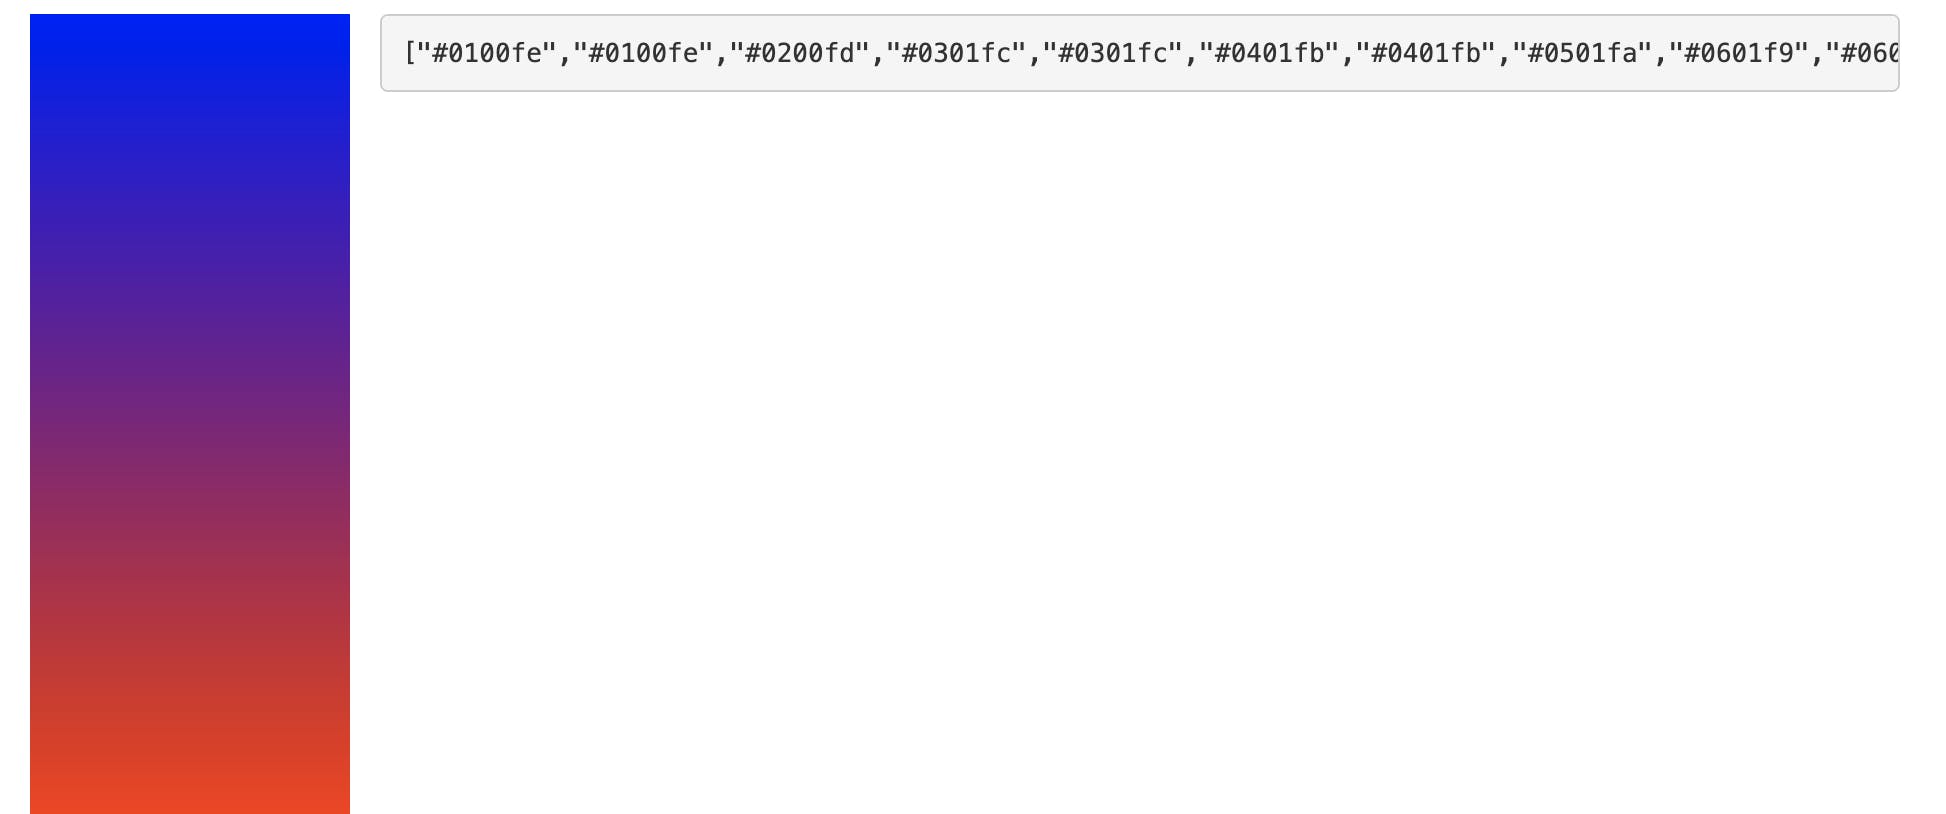
Now, let's suppose for a hypothetical case that this is our Gradient color Band Array of 500 length.

BandArray = ["#0100fe","#0100fe","#0200fd","#0200fd","#0301fc","#0301fc","#0401fb","#0401fb","#0501fa","#0501fa","#0601f9","#0601f9","#0701f8","#0701f8","#0802f7","#0802f7","#0902f6","#0902f6","#0a02f5","#0a02f5","#0b02f4","#0b02f4","#0c02f3","#0c02f3","#0d03f2","#0d03f2","#0e03f1","#0e03f1","#0f03f0","#0f03f0","#1003ef","#1003ef","#1103ee","#1103ee","#1204ed","#1204ed","#1304ec","#1304ec","#1404eb","#1404eb","#1504ea","#1504ea","#1604e9","#1604e9","#1705e8","#1705e8","#1805e7","#1805e7","#1905e6","#1905e6","#1a05e5","#1a05e5","#1b05e4","#1b05e4","#1c06e3","#1d06e2","#1d06e2","#1e06e1","#1e06e1","#1f06e0","#1f06e0","#2006df","#2006df","#2107de","#2107de","#2207dd","#2207dd","#2307dc","#2307dc","#2407db","#2407db","#2507da","#2507da","#2608d9","#2608d9","#2708d8","#2708d8","#2808d7","#2808d7","#2908d6","#2908d6","#2a08d5","#2a08d5","#2b09d4","#2b09d4","#2c09d3","#2c09d3","#2d09d2","#2d09d2","#2e09d1","#2e09d1","#2f09d0","#2f09d0","#300acf","#300acf","#310ace","#310ace","#320acd","#320acd","#330acc","#330acc","#340acb","#340acb","#350bca","#350bca","#360bc9","#360bc9","#370bc8","#370bc8","#380bc7","#380bc7","#390bc6","#3a0cc5","#3a0cc5","#3b0cc4","#3b0cc4","#3c0cc3","#3c0cc3","#3d0cc2","#3d0cc2","#3e0cc1","#3e0cc1","#3f0dc0","#3f0dc0","#400dbf","#400dbf","#410dbe","#410dbe","#420dbd","#420dbd","#430dbc","#430dbc","#440ebb","#440ebb","#450eba","#450eba","#460eb9","#460eb9","#470eb8","#470eb8","#480eb7","#480eb7","#490fb6","#490fb6","#4a0fb5","#4a0fb5","#4b0fb4","#4b0fb4","#4c0fb3","#4c0fb3","#4d0fb2","#4d0fb2","#4e10b1","#4e10b1","#4f10b0","#4f10b0","#5010af","#5010af","#5110ae","#5110ae","#5210ad","#5210ad","#5311ac","#5311ac","#5411ab","#5411ab","#5511aa","#5611a9","#5611a9","#5711a8","#5711a8","#5812a7","#5812a7","#5912a6","#5912a6","#5a12a5","#5a12a5","#5b12a4","#5b12a4","#5c12a3","#5c12a3","#5d13a2","#5d13a2","#5e13a1","#5e13a1","#5f13a0","#5f13a0","#60139f","#60139f","#61139e","#61139e","#62149d","#62149d","#63149c","#63149c","#64149b","#64149b","#65149a","#65149a","#661499","#661499","#671598","#671598","#681597","#681597","#691596","#691596","#6a1595","#6a1595","#6b1594","#6b1594","#6c1693","#6c1693","#6d1692","#6d1692","#6e1691","#6e1691","#6f1690","#6f1690","#70168f","#70168f","#71178e","#72178d","#72178d","#73178c","#73178c","#74178b","#74178b","#75178a","#75178a","#761889","#761889","#771888","#771888","#781887","#781887","#791886","#791886","#7a1885","#7a1885","#7b1984","#7b1984","#7c1983","#7c1983","#7d1982","#7d1982","#7e1981","#7e1981","#7f1980","#7f1980","#801a7f","#801a7f","#811a7e","#811a7e","#821a7d","#821a7d","#831a7c","#831a7c","#841a7b","#841a7b","#851b7a","#851b7a","#861b79","#861b79","#871b78","#871b78","#881b77","#881b77","#891b76","#891b76","#8a1c75","#8a1c75","#8b1c74","#8b1c74","#8c1c73","#8c1c73","#8d1c72","#8d1c72","#8e1c71","#8f1d70","#8f1d70","#901d6f","#901d6f","#911d6e","#911d6e","#921d6d","#921d6d","#931d6c","#931d6c","#941e6b","#941e6b","#951e6a","#951e6a","#961e69","#961e69","#971e68","#971e68","#981e67","#981e67","#991f66","#991f66","#9a1f65","#9a1f65","#9b1f64","#9b1f64","#9c1f63","#9c1f63","#9d1f62","#9d1f62","#9e2061","#9e2061","#9f2060","#9f2060","#a0205f","#a0205f","#a1205e","#a1205e","#a2205d","#a2205d","#a3215c","#a3215c","#a4215b","#a4215b","#a5215a","#a5215a","#a62159","#a62159","#a72158","#a72158","#a82257","#a82257","#a92256","#a92256","#aa2255","#ab2254","#ab2254","#ac2253","#ac2253","#ad2352","#ad2352","#ae2351","#ae2351","#af2350","#af2350","#b0234f","#b0234f","#b1234e","#b1234e","#b2244d","#b2244d","#b3244c","#b3244c","#b4244b","#b4244b","#b5244a","#b5244a","#b62449","#b62449","#b72548","#b72548","#b82547","#b82547","#b92546","#b92546","#ba2545","#ba2545","#bb2544","#bb2544","#bc2643","#bc2643","#bd2642","#bd2642","#be2641","#be2641","#bf2640","#bf2640","#c0263f","#c0263f","#c1273e","#c1273e","#c2273d","#c2273d","#c3273c","#c3273c","#c4273b","#c4273b","#c5273a","#c5273a","#c62839","#c72838","#c72838","#c82837","#c82837","#c92836","#c92836","#ca2835","#ca2835","#cb2934","#cb2934","#cc2933","#cc2933","#cd2932","#cd2932","#ce2931","#ce2931","#cf2930","#cf2930","#d02a2f","#d02a2f","#d12a2e","#d12a2e","#d22a2d","#d22a2d","#d32a2c","#d32a2c","#d42a2b","#d42a2b","#d52b2a","#d52b2a","#d62b29","#d62b29","#d72b28","#d72b28","#d82b27","#d82b27","#d92b26","#d92b26","#da2c25","#da2c25","#db2c24","#db2c24","#dc2c23","#dc2c23","#dd2c22","#dd2c22","#de2c21","#de2c21","#df2d20","#df2d20","#e02d1f","#e02d1f","#e12d1e","#e12d1e","#e22d1d","#e22d1d","#e32d1c","#e42e1b","#e42e1b","#e52e1a","#e52e1a","#e62e19","#e62e19","#e72e18","#e72e18","#e82e17","#e82e17","#e92f16","#e92f16","#ea2f15","#ea2f15","#eb2f14","#eb2f14","#ec2f13","#ec2f13","#ed2f12","#ed2f12","#ee3011","#ee3011","#ef3010","#ef3010","#f0300f","#f0300f","#f1300e","#f1300e","#f2300d","#f2300d","#f3310c","#f3310c","#f4310b","#f4310b","#f5310a","#f5310a","#f63109","#f63109","#f73108","#f73108","#f83207","#f83207","#f93206","#f93206","#fa3205","#fa3205","#fb3204","#fb3204","#fc3203","#fc3203","#fd3302","#fd3302","#fe3301","#fe3301"]

Let's also suppose there are two dynamic bubbles of height `n` in this gradient that differs by 30 pixels. The 1st bubble starts from length 0.

//Container of 500 height
....
:LinearGradient(
colors : [BandArray[0],BandArray[n]]
)
//for the first bubble

....
:LinearGradient(
colors : [BandArray[n+30],BandArray[2n+30]]
)
//for the second bubble
- We will have to capture the
on-scrollEvent and on each event (even if we scroll by 1 pixel). Now, let's suppose a user scrolls the list by 200 pixels, so theon-scrollevent will be triggered 200 times, step wise, per chat bubble.
.
.
.
decoration : BoxDecoration(
linearGradient : LinearGradient(
colors : [//state1(gradient starting color value) , //state2(gradient ending color value) .....]
       )
)
##  Our  starting and ending colors will be dynamic here
## Even on scrolling one pixel, these two will change
Let us suppose we have a list of 200 gradient chat bubbles and if a user scrolls by 200 pixels, on-scroll event will trigger for 200*200 times and in each trigger states will be changing.
- In a state change, we now again have to do the calculations by how much the container has shifted from it's previous position and will have to allot the new starting and ending gradient color parameters in the linear-gradient property.
//Let's consider the previous case so--
// Initial linear Gradient value is fro one Bubble
...
linearGradient : LinearGradient(
colors :  [BandArray[0],BandArray[n]]
)
//--- Now lets suppose user scrolls the list by 100 pixels---
// This is how the colors value will change
...
linearGradient : LinearGradient(
colors :  [BandArray[0+100],BandArray[n+100]]
)
...and after doing the math and putting all the things at the right places, we will be able to see the gradient effect happening on our bubbles.
Advantages:
- It is more generic and straightforward.
Disadvantages:
In each scroll event, the state for each and every chat bubble container changes continuously which is a very heavy task and can adversely affect the performance of the application.
The overall process of mapping the gradient color band values to each bubble is quite cumbersome.
In use cases where some other stateful widgets have to be kept inside the chat bubble, management of gradient color states becomes an extra overhead and the overall management becomes quite a challenge.
To get the band of gradient colors from two extreme color values, an extensive algorithm is used but its computational cost is high which can delay the loading of our chat content on the screen.
The number of band colors are dependent on the height of the device screen or pixel length which is different for every device.
By Using ColorFiltered Widget (Hack)
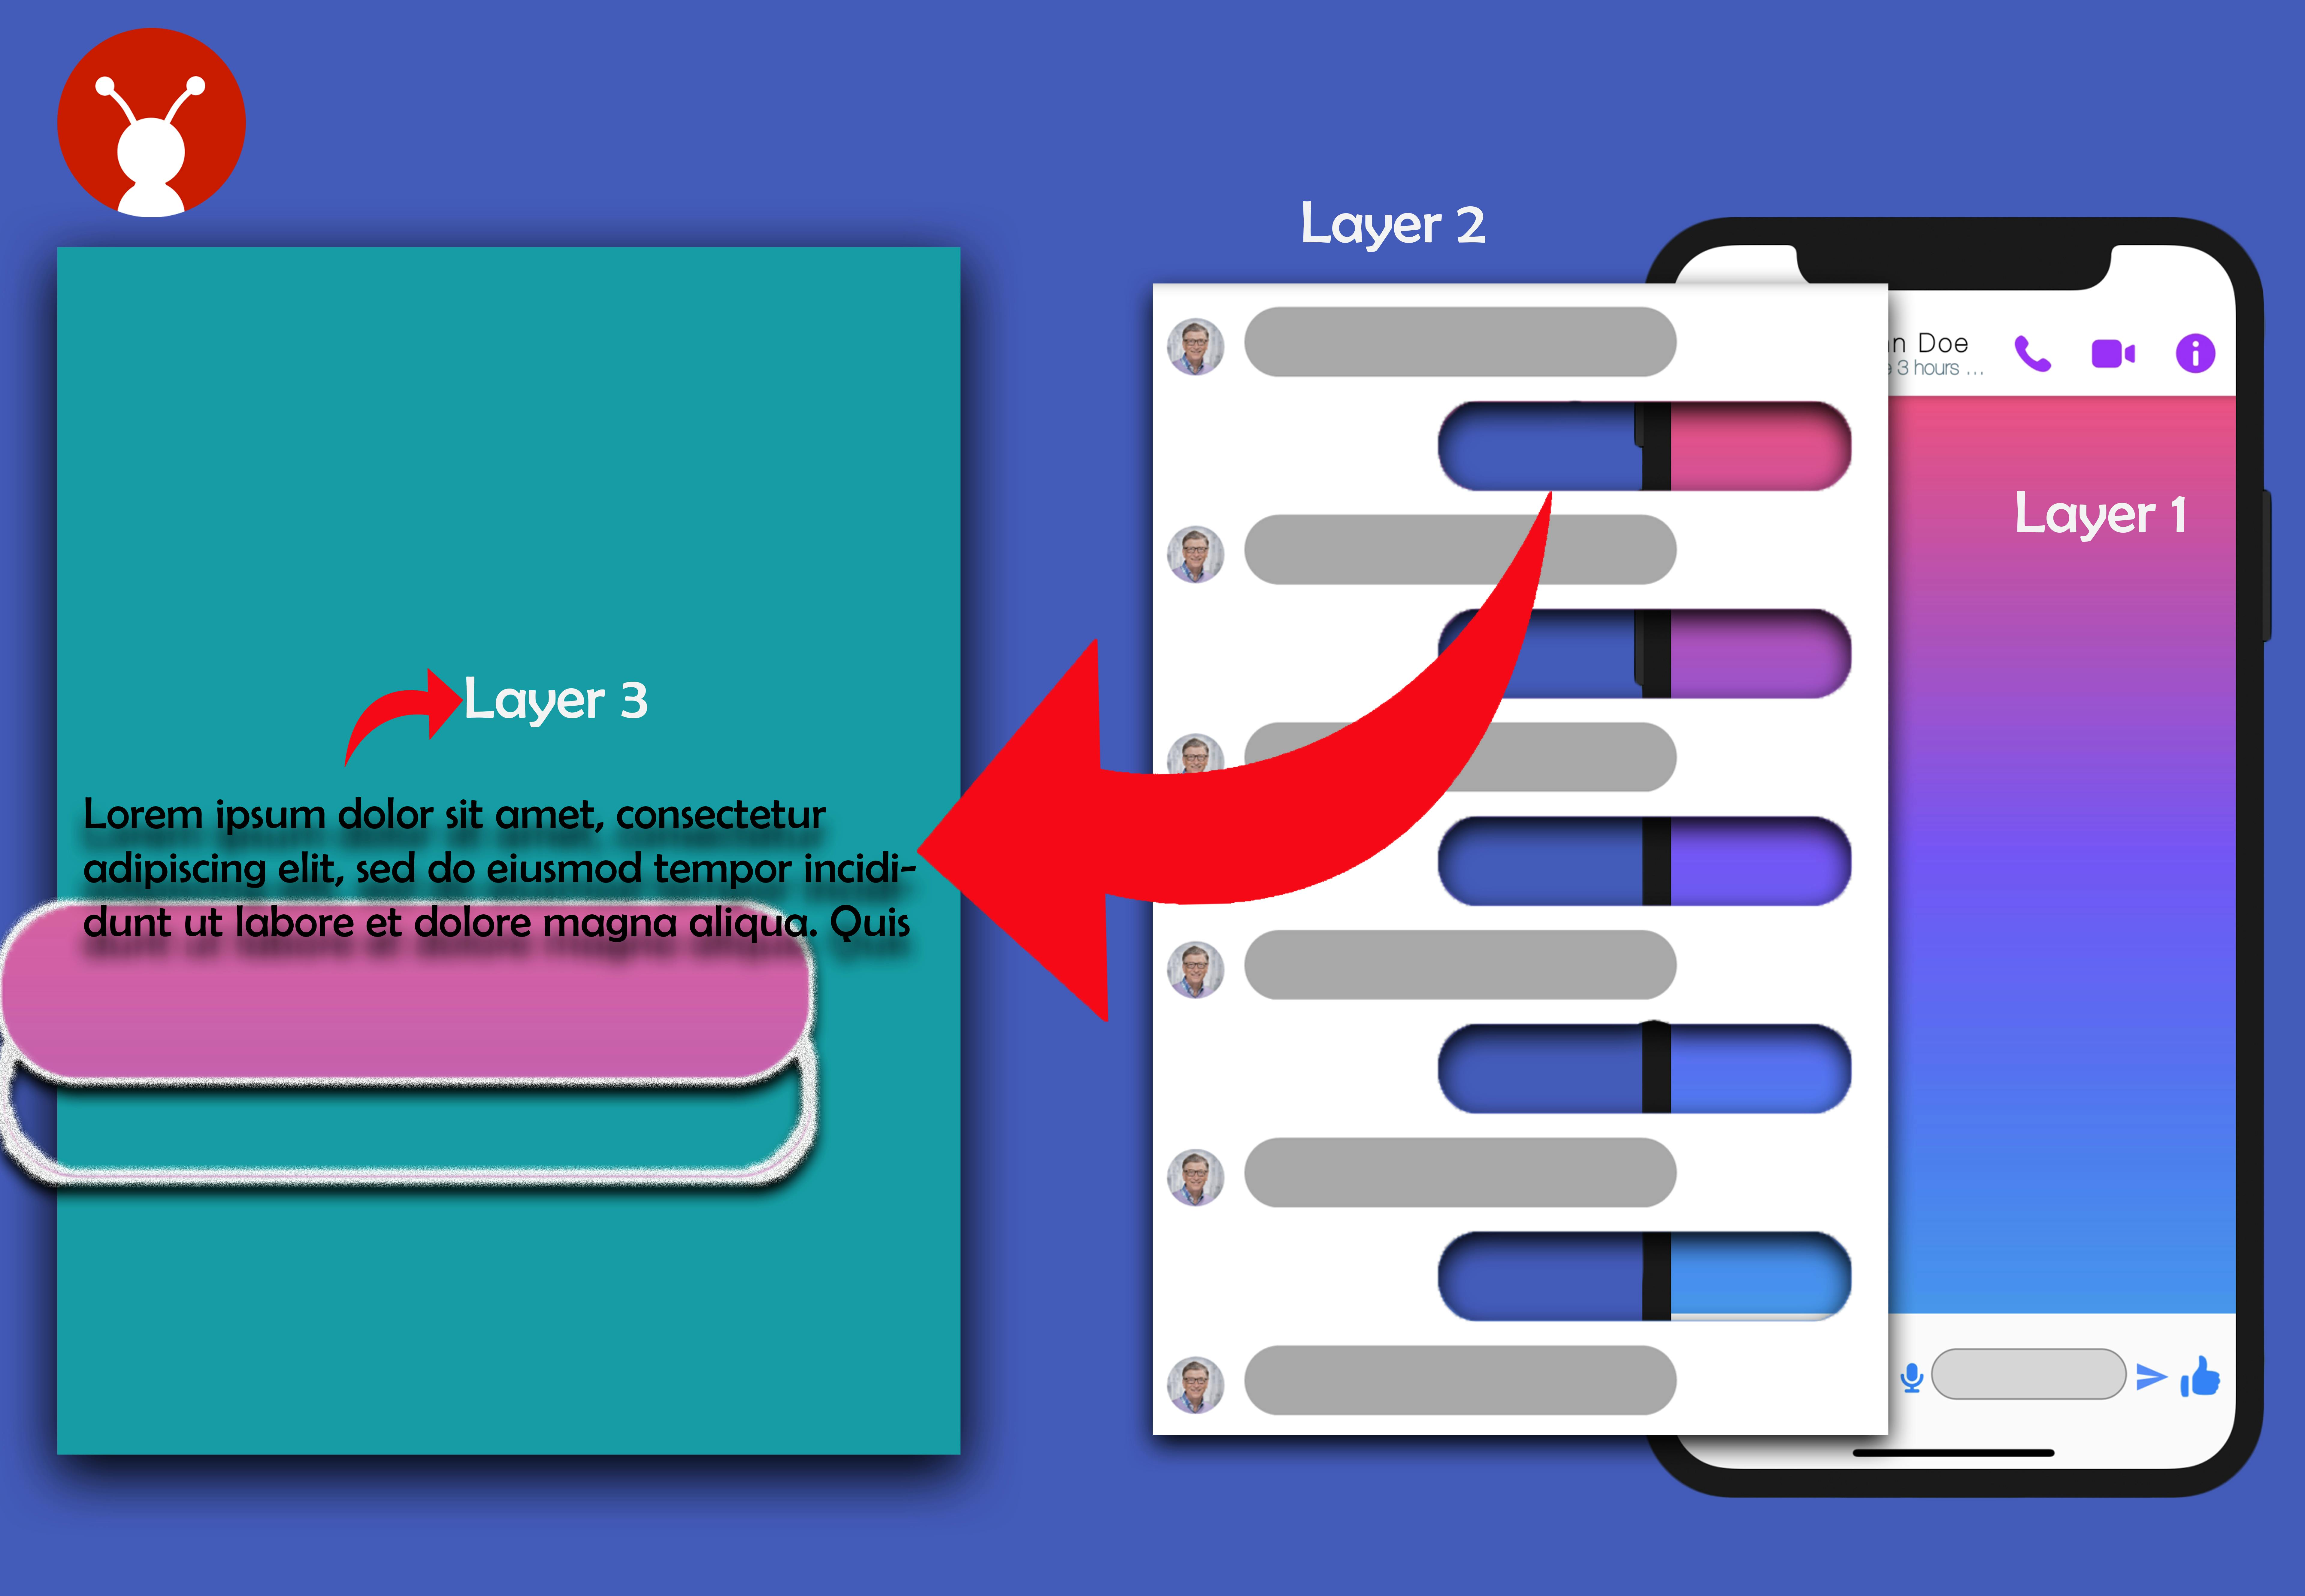
ColorFiltered widget applies the color filter to its child widget and also provides us with different blend values to choose from. We have to make multiple layers of different widgets to achieve this dynamic gradient effect and for layering, we will simply use stack.
The steps involved in this process are:
- First, we will decorate our container with a normal linear-gradient option and will provide the colors array to it. This is our first layer and widget inside the stack.
 Stack(
            children: <Widget>[
             /// 1st Layer of the Stack
              Container(
                width: MediaQuery.of(context).size.width,
                height: 500,
                decoration: BoxDecoration(
                  gradient: LinearGradient(
                    begin: Alignment.topCenter,
                    end: Alignment.bottomCenter,
                    colors: [
                      Colors.pinkAccent,
                      Colors.deepPurpleAccent,
                      Colors.blue,
                    ],
                  ),
                ),
              ),
               .
               .
               ...//2nd Layer goes here

            ],
          ),
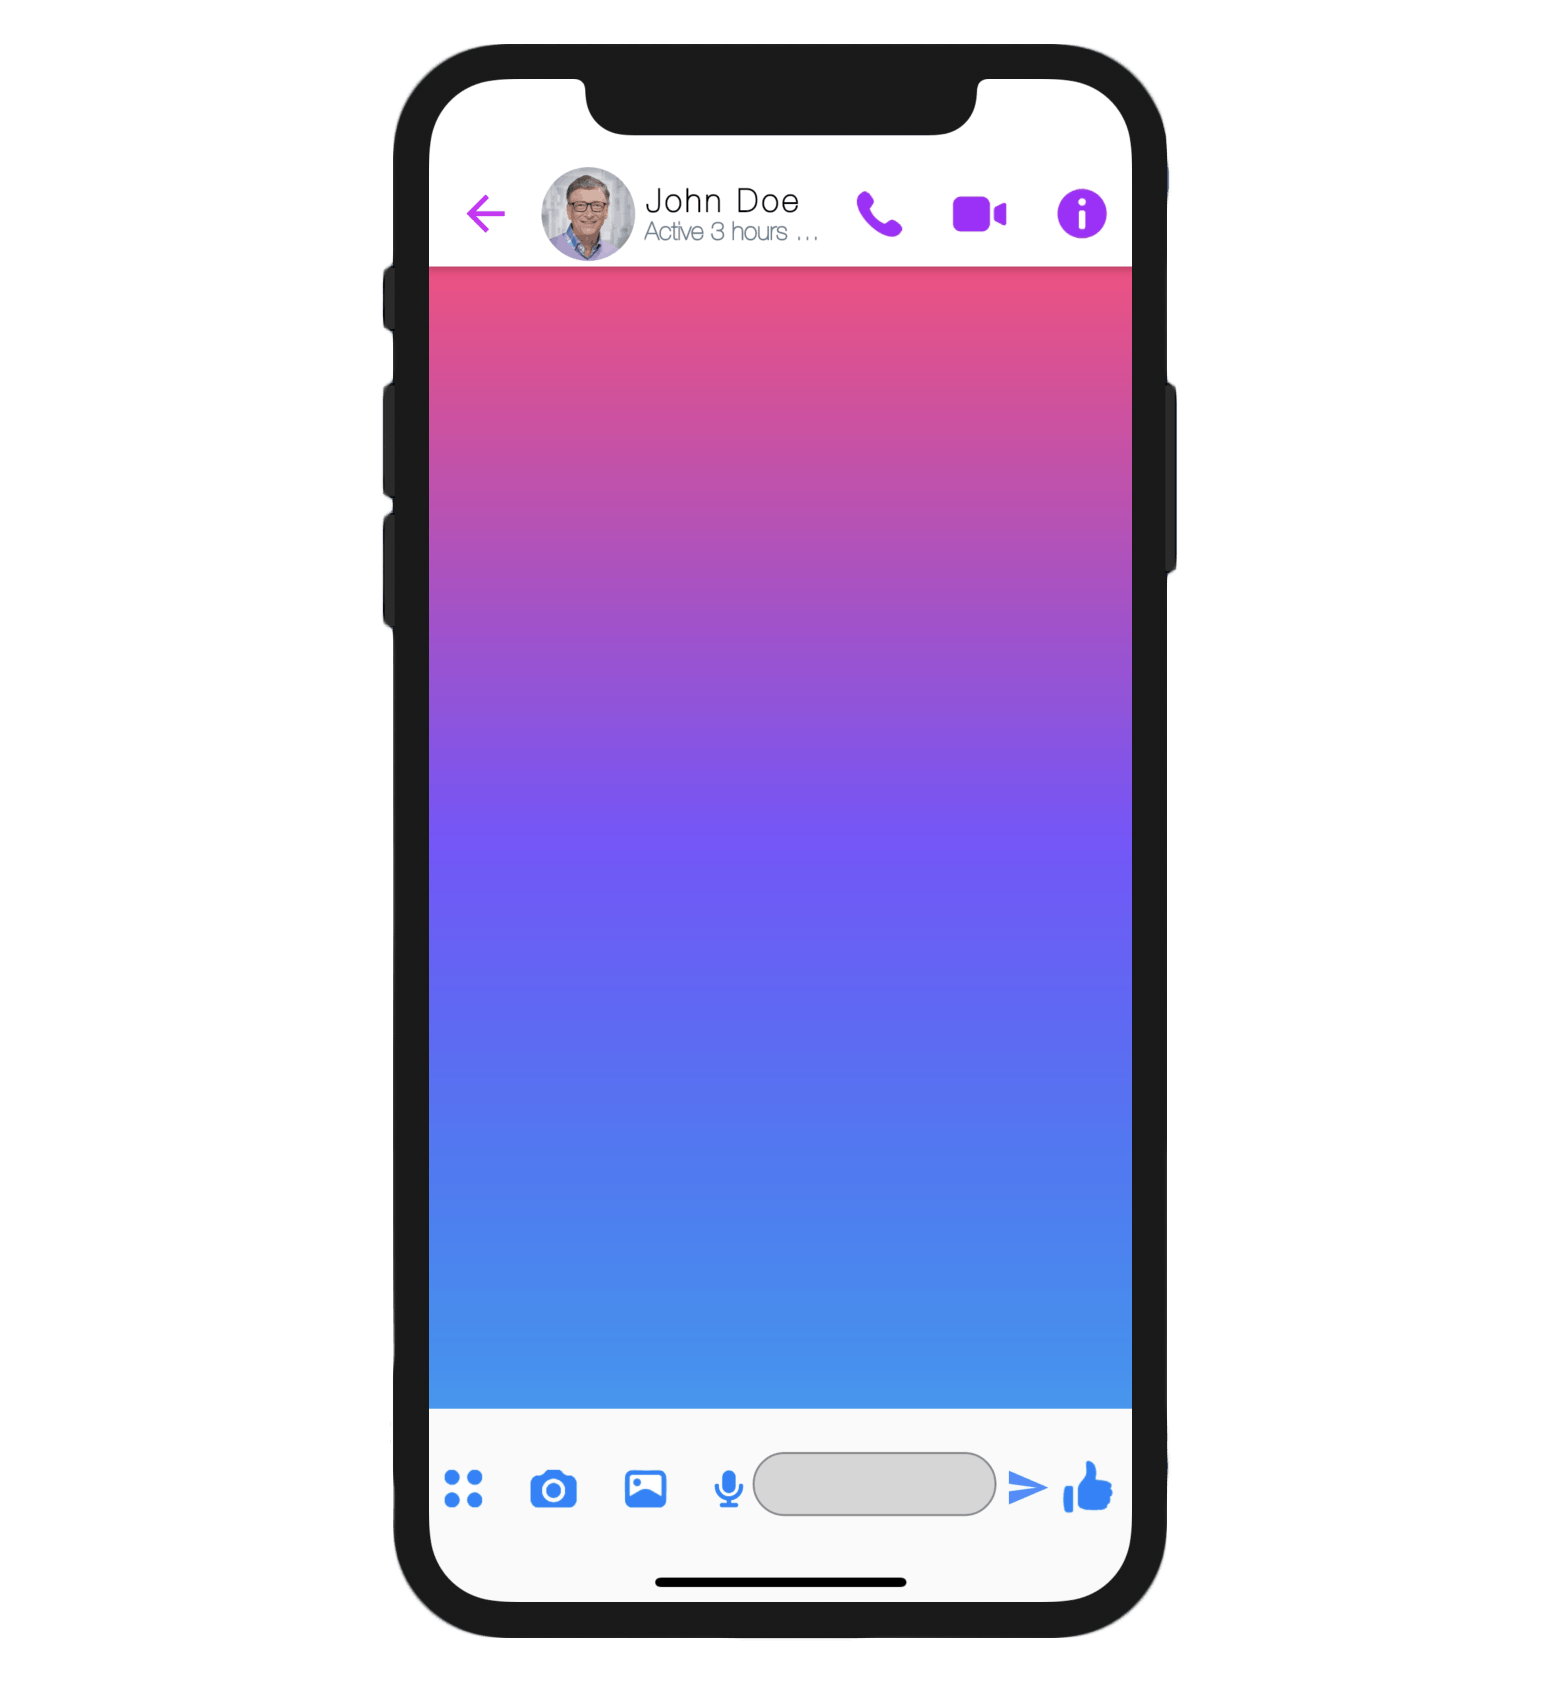
- For the second layer, we will have a list of
ColorFilteredwidgets as the second child to our base stack but remember that we have two types of chat bubbles in our application- one that reflects the effect (sender's) and one that does not (receiver's). So, working on the second layer requires us to handle both the cases and this is where theblendmodevalue will act as a differentiator. For the sender's chat bubble, we will usedstAtop blendmode, and for our receiver's chat bubble, we will usesrcOutasblendmodevalue.
//Layer 1...
.
.
.
//This is layer 2
Container(
                  child: Container(
                height:  500 ,
                alignment: Alignment.topCenter,
                //We are using Layout builder here as an Expanded widget will be added in to the list in Future
                child: LayoutBuilder(
                  builder: (BuildContext context,
                      BoxConstraints viewportConstraints) {
                    return SingleChildScrollView(
                      physics: ClampingScrollPhysics(),
                      child: ConstrainedBox(
                        constraints: BoxConstraints(
                          minHeight: viewportConstraints.maxHeight,
                        ),
                        child: IntrinsicHeight(
                          //List of our chat bubbles
                          child: Column(children: _multicolorbubbles()),

                          //In _multicolorbubbles we will write the logic to
                          // differentiate which of bubble we we will embed in the
                         //list
                        ),
                      ),
                    );
                  },
                ),
              )),
ColorFiltered(
              colorFilter: ColorFilter.mode(
                  Colors.white, isSendersChatBubble ? BlendMode.dstATop : BlendMode.srcOut),
              child: Container(
                alignment:
                    ismine ? Alignment.centerLeft : Alignment.centerRight,
                color: Colors.transparent,
                child: Stack(
                  children: [
                    Container(
                      child: Column(
                        mainAxisAlignment: MainAxisAlignment.spaceBetween,
                        children: [
                          Container(
                            child: Row(
                              mainAxisSize: MainAxisSize.min,
                              children: [
                                Container(
                                  alignment: isSendersChatBubble
                                      ? Alignment.centerLeft
                                      : Alignment.centerRight,
                                  child: isSendersChatBubble
                                      //
                                      ? Row(
                                          children: [
                                            Center(
                                                child: Container(
                                              constraints: BoxConstraints(maxWidth: 250,
                                               minWidth: 55),
                                              padding: EdgeInsets.fromLTRB(15,20,15,3),
                                              child: Text(textValue, style: TextStyle(
                                                    color: Colors.transparent,
                                              ),
                                            )),
                                          ],
                                        )
                                      : Center(
                                          child: Container(
                                          constraints: BoxConstraints(
                                            maxWidth: 250,
                                          ),
                                          padding: EdgeInsets.fromLTRB(15,20,15,3),
                                          child: Text(textValue,style: TextStyle(
                                                color: Colors.transparent),
                                          ),
                                        )),
                                  margin: EdgeInsets.only(
                                      top: 10,
                                      right: 20,
                                      left: 16),
                                  decoration: BoxDecoration(
                                    borderRadius: BorderRadius.circular(20.0),
                                    color: Colors.grey.withOpacity(0.9),
                                  ),
                                ),
                              ],
                            ),
                          ),
                        ],
                      ),
                    ),
                  ],
                ),
              ),
            ),
- Finally, the bubbles will appear with the gradient effect. What is happening here is that
ColorFilteredchild Widget with thisblendmodewill cut through the color filter layer and will peek right through it onto our bottom gradient layer, and this mimics the effect we are trying to emulate.
Quite a trick!! Isn't it?
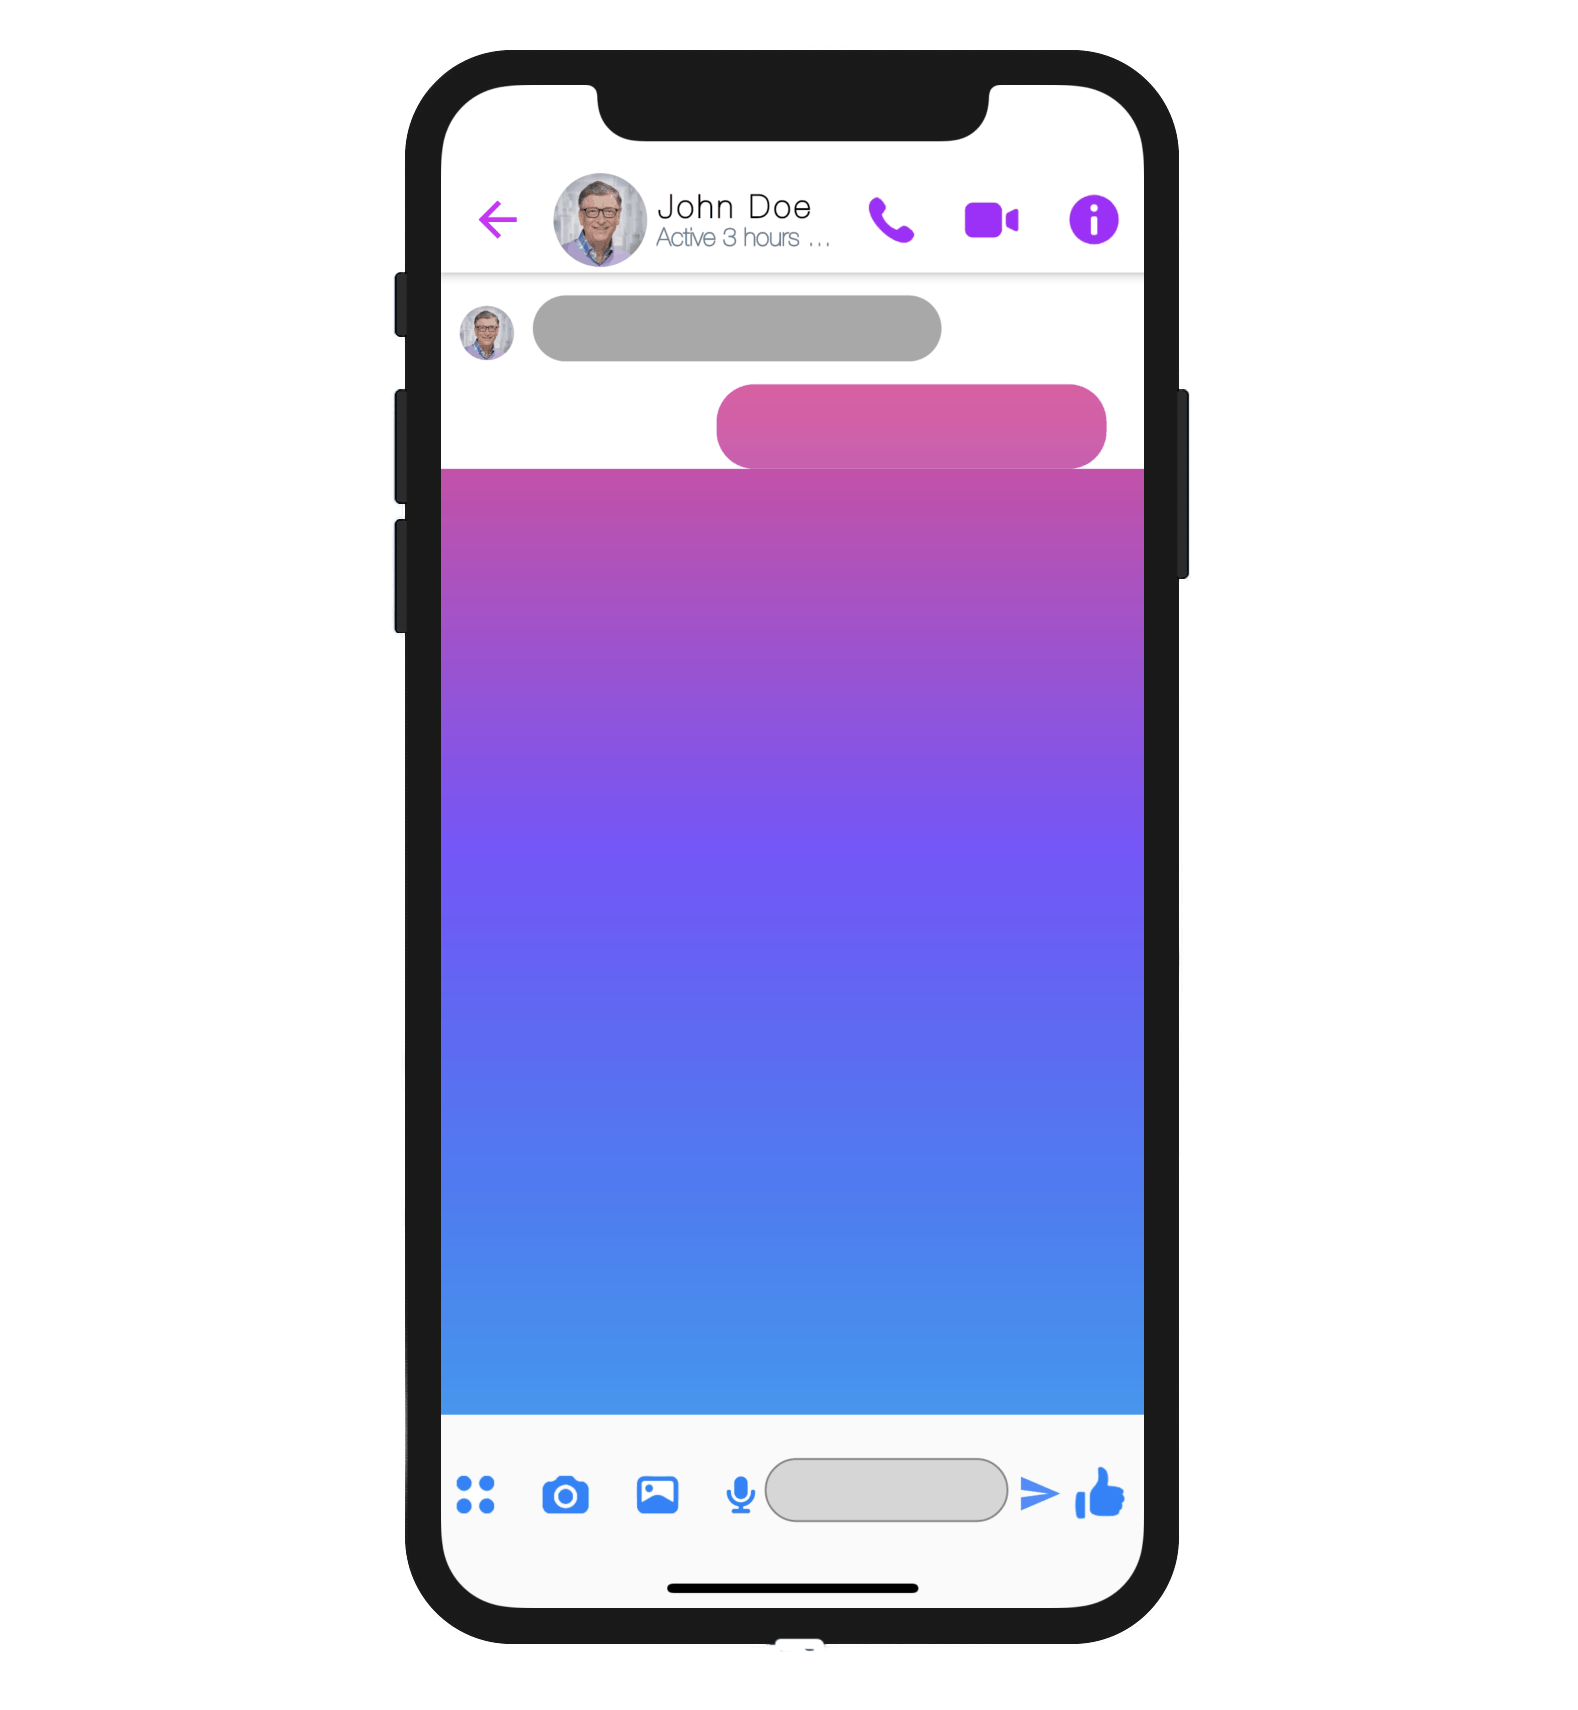
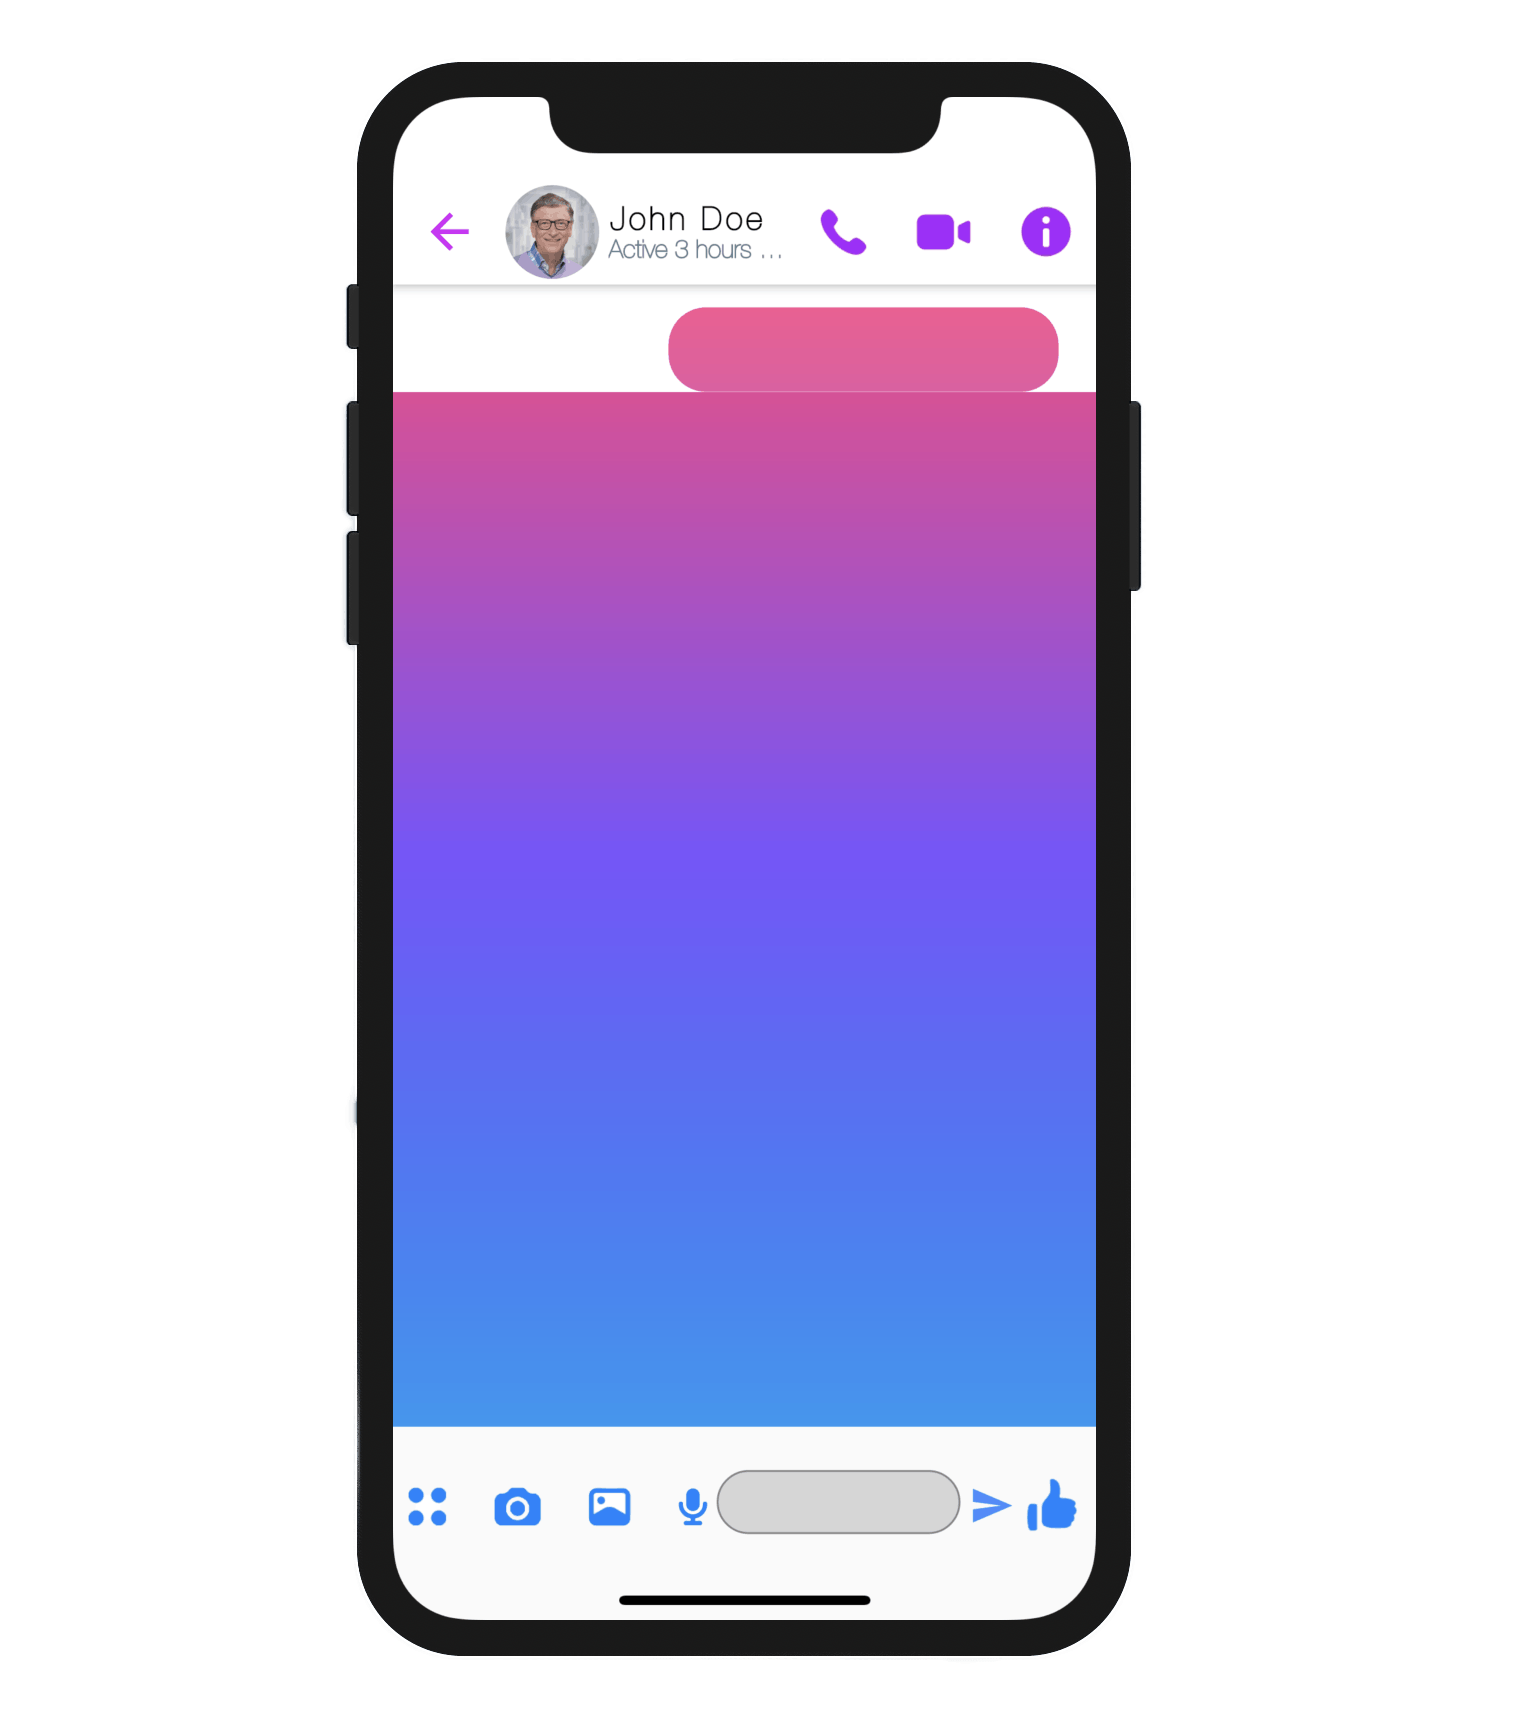
...but what about the area below it? We can't afford a open visible gradient area like that. For that, we will use Expanded() Widget at the end of our bubble list, so that even if there's no chat bubble in the list, the screen color filter which, in this case, is white will just not evaporate.
// This we will add as the last element to our bubbles list every time
list.add(Expanded(
        child: Container(
          color: Colors.white,
          height: 0.0,
          alignment: Alignment.center,
        ),
      ),)
Putting Content In The Bubbles
We need to put content inside these chat bubbles. We can't just give the child widgets to the gradient bubbles as they will inherit the properties from color filtered which will dissociate the original behavior of these child widgets. This is quite a problem.
In order to tackle this, there is a third layer that will come into the picture.
- Now we know that we can't append our child widgets directly under the gradient bubbles so we will put them on their top using another stack. We will wrap our
ColorFilteredwith the stack that will put our new content as the topmost widget and, obviously, we will have to calibrate the content so as it comes right where we want it to be conditionally.
Stack(
children : [
ColorFilteredWidget(
.............. //logic),
!isSendersChatBubble
              ? Positioned(
                  top:  20,
                  right: 28,
                  child: Column(
                    mainAxisAlignment: MainAxisAlignment.spaceBetween,
                    children: [
                     // Any conditional content goes here
                      Container(
                        margin:  EdgeInsets.only(top: 3.toHeight),
                        padding: EdgeInsets.only(
                            left: 8, right: 5),
                        constraints: BoxConstraints(
                          maxWidth: 230,
                        ),
                        child: Text(
                          textValue,
                          style: TextStyle(color: Colors.white),
                        ),
                      ),
                    ],
                  ),
                )
              : Positioned(
                  top: 12,
                  left: 10.,
                  child: Container(
                    child: Row(
                      crossAxisAlignment: CrossAxisAlignment.start,
                      mainAxisAlignment: MainAxisAlignment.spaceBetween,
                      children: [
                         //Any conditional content goes here
                        Container(
                          padding: EdgeInsets.all(10),

                          margin: EdgeInsets.only(left: 20),
                          constraints: BoxConstraints(
                              maxWidth: 233 minWidth: 33),
                          child: Text(
                            textValue,
                            style: TextStyle(color: Colors.black),
                          ),
                          decoration: BoxDecoration(
                            borderRadius: BorderRadius.circular(20.0),
                            //color: Colors.grey.withOpacity(0.9),
                          ),
                        ),
                      ],
                    ),
                  ),
                )
]
)
- We will also provide the same widgets as the child to the
ColorFilteredcontainers and will make them transparent so that our gradient bubble takes up the same space as our desired content that is on its top.
Now, we will have to calibrate our whole widget by making it responsive as well as conditional.
Advantages
It does not change the gradient by changing the state because of which scrolling and loading becomes smooth as it becomes a very light weight scrolling transition, as compared to the previous approach. This is the biggest reason why this approach is so brilliant.
It do not depend on any computational or foreign algorithm so our initial render time decreases and content appears instantly.
We can change the gradient colors at any time and the color will be changed instantly.
It does not depend upon the device for any external computation. So, the initial loading time will not vary much on different devices.
Disadvantages
Because nested stacks are used in this approach, it becomes quite complex.
Our content will be rendered twice - one as a child of
ColorFiltered(transparent), other as the innermost stack's child (visible).There are lot of conditionals in this approach and we have to keep track of a lot of things.
As
ColorFilteredis basically a mask so it obstructs the natural behaviour of it's child to take the given width. So, we have to do a hack there by wrapping our child inside the row widget and give the min-size property there.
Conclusion
Now we know that there are two ways of achieving this effect. We have established that the setState approach is quite heavy and tedious whereas the ColorFiltered approach is quite smart and fast too. We can consider the latter approach to be the best option for this kind of functionality.
I hope that this article has given you enough reasons to try building this amazing feature.
Thank you so much for reading.

