

Setting Up a HomeLab: From Bare Metal to a Fully Functional Server

Search for a command to run...
No comments yet. Be the first to comment.
OpenClaw is a powerful, self-hosted AI assistant that connects to your tools to perform actions. Explore its Gateway architecture, real-world use cases, and security precautions.

Discover how neo-brutalism is shaping 2026 design trends. See how anti-design principles can create distinct, usable, and memorable product experiences.

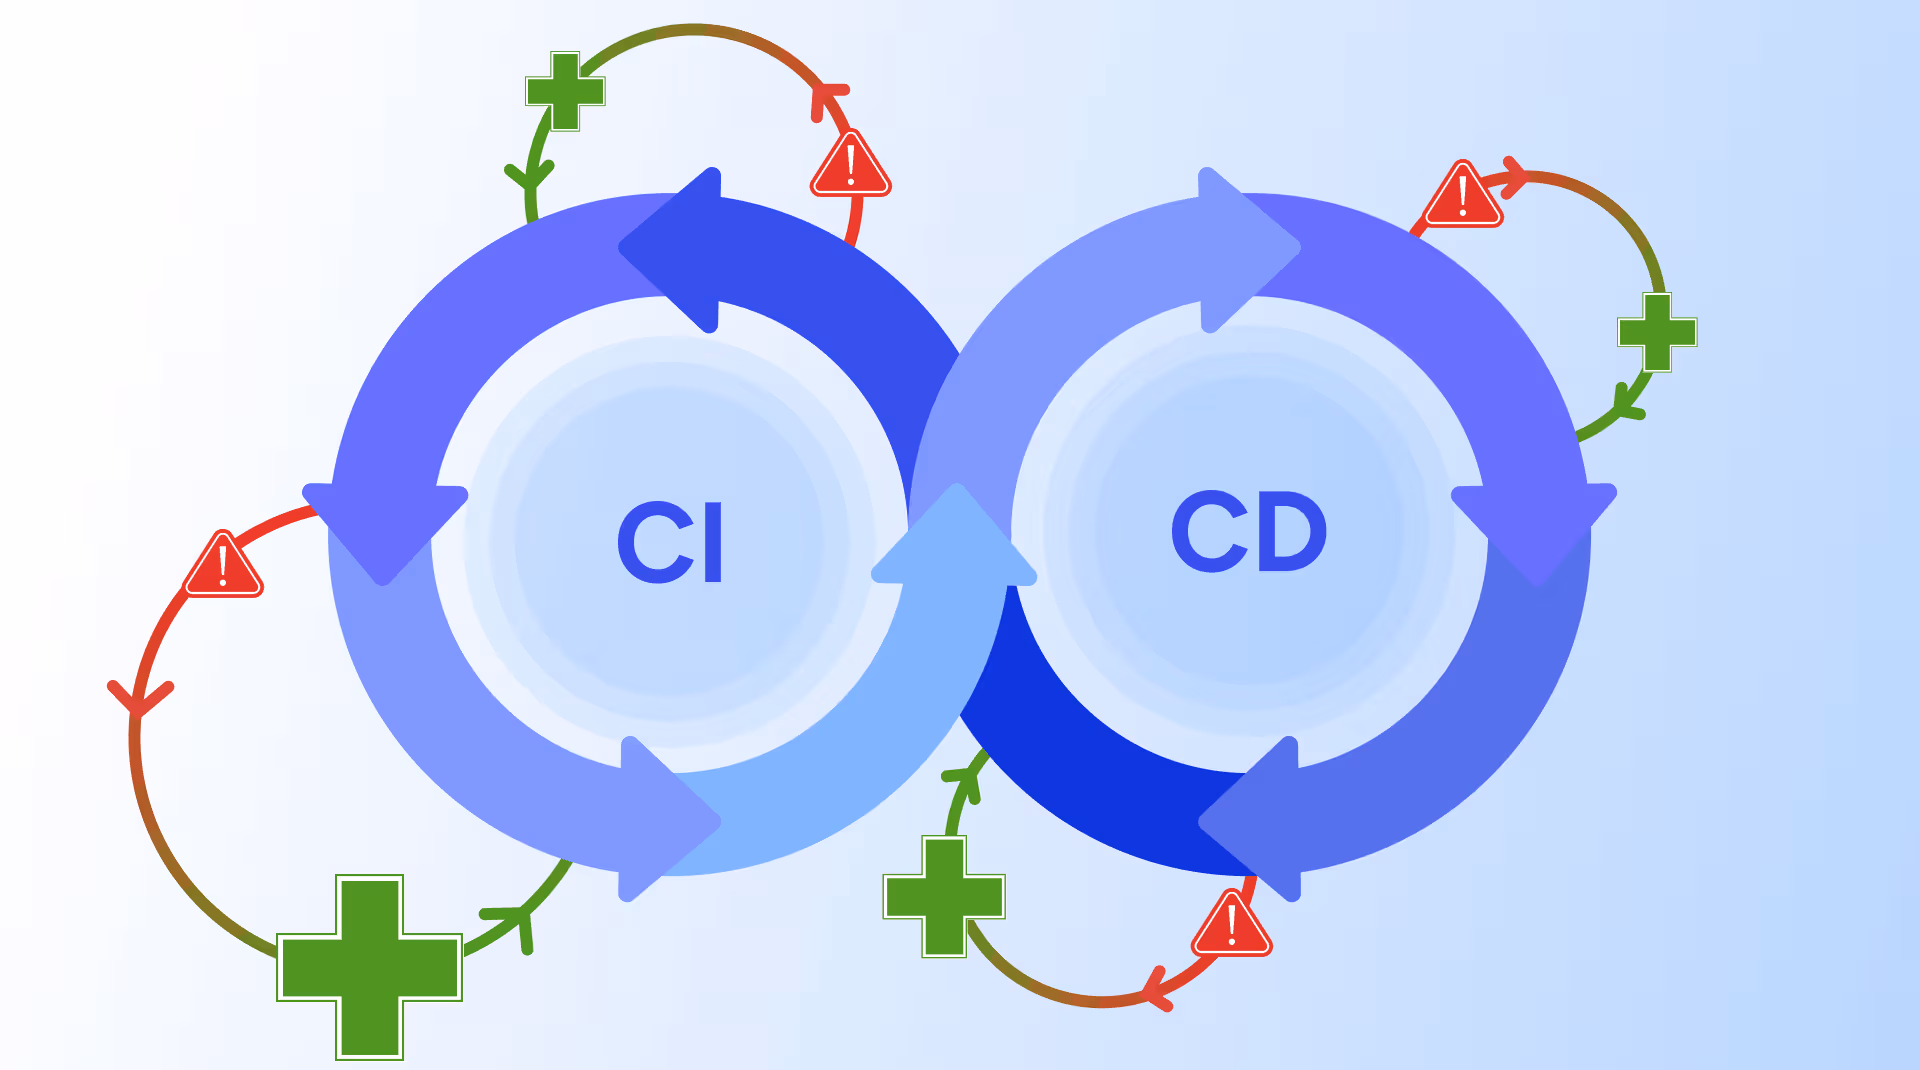
When code breaks a pipeline, developers have to stop working and figure out why. This blog shows how an AI agent reads the error, finds the fix, and submits it for review all on its own.
GeekyAnts built a 5-agent fraud detection pipeline that makes decisions in under 200ms — 15x cheaper than single-model systems, with full explainability built in.

A deep dive into how GeekyAnts built a real-time AI fraud detection system that evaluates transactions in milliseconds using a hybrid multi-agent approach.

GeekyAnts Tech Blog
348 posts
GeekyAnts is an AI-powered digital product engineering and consulting company helping startups, enterprises, and Fortune 500 brands build scalable, future-ready digital solutions. Since 2006, we have delivered 800+ successful projects for 550+ global clients across healthcare, BFSI, retail, logistics, education, and enterprise technology. We help businesses accelerate digital transformation through strategy, design, engineering, and AI-led innovation.
Srinivas Gowda, Senior SE at Preqin India, discusses building a server from scratch to a fully functional one that empowers you to manage your digital universe.
Have you ever wondered what it takes to create your very own personal server right in the comfort of your own home? Welcome to the exciting world of HomeLab setup, where you transform a simple piece of hardware into a powerhouse server that can host your applications, data, and experiments.
Before we dive into the nitty-gritty of HomeLab setup, let’s address the burning question: why should you even consider building a home server in the first place? Well, besides the fact that it’s an incredibly fun and enlightening endeavour, setting up a HomeLab offers a unique opportunity for programmers and tech enthusiasts to explore the intricate workings of systems without the abstractions of public cloud services.
But that’s not all. The true magic lies in the ability to wield complete control over your data — where it resides, how it’s safeguarded, and who gets access. Unlike relying on a public cloud, a HomeLab empowers you to manage every aspect of your data, ensuring unparalleled privacy and security.
Imagine this scenario: You’re a tech-savvy student who lands a job at a startup. While you’re proficient in programming, you’re suddenly thrown into the world of serverless architecture and cloud functions. But when you need to connect to a database or troubleshoot a cold start issue, you find yourself drowning in a sea of unfamiliar terms like subnets and routing. Now, picture a different outcome. Armed with a solid understanding of traditional server setup, you seamlessly navigate these challenges, saving time and frustration.
At its core, it’s a computer linked to the internet with added security measures. The crux of the matter is data control. Think about your Google Photos or other cloud services — you’re at the mercy of their pricing and policies. With a HomeLab, you’re the master of your data destiny. Take your Google Photos, for instance. You could sidestep the costs and limitations by setting up your own syncing solution on your Android or iPhone.
As any journey begins, your HomeLab voyage commences with the hardware setup. You might recall your initial foray into the realm of HomeLabs with a humble Raspberry Pi. While the Pi is fantastic for light experimentation, you’ll soon realize the need for more power and capabilities.
The hardware essentials for a solid HomeLab foundation include:
Multi-core CPU
DDR4 RAM
SSD or HDD for storage
Router with robust port forwarding and firewall capabilities
Consider options like PF Sense or OpenWRT for your router, but even a decent consumer-grade router can suffice for basic port forwarding and firewall setups. Aim for a minimum internet connection speed of 20 Mbps, and don’t underestimate the importance of a quality heat sink to keep your server running smoothly.
“I opted for an AMD Ryzen 5 3500 CPU paired with a Gigabyte motherboard. This setup provides room for upgrades while remaining cost-effective. With 16 GB of RAM and an NVMe SSD for booting, my server strikes a balance between performance and flexibility. I’ve also invested in a top-notch cooling solution, the Cooler Master Hyper 410R, to ensure optimal thermal management.”
Now that we’ve got the hardware squared away, it’s time to delve into the software realm. While it might be tempting to install everything directly on your server, a containerized approach offers flexibility, ease of management, and isolation. Enter Docker, the hero of modern application deployment.
Docker containers provide an array of benefits:
Universally compatible across major Linux distributions
Isolated service file systems, preventing clutter
Simplified removal of data volumes and images
Self-contained environments, reducing dependency headaches
Support for private Docker container registries
By containerizing your applications, you avoid the pitfalls of traditional installation methods and embrace a more streamlined, organized approach.
Now that your software stack is locked and loaded, it’s time to address the crucial matter of networking and security. Your HomeLab is your digital fortress, and guarding its gates is of paramount importance.
You have two primary options for exposing your services: a self-hosted VPN or the ingenious TailScale. A self-hosted VPN provides a secure tunnel for remote access, with a firewall and subnet configuration adding an extra layer of protection. On the other hand, TailScale offers zero-configuration magic, effortlessly connecting your devices through a lightweight VPN.
Segmenting your network into subnets and implementing conditional port forwarding ensures that only legitimate traffic enters your fortress. CloudFlare’s DNS service can act as your sentinel, allowing only authorized requests to pass through.
With the foundation and networking in place, it’s time to don your virtual armour and fortify your HomeLab against potential threats. Implement an Intrusion Detection System (IDS) and Intrusion Prevention System (IPS) to monitor, alert, and even block suspicious activity. For an extra layer of security, configure UFW and Fail2Ban to bolster your Linux firewall capabilities.
Remember, security is an ongoing endeavour. Regularly apply security patches, perform maintenance, and manage your temperature control to prevent overheating and system failures. A silent and efficient server setup will ensure your HomeLab runs smoothly and remains uninterrupted, even if someone inadvertently decides to unplug it.
Your HomeLab is now a fully operational base of operations, and the possibilities are endless. Let your imagination run wild as you explore an array of use cases:
Offline Language Model Training: Build your own compact language model for processing and analyzing PDFs using an offline LLM like LaMini LM Mode.
Remote Development Environment: Access your personal development environment from anywhere by setting up a remote code server, enabling you to code and experiment from your browser.
Self-Hosted Services: Liberated from third-party providers, you can host your own Discord, Telegram, or even an Alexa bot.
Media Streaming: Turn your HomeLab into a Plex Media Server, providing seamless access to your media collection.
Video Conferencing: Ditch the mainstream video conferencing platforms and set up your own Zoom alternative using solutions like Jitsi.
Data Backup and Insights: Utilize tools like Borg Backup and ClickHouse to create robust backup solutions and gain valuable insights from your data using tools like Metabase.
Setting up a HomeLab from scratch is not just a technical achievement; it’s an empowering and enlightening journey that grants you unparalleled control over your digital domain. From the hardware configuration to the software stack, networking setup, and security measures, every step of the process contributes to your mastery of the art of HomeLab creation.
So, are you ready to embark on this thrilling adventure? Dust off that Raspberry Pi or power up that multi-core CPU — your HomeLab odyssey awaits!
Watch the Full DevOps Meetup here.