

Implementing Flutter Maps With OSM

Search for a command to run...
No comments yet. Be the first to comment.
Discover how neo-brutalism is shaping 2026 design trends. See how anti-design principles can create distinct, usable, and memorable product experiences.

When code breaks a pipeline, developers have to stop working and figure out why. This blog shows how an AI agent reads the error, finds the fix, and submits it for review all on its own.
GeekyAnts built a 5-agent fraud detection pipeline that makes decisions in under 200ms — 15x cheaper than single-model systems, with full explainability built in.

A deep dive into how GeekyAnts built a real-time AI fraud detection system that evaluates transactions in milliseconds using a hybrid multi-agent approach.

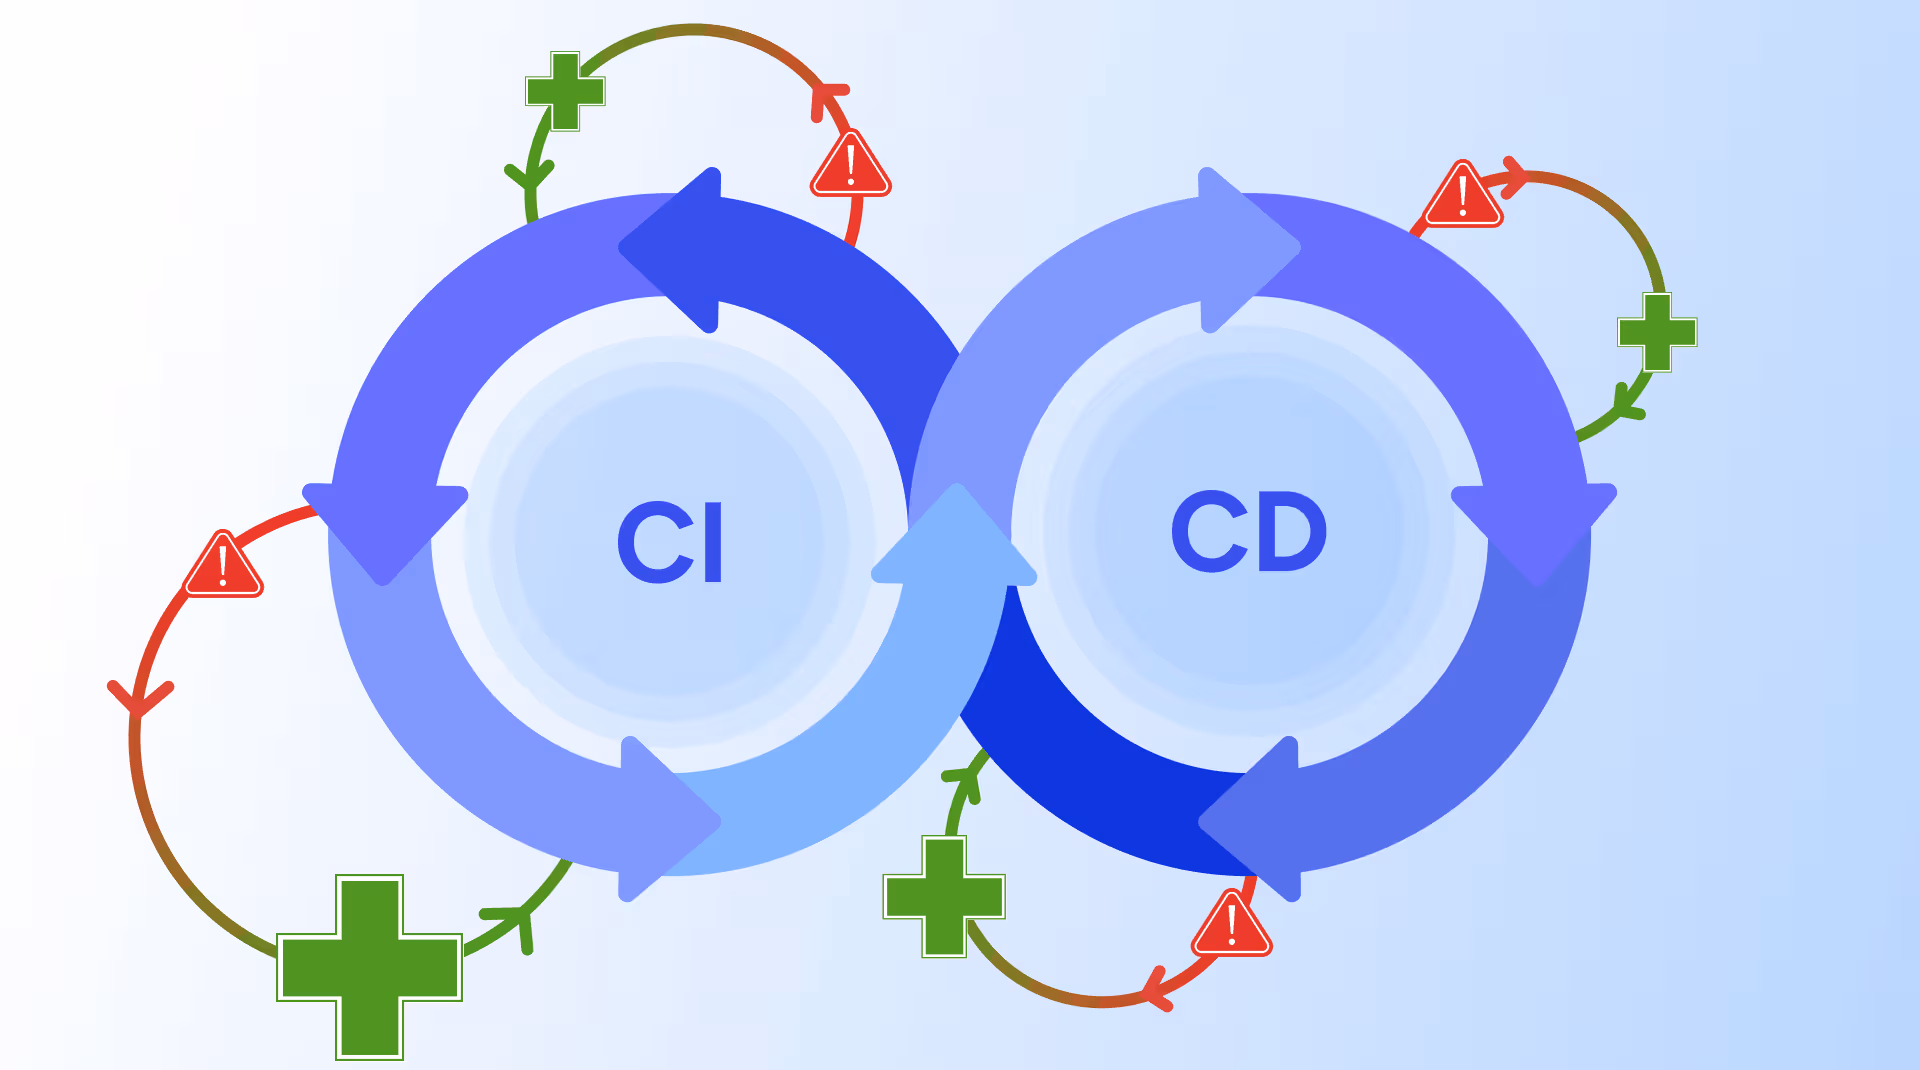
A deep dive into how GeekyAnts built an AI-powered Code Healer that analyzes CI/CD failures, summarizes logs, and generates code-level fixes to keep development moving.

GeekyAnts Tech Blog
347 posts
GeekyAnts is an AI-powered digital product engineering and consulting company helping startups, enterprises, and Fortune 500 brands build scalable, future-ready digital solutions. Since 2006, we have delivered 800+ successful projects for 550+ global clients across healthcare, BFSI, retail, logistics, education, and enterprise technology. We help businesses accelerate digital transformation through strategy, design, engineering, and AI-led innovation.
With the surge in availability of access to the internet, we all have moved from remembering neighborhood locations to marking them on Maps.
So, as the users are getting quite comfortable with using maps on their devices, the necessity of embedding a map on an application has also increased. Maps/Geo-location can be used for a number of applications.
The first option that we think of when starting with maps is Google maps. But, Google maps are insanely expensive. So, a business/startup just starting out might not have the budget to get started with it.
Apart from the cost there is a second factor which we need to take into consideration while setting up a map, which is complexity. Setting up a map can be quite complex.
So, there are two main difficulties while setting up a map: Complexity & Expense
Let us see how we can tackle both Complexity & Expense of setting up a map with Flutter & OSM.
In this article, we will look into how to set up a completely working & functional map with Flutter using Flutter_Map & OSM.
First of all, let's add the following dependencies in our pubspec.yaml:
      latlong: ^0.6.1
      flutter_map: any
      flutter_map_marker_cluster: any
Now let's look into the flutter_map plugin.
The flutter_map widget provided to us by the flutter_map plugin has three main parameters:
     FlutterMap(
         mapController: ...,
         options: ...,
         layers: ...
      ),
mapController: It will be used to handle the map programmatically. It can be used to move the map, zoom in & zoom out, etc.options: This is the parameter which we can use to pass properties to the layers/map.layers: This is the parameter where we pass a list of layers which we want to be built on the screen. It can be considered as the Stack widget, so layers will be laid out in the order they are mentioned.Now, let's start looking into our objectives one by one:
To set our map, we need to add a layer in the layers parameter of the FlutterMap widget.
This is going to be a TileLayerOptions layer, which is used to create a tile-based layer.
A tile is a square bitmap graphic displayed in a grid arrangement to show a map. It can also be described as an image bound to a specific geographical position.
     FlutterMap(
       mapController: ...,
       options: ...,
       layers: [
         TileLayerOptions(
           minZoom: 1,
           maxZoom: 18,
           backgroundColor: Colors.black,
           urlTemplate: 'https://{s}.tile.openstreetmap.org/{z}/{x}/{y}.png',
           subdomains: ['a', 'b', 'c'],
         ),
       ]
    ),
Let's look at its parameters:
urlTemplate- Here we will mention the URL of our map tile provider (in this case, OSM). minZoom/maxZoom- We can pass the minimum & maximum zoom we want to provide.minNativeZoom/maxNativeZoom- These are the minimum native zoom (usually 1) & maximum native zoom (usually between 18-20), which is the zoom level provided by our map tile provider.errorImage- If, because of any issue, our map is not able to get rendered, then this image will be shown.That’s it! We have our map up & running.

First, let us have our list of points we want to build our markers on.
    List<LatLng> _latLngList = [
       LatLng(13, 77.5),
       LatLng(13.02, 77.51),
       LatLng(13.05, 77.53),
         ...
       LatLng(13.155, 77.54),
       LatLng(13.159, 77.55),
       LatLng(13.17, 77.55),
      ];
Let's create our list of custom markers for these points.
To build our custom marker, we will be using the Marker widget. Here, we will have a pin_drop icon as our marker. We can build anything as our marker using the builder of the Marker.
      List<Marker> _markers = _latLngList
       .map((point) => Marker(
             point: point,
             width: 60,
             height: 60,
             builder: (context) => Icon(
               Icons.pin_drop,
               size: 60,
               color: Colors.blueAccent,
             ),
           ))
       .toList();
To have this list of markers on top of our map, we will mention this just after our TileLayerOptions layer using the MarkerLayerOptions layer. This can also be achieved by using the MarkerClusterLayerOptions layer, but that is mainly used to cluster the markers.
      FlutterMap(
       mapController: ...,
       options: ...,
       layers: [
         TileLayerOptions(
          ...
         ),
         MarkerLayerOptions(markers: _markers)
        ]
       ),
We need to pass our markers list to the markers parameter and we will have our custom markers ready.

To handle the clustering & de-clustering of the markers, we will replace the MarkerLayerOptions with MarkerClusterLayerOptions, pass some parameters & a builder function to the MarkerClusterLayerOptions for it to handle the clustering/de-clustering for us.
     FlutterMap(
       mapController: ...,
       options: ...,
       layers: [
         TileLayerOptions(
          ...
          ),
         MarkerClusterLayerOptions(
           maxClusterRadius: 190,
           disableClusteringAtZoom: 16,
           size: Size(50, 50),
           fitBoundsOptions: FitBoundsOptions(
             padding: EdgeInsets.all(50),
           ),
           markers: _markers,
           polygonOptions: PolygonOptions(
               borderColor: Colors.blueAccent,
               color: Colors.black12,
               borderStrokeWidth: 3),
           builder: (context, markers) {
             return Container(
               alignment: Alignment.center,
               decoration:
                   BoxDecoration(color: Colors.orange, shape: BoxShape.circle),
               child: Text('${markers.length}'),
             );
           },
         ),
       ],
     ),
Let's look at the parameters we just added and how they help us out:
maxClusterRadius- The clusters formed will cover these many pixels.disableClusteringAtZoom- This parameter will be used for de-clustering markers. The markers will not be clustered from this zoom level (defaults to 20).size- This is the size of our cluster (not the markers).fitBoundsOptions- Option for fit bounds (padding, maxZoom & zoom).polygonOptions- When a cluster is tapped, it gets de-clustered, and on de-clustering, they make a polygon based on the number of markers in the cluster. This property is an option for that polygon drawn (the showPolygon property needs to be true for this).builder- We can pass any custom widget we want to be displayed as ourNow, all our markers will be clustered & de`clustered as we zoom in & out.

To have a popup on click of any of our markers, we will need to add an extra parameter to our MarkerClusterLayerOptions, this parameter is the popupOptions parameter.
     FlutterMap(
       mapController: _mapController,
       options: MapOptions(
        ...
       ),
       layers: [
         TileLayerOptions(
           ...
         ),
         MarkerClusterLayerOptions(
           ...
           popupOptions: PopupOptions(
               popupSnap: PopupSnap.top,
               popupController: _popupController,
               popupBuilder: (_, marker) => Container(
                    alignment: Alignment.center,
                      height: 50,
                      width: 50,
                      decoration: BoxDecoration(
                          color: Colors.black, shape: BoxShape.rectangle),
                      child: Text(
                        'Popup',
                        style: TextStyle(color: Colors.white),
                      ),
                   )),
         ),
       ],
     ),
Let's understand the popupOptions that we used to have or popup:
popupController: Will be used to control the popup programmatically (mainly to close the popup, when any other part of the map is tapped). popupSnap: It's an enum to tell the position of the popup.popupBuilder: Here, we can return any custom widget we want to be displayed as our popup.Now, on tap of any of our markers, we will have a popup.

**Apart from these objectives there are two more parameters of FlutterMap, mapController & options, that are also needed to have our map running.
Let's put values into them:
     FlutterMap(
       mapController: _mapController,
       options: MapOptions(
         center: _latLngList[0],
         bounds: LatLngBounds.fromPoints(_latLngList),
         plugins: [
           MarkerClusterPlugin(),          ],
         onTap: (_) => _popupController
             .hidePopup(),
       ),
       layers: ... ),
mapController: It will be used to handle the map programmatically. It can be used to move the map, zoom in & zoom out, etc.options: This is the parameter which we can use to pass properties to the map.Some of the important properties here are -
- `center`- Mention the center of the map, it will be the center when the map starts.
- `bounds`- It can take a list of geo-coordinates and show them all when the map starts. If both bounds & center are provided, then bounds will take preference.
- `zoom`- It is used to mention the initial zoom.
- `swPanBoundary`/`nePanBoundary`- These are two geocoordinate points, which can be used to have interactivity constraints.
- Callbacks such as `onTap`/`onLongPress`/`onPositionChanged` can also be used.
We have now successfully added a functional map in our Flutter project using OSM and Flutter_Maps.
Here’s the full project link.
Thanks for reading.